










Are you thinking about using air dry clay for your next creative project? Whether you’re planning a décor piece, sculpture or a fun art activity with the kids, this versatile medium is a popular choice. Air dry clay dries naturally without an oven or kiln, and it can be painted once dry.
If you’re looking for guidance on air dry clay for beginners, we’ve answered some of the common questions we’ve received over the years to help you get started.
Here we cover working with air dry clay including how long it takes to dry, how to prevent and repair cracks, and whether it can be reused. We also outline what to consider when using finished pieces outdoors, around food or candles, and why baking isn’t needed.
1. How do you use air dry clay?


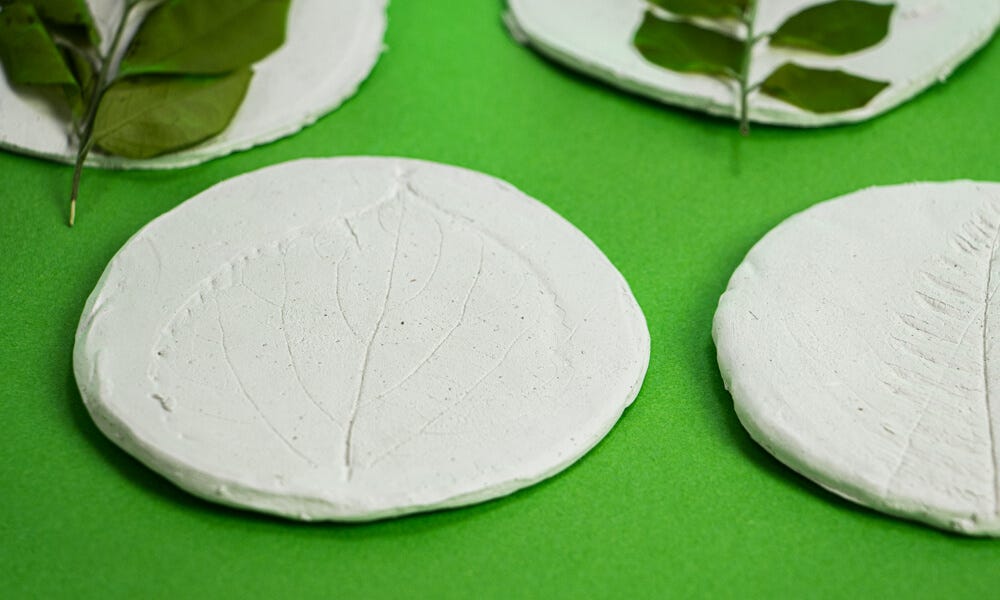
Air dry clay is one of the easiest sculptural mediums to work with. All you need to do is knead it to make it smooth and soft, build your project, and let it dry for around 24 hours. This type of clay doesn’t need to be baked in an oven or kiln because it will dry to earthenware hardness in the air.
Before you start shaping, work the clay in your hands until it feels soft and pliable. Keep any clay you aren’t using covered while you work to help prevent it from drying out. You can shape it by hand or use clay tools to cut, carve, join pieces, and add details.
2. Can air dry clay go outside?


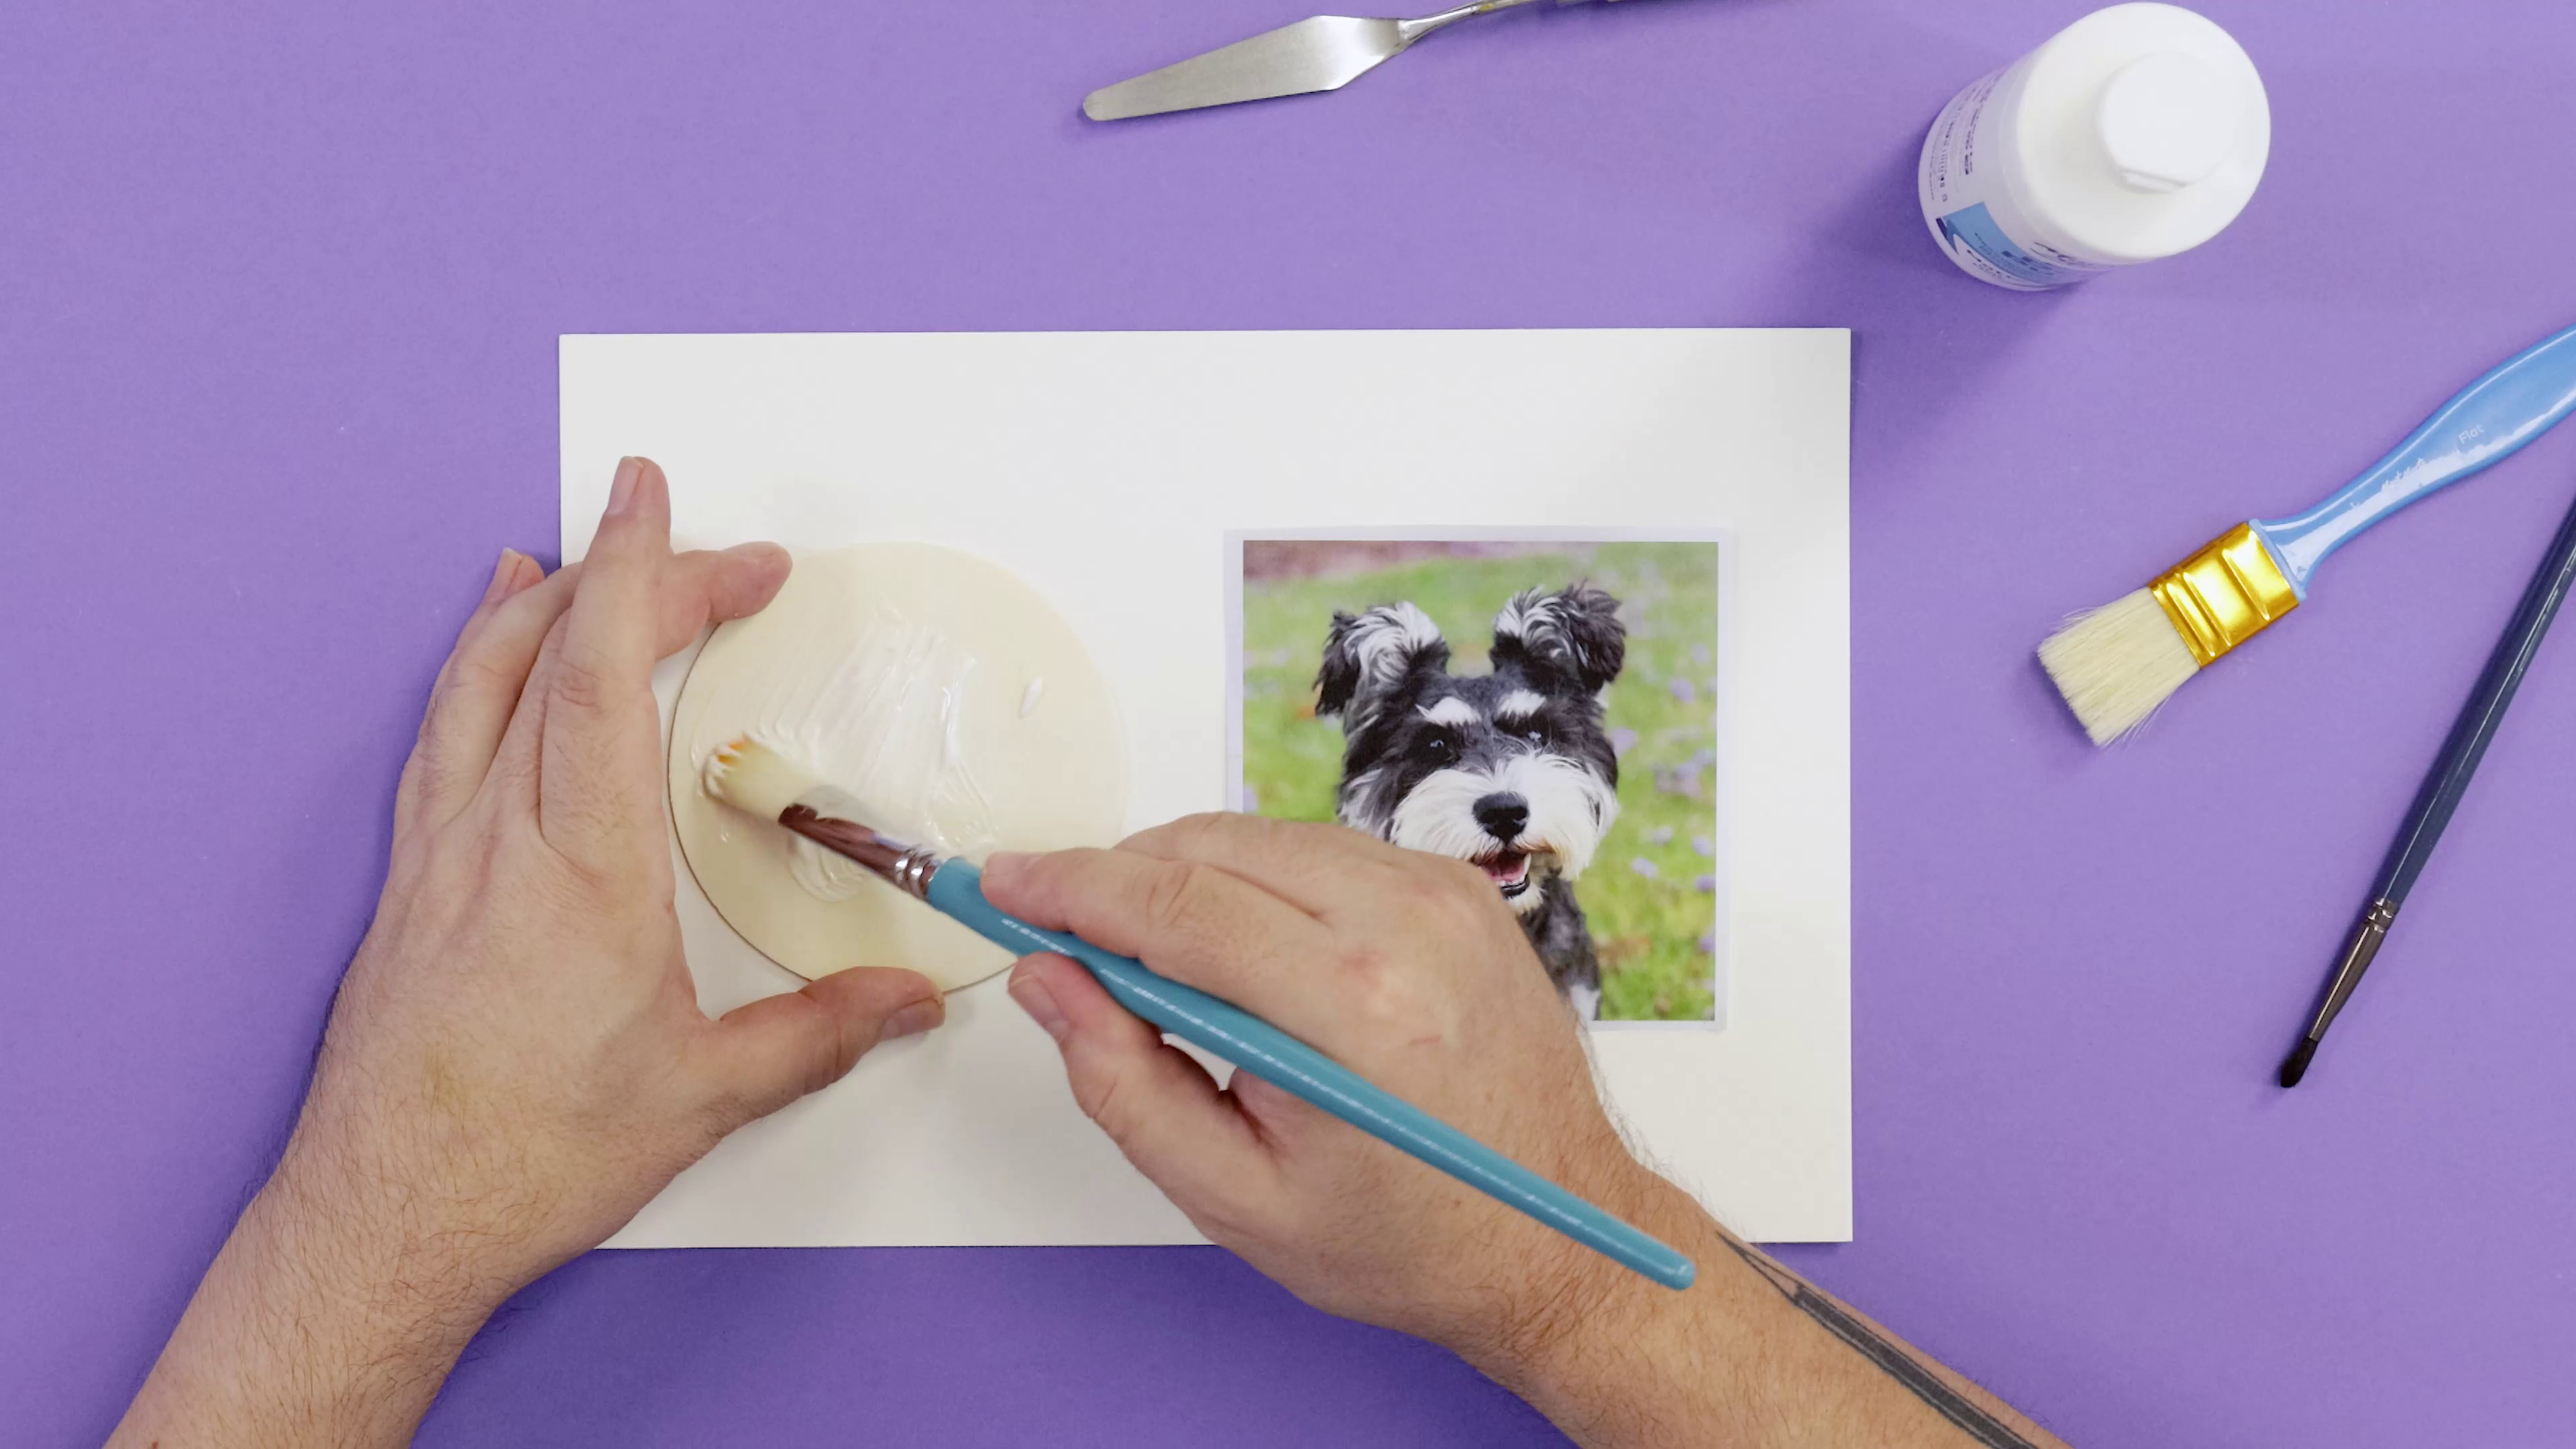
Is air dry clay waterproof once it’s dry? Not without added protection. If you plan to keep your sculpture outside, you’ll need to seal it to protect against water and the elements. Follow the steps below:
1. Use a paint brush to cover the entire sculpture with acrylic gloss medium or a mix of PVA glue and water.
2. Let this dry, then give your work a coat of grey acrylic paint. We recommend acrylic paints because they help protect air dry clay from moisture. Grey also provides a neutral base for your final colours.
3. Once the grey coat has dried, apply two coats of your final colours, allowing each coat to dry before applying the next.
See three ways to seal your finished sculpture using PVA glue, acrylic medium, or acrylic paint in our air dry clay sealing guide.
3. Can you reuse air dry clay?

If you have some leftover air dry clay that has dried out, you may be able to reuse it by adding moisture back in. Start by breaking the clay into smaller pieces, then place them in a zip lock bag with a little water. Breaking it up gives the water more surface area to soak into, helping the clay rehydrate more evenly.
Seal the bag and leave it for two days so the clay has time to absorb the water. Once it has rehydrated, take it out and knead it thoroughly to work out any remaining dry or firm areas. When the consistency feels even throughout, it’s ready to use again.
4. Is air dry clay food-safe?

While air dry clay is non-toxic, it isn’t food safe. The material can absorb moisture and isn’t suitable for washing, so avoid using it for plates, cups, serving dishes, or anything that will come into direct contact with food or drinks. Keep finished pieces for decorative use instead.
5. How long does air dry clay take to dry?

Depending on the thickness of your project, air dry clay will reach earthenware hardness in around 24 hours. Thicker pieces may need longer. How long air dry clay takes to dry before painting will also depend on its thickness, so wait until the piece has dried completely before adding colour. If you want to keep working on your piece over multiple sessions, wrap it in a damp tea towel, then cover it with cling wrap to make it airtight. This should help keep the clay workable for around four days.
For more advice on drying your project evenly and working with the material, take a look at our air dry clay tips.
6. How do you stop it from cracking?


Cracks can form as air dry clay loses moisture and shrinks. Let your project dry gradually at room temperature and keep it away from direct heat or sunlight. Try to keep the thickness consistent too, as very thin and thick areas can dry at different rates. If small cracks do appear, you can fill them with a wet mix made from the same clay.
For more detailed advice on why cracks form, how to fill them, and ways to reduce them while drying, follow our guide to fixing cracks in air dry clay.
7. Is air dry clay toxic?

Mont Marte Air Hardening Clay is non-toxic and suitable for creative projects when used as directed. However, it isn’t designed for contact with food or drinks, so wash your hands after use and keep finished pieces decorative.
Like other art materials, air dry clay should be used for its intended purpose rather than ingested. Young children can also be more likely to put materials in their mouths, so supervision is important while they’re creating.
For children, follow the age recommendations and supervision instructions on the product packaging.
8. Can air dry clay be used with candles?


Air dry clay isn’t suitable for direct contact with an open flame or high heat. If you’re making a lantern, candle holder, or similar project, use a battery-operated LED tea light rather than a real candle. You can even find LED candles with a flickering setting for a more realistic effect.
You can still design your project around the effect of candlelight. Try cutting openings into a lantern, adding small holes to create patterns, or shaping a holder around the size of your LED tea light. Once the clay has dried completely, add paint or other decorative details before placing the light inside.
9. What paint to use on air dry clay


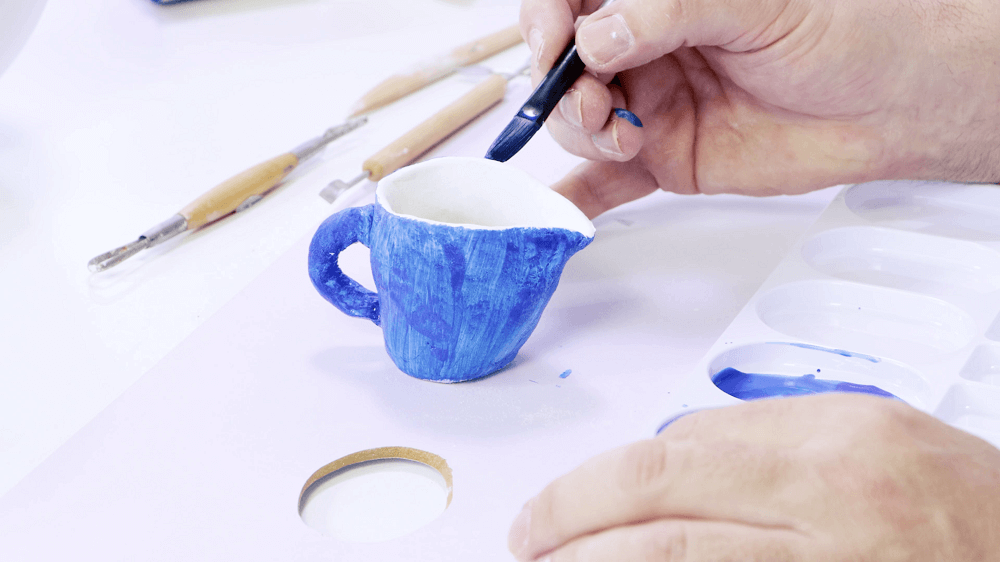
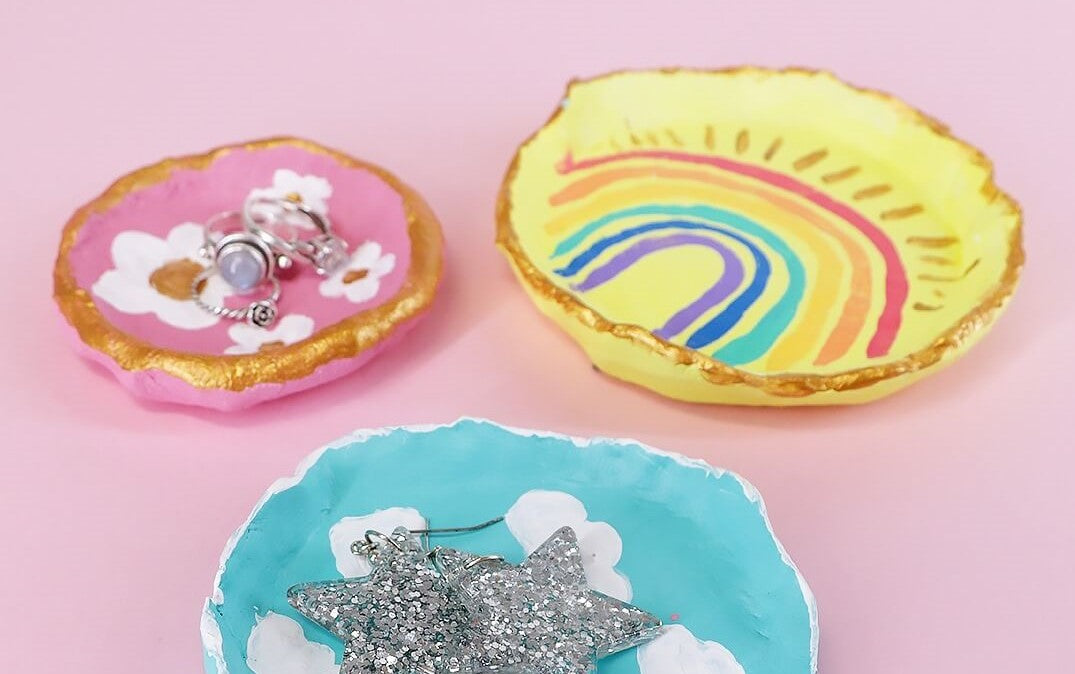
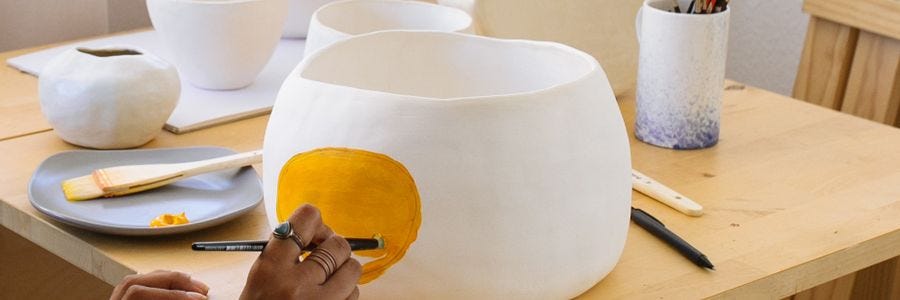
A common question as you progress is can you paint air dry clay? The answer is yes. Once your project has dried completely, you can decorate it with acrylic paint. Acrylic paint works well on air dry clay and gives you plenty of options for adding colour, patterns, and smaller details. Start with your main areas of colour, then let each coat dry before adding another. You can build up extra layers for stronger coverage or switch to a smaller brush for finer lines and details.
Different acrylic paints offer different consistencies, finishes, and levels of coverage. For help choosing one for your project, our guide to Mont Marte acrylic paints compares the different ranges and how they can be used.
10. Can you bake air dry clay?


No – baking air dry clay in an oven or kiln can cause your sculpture to melt or burn. Plus, heating your sculpture can make it dry faster, which may cause more cracks to form. Once your sculpture is complete, simply leave it out to dry and it’ll be all set in around 24 hours. Thicker projects may take a little longer to dry completely.
If you’re looking for a clay that’s designed to cure in an oven, polymer clay works differently. It stays workable until it’s baked, giving you more time to shape and refine your project. Our polymer clay FAQ covers baking, conditioning, storage, and other common polymer clay questions.
FAQs
1. Why has my air dry clay warped?
Air dry clay can warp when different parts of your project lose moisture at different rates. As the faster-drying areas shrink first, they can pull against sections that are still damp, causing flat pieces to curl or other shapes to bend. Uneven thickness can make this more likely, particularly when thin edges dry faster than thicker areas. Using too much water while smoothing or joining clay can also create wetter sections that take longer to dry. Where you leave your project matters too. Direct heat and sunlight can speed up drying, while placing a flat piece on a solid surface can limit airflow underneath.
To reduce warping, keep the thickness as even as you can, use only a small amount of water when working, and let your project dry gradually at room temperature. For flat pieces, turn them during the drying process so both sides are exposed to the air.
2. Does the type of clay change how it warps?
Yes, finer clays shrink more evenly than coarse, heavily fiber-filled air dry clays, but any air dry clay will warp if the drying environment is too harsh or uneven.
3. Can you glue decorations onto air dry clay?
Yes. Once your air dry clay has dried completely, you can glue decorations and other craft materials onto the surface. PVA glue works well for lighter materials, while Araldite can be used when you need a stronger bond. Make sure the clay is completely dry and the surfaces are clean and free from dust before applying the adhesive. Allow the glue to set completely before painting or adding other finishes.
4. Can you use an armature with air dry clay?
Yes. An armature can provide extra support when you’re building larger, taller, or more detailed air dry clay projects. It can also help create the basic shape without using a thick mass of clay throughout the entire piece. Build the clay around your support in reasonably even layers, paying attention to areas where the thickness changes. This helps the clay dry more consistently and reduces unnecessary weight in the finished project.
5. Can you sand air dry clay after it dries?
Yes. Once air dry clay has dried completely, you can gently sand the surface to smooth rough areas, soften edges, or tidy small imperfections before painting. Use fine-grit sandpaper and work gradually, particularly around thin sections and finer details. Wipe away any dust when you’re finished so you have a clean surface ready for painting or decorating.
We hope that you feel inspired to try air dry clay for yourself. Show us what you create, #montmarteart or tag us @montmarteart on Instagram or Facebook, we’d love to see it.

