Welcome to our beginners’ guide to acrylic pouring! This is your all-inclusive introduction to pouring so you can create unique fluid art from the comfort of your home. Get ready to let loose and use paints to express yourself freely.
How to thin acrylic paint for pouring
There are four ways you can thin acrylic paint for fluid art. Any of our acrylic paint ranges will work for this, as they’re all water-based and easily mixable.
Mixing with Acrylic Pouring Medium
Mix 1 part paint, 2 parts Acrylic Pouring Medium, and 1 part water if you’re using standard, medium-bodied acrylic paints. This will make them more fluid, ideally the consistency of pouring cream. You can add more paint to thicken the mix, or more water to thin it.
Using Acrylic Flow Medium
Thin your paints with Acrylic Flow Medium by mixing 2 parts medium to 1 part paint. Adjust as necessary until your mixture is the consistency of pouring cream.
Mixing with glue
Mix 3 parts Clear PVA Craft Glue, 1.5 parts water, and 1 part paint. Add more water to thin or more paint to thicken until you reach the consistency of – you guessed it – pouring cream.
Just add H2O
Simply thin the paint using water! We recommend a ratio of 1 part water to 2 parts paint for the best consistency but adjust as necessary to reach that ideal pouring cream fluidity.
Watch these different mixing combos in action by checking out our How to Thin Acrylic Paint for Pouring Art video.
Ready-to-use paints
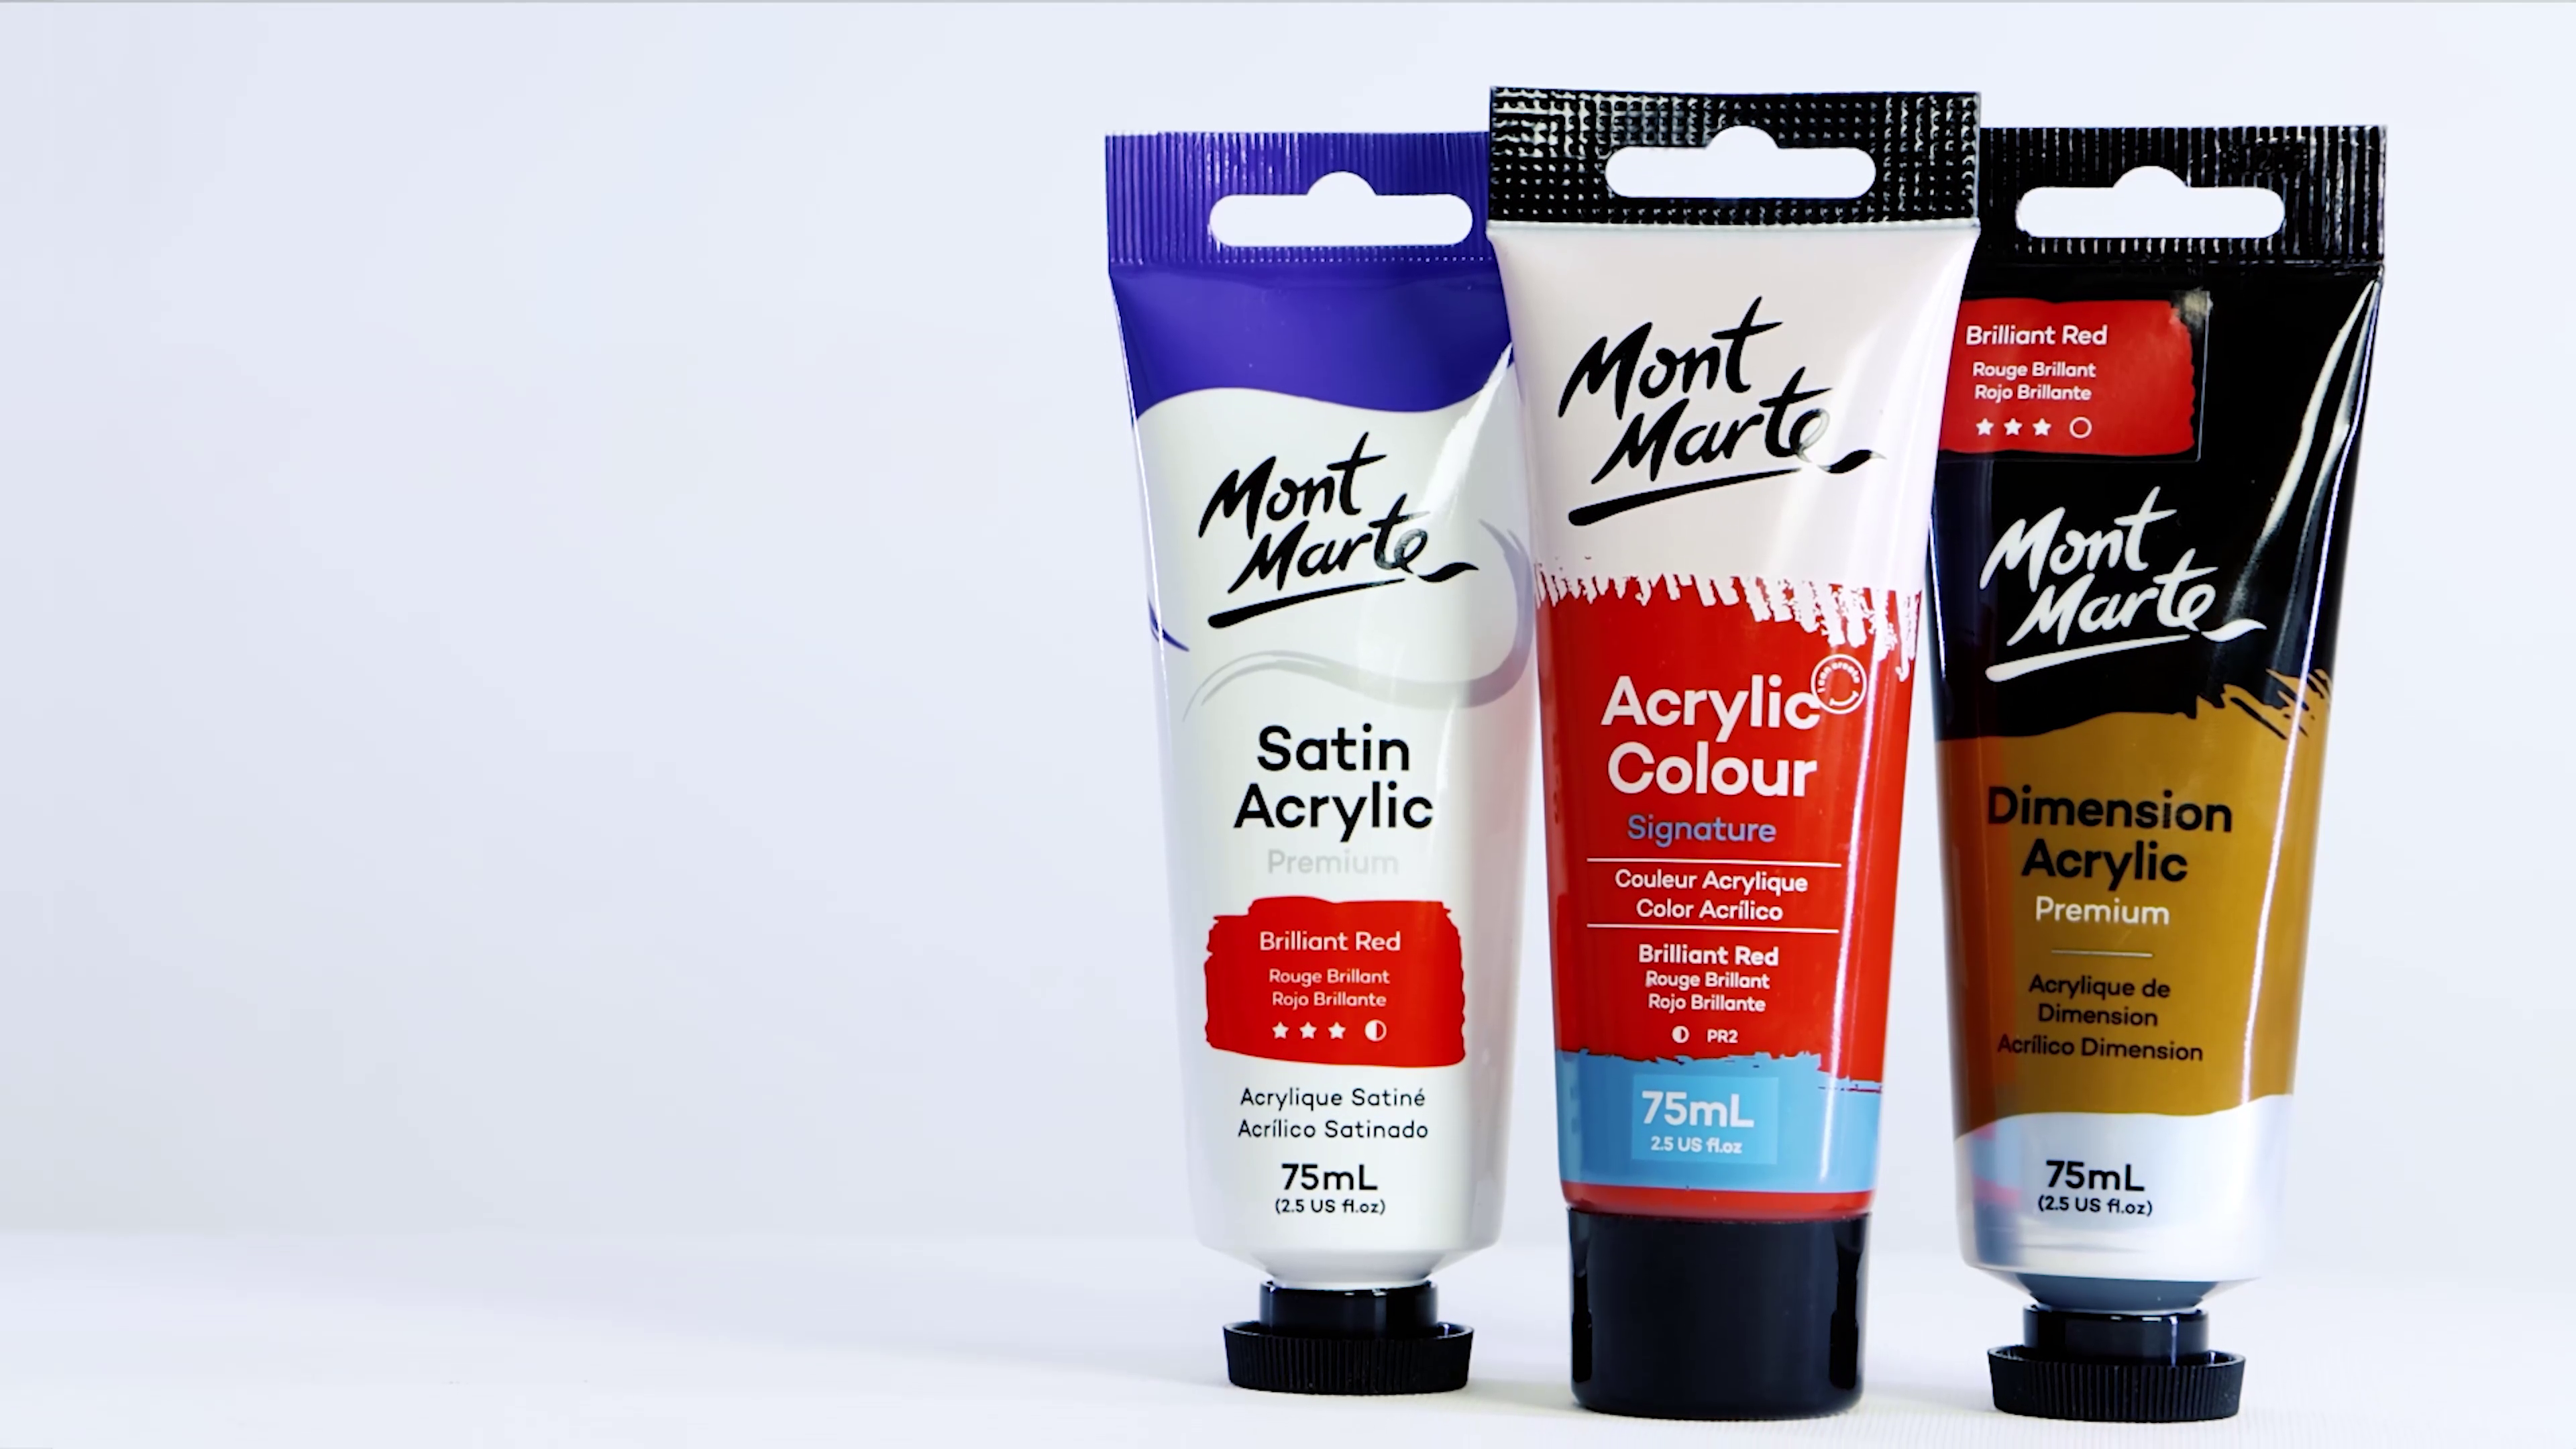
We have a line of pre-mixed pouring paints that are ready-to-go without needing to thin them for fluid art. Check out our huge range of Acrylic Pouring Paint Premium and save time on your next project! They mix cleanly with each other so you can create an unlimited shade range, and even come in handy sets with dynamic colour combos. We also have our SuperCell range – more on that below!
How to mix acrylic paint for pouring with cells
Now you know how to thin your paints, let’s dive into mixing them to create cells. You just need one handy medium: Silicone Oil. To make acrylic pouring cells with silicone, add about 5-10mL to every 200mL of pouring paint. Stir thoroughly into your paint mixture to combine well for the best results.
Most pours involve multiple colours, so mix the silicone oil into each colour, before layering in a cup or on your canvas. The cells will appear as colours overlap, so watch as the silicone works its magic among your poured paints! Find out more about using Silicone Oil by watching our handy how-to video.
SuperCell Pouring Paint
Save time on mixing and save money on mediums by grabbing our ultimate pre-mixed solution: SuperCell Pouring Paint. Just like our other Acrylic Pouring Paint Premium range, these are thinned and ready to use straight from the bottle. However, this formula is made to create cells without needing additional mediums like Silicone Oil. Just pour and watch the cells appear as your colours mix and overlap. You can find this range in 12 colours and four sets so you can explore a huge range of projects.
Find out how to get the most out of SuperCell by watching our how-to video that breaks down its best uses.
Art surface
There are loads of surfaces you can pour on – try experimenting to see what works. We’ve even poured onto baubles at Christmas time! Having said that, there are a couple of surfaces mentioned below that are great pouring staples:
Fluid Art Panels – These sturdy panels are made with high density MDF and solid pine frames to prevent warping, so your work stays looking its best. They include a lip around the frame to keep your paint designs inside with a modern natural finish – just tape the edges of the frame if you want to keep it pristine and paint-free! Plus, these paint pouring boards come pre-primed and are ready to be poured onto straight away.
Painting Boards – Our Painting Boards come in a variety of shapes and sizes so you can explore pouring on wood. The strong surface resists warping even with thick paint application and provides a modern backdrop for your designs.
Canvas - While you can technically pour on any canvas, we recommend using ones with strong wood frames, rather than panels. This is to help prevent warping as the fluid art dries. We have loads of styles, from hearts to double-thick canvases, so find your fave and have a go!
Acrylic pouring techniques
We’ve got a whole other blog dedicated to loads of pouring techniques, but we thought we’d go over some of the basics to start you off!
Flip cup pour
For this technique, you need a cup to pour your colours into, plus a surface to pour on. Start with white or black as your base colour in the cup (use black sparingly if it’s your chosen base) before layering your other colours on top. It can be handy to pick an order of colours to rotate through and repeat, as each colour layer should be fairly small to create dramatic results.
Once full, flip the cup upside down onto your painting surface. If you like, you could now put a base colour around the cup lip to make the paints spread easier. Pick the cup up and watch your paints flow onto the surface. If you’re using SuperCell or Silicone Oil, you should notice cells forming where colours connect and overlap. To get the paint to the corners, pick up your canvas and tilt it around until the colours fill the entire surface.
Swipe technique acrylic pour
This technique is a great way to get cells in your fluid art. Swipe pouring, or ghost pouring, is where you use different colours to make streaks along your canvas before swiping them outwards with a palette knife, card, or by dragging a cloth over them. Usually, you’ll have a base colour that you use to swipe across and reveal the cells as your paints overlap! Check out this pour and others in our Acrylic Pouring Techniques with Cells video.
Dutch pour method
Start by coating your pouring surface in a base colour like white or black. Pour each colour separately onto your canvas, either in lines, or in a circle shape in the centre. Use a straw or hair dryer to blow the paint outwards, making them mix in the process. Keep going until you’re happy with the design!
How to finish a pour painting
To help protect your fluid art and make the colours pop, using a gloss finish is a great aftercare step. Our Gloss Acrylic Varnish is ideal for sealing your painting once it’s completely dry. You can thin it with a little bit of water for more fluid application, or apply in thick coats, leaving to dry in between each layer. This helps your art stay brighter for longer as you display or store the painting.
If you mixed your own paints using Silicone Oil, we recommend removing excess oil from the artwork by brushing it with cornflour. Once all the oil is absorbed, wipe off the cornflour with dish soap and water. Wipe dry before varnishing. Check out the process in this how-to video!
Now you know how to do pour painting, we hope you feel ready to try out a few techniques! This style is liberating, as the paint moves differently for every pour. Have a go yourself and tag us on Instagram or Facebook @montmarteart or use #montmarteart.
Looking for more tips and tricks? Explore our Tips & Techniques collection, or else browse Projects for your next big idea.
To stay up-to-date with the latest projects, tips, tricks, and inspo, join our Creative Connection community by signing up down below.


