Say hello to your new go-to fabric paint guide – your companion to answering the age-old question: how do you use fabric paint? Whether you're a novice in the world of textile painting or already have a brush or two under your belt, our goal is to add a vibrant stroke of creativity to your fabrics.
Mont Marte fabric paint
When it comes to textile DIY projects, you’re going to need some materials to make your mark. We’ve got a large range of fabric painting products that you can explore to find the best fit for you!
Fabric Paint Sets
There are four paint sets in various sizes and colour combos to choose from:
1. Metallic Fabric Paints Signature 8pc x 20ml
2. Fabric Paint Signature 20pc x 20ml
3. Fabric Paint Signature 12pc x 20ml
4. Fabric Paint Set Signature 8pc x 20ml
With a maximum of 20 colours in a set, all the paints mix cleanly so you can create freely with an unlimited palette. The formula is designed to dry flexibly, so the paint moves with your clothes and garments. Just make sure you shake the paints before applying and allow them to dry between layers.
The colours will be permanent once they have been heat-set, so you can wash and wear your designs with pride.
Fabric Markers
Use these as your artistic precision tools, tailor-made for creating more intricate details. When it comes to drawing fine lines or mapping out your design, Fabric Markers make it easier to colour confidently if you’re a bit shaky with a brush or new to painting.
Regardless of your experience level, a fabric marker is just a regular marker, making the transition simple. Our Dual Tip Fabric Markers come in a set of 24 dual ended colours, so you can work with a fine and broad tip for a range of line weights. They’re great for adding a personal touch to your tote bag or canvas shoes and stay put once heat-set.
Fabric Sticks
Try out our Fabric Sticks for buttery smooth application. They’re great for handwriting designs and colouring areas with ease, with up to 9 vibrant colours to choose from. Just like the markers, simply heat set to secure your art on the fabric!
Fabric Art Set
Consider this your all-inclusive, beginner-friendly paint kit, designed to provide everything you need to have a crack at textile DIYs. The Fabric Art Set comes with:
- 9 x fabric paint sticks
- 6 x T-shirt markers
- 6 x 3D paint pens
- 1 x canvas tote bag
Apply colour in broad, smooth strokes with fabric paint sticks, and add dimensional details with the T-shirt markers and 3D paint pens. With 22 pieces for less than $30, it’s a great pack to kick-start your collection or bolster your supplies.
DIY fabric paint with acrylic paint
Want to transform your existing acrylics into fabric paints? No worries! Just mix them with our Fabric Medium to make them suitable to use on textiles.
Mix the medium with any standard, medium-bodied acrylic paint at a 1:1 ratio to alter the formula so it moves with your fabric and prevents flaking. Once your design is dry, just heat-set like regular fabric paint and you’re good to go.
Fabric painting step-by-step
Let’s walk you through how to paint on fabric permanently, so your creations stay in place once you’re done.
1. Get Ready
Start with clean, dry fabric. We’d recommend washing and drying your base before you start the paint job, as factory-fresh fabric may have chemicals, dust, or grime still on the fibres that can affect paint binding.
To give yourself some stability and prevent colours bleeding through to the fabric beneath, slip some cardboard under the layer of fabric you’re working on.
2. Mix Colours
Our paints are crafted for clean and simple mixing. Blend your paints on and off the palette to create unique colour combos. If you’re working on a dark fabric, you may find painting a white base layer helps your colours pop as you apply them, saving time layering paint to reach your desired opacity.
3. Apply Paint
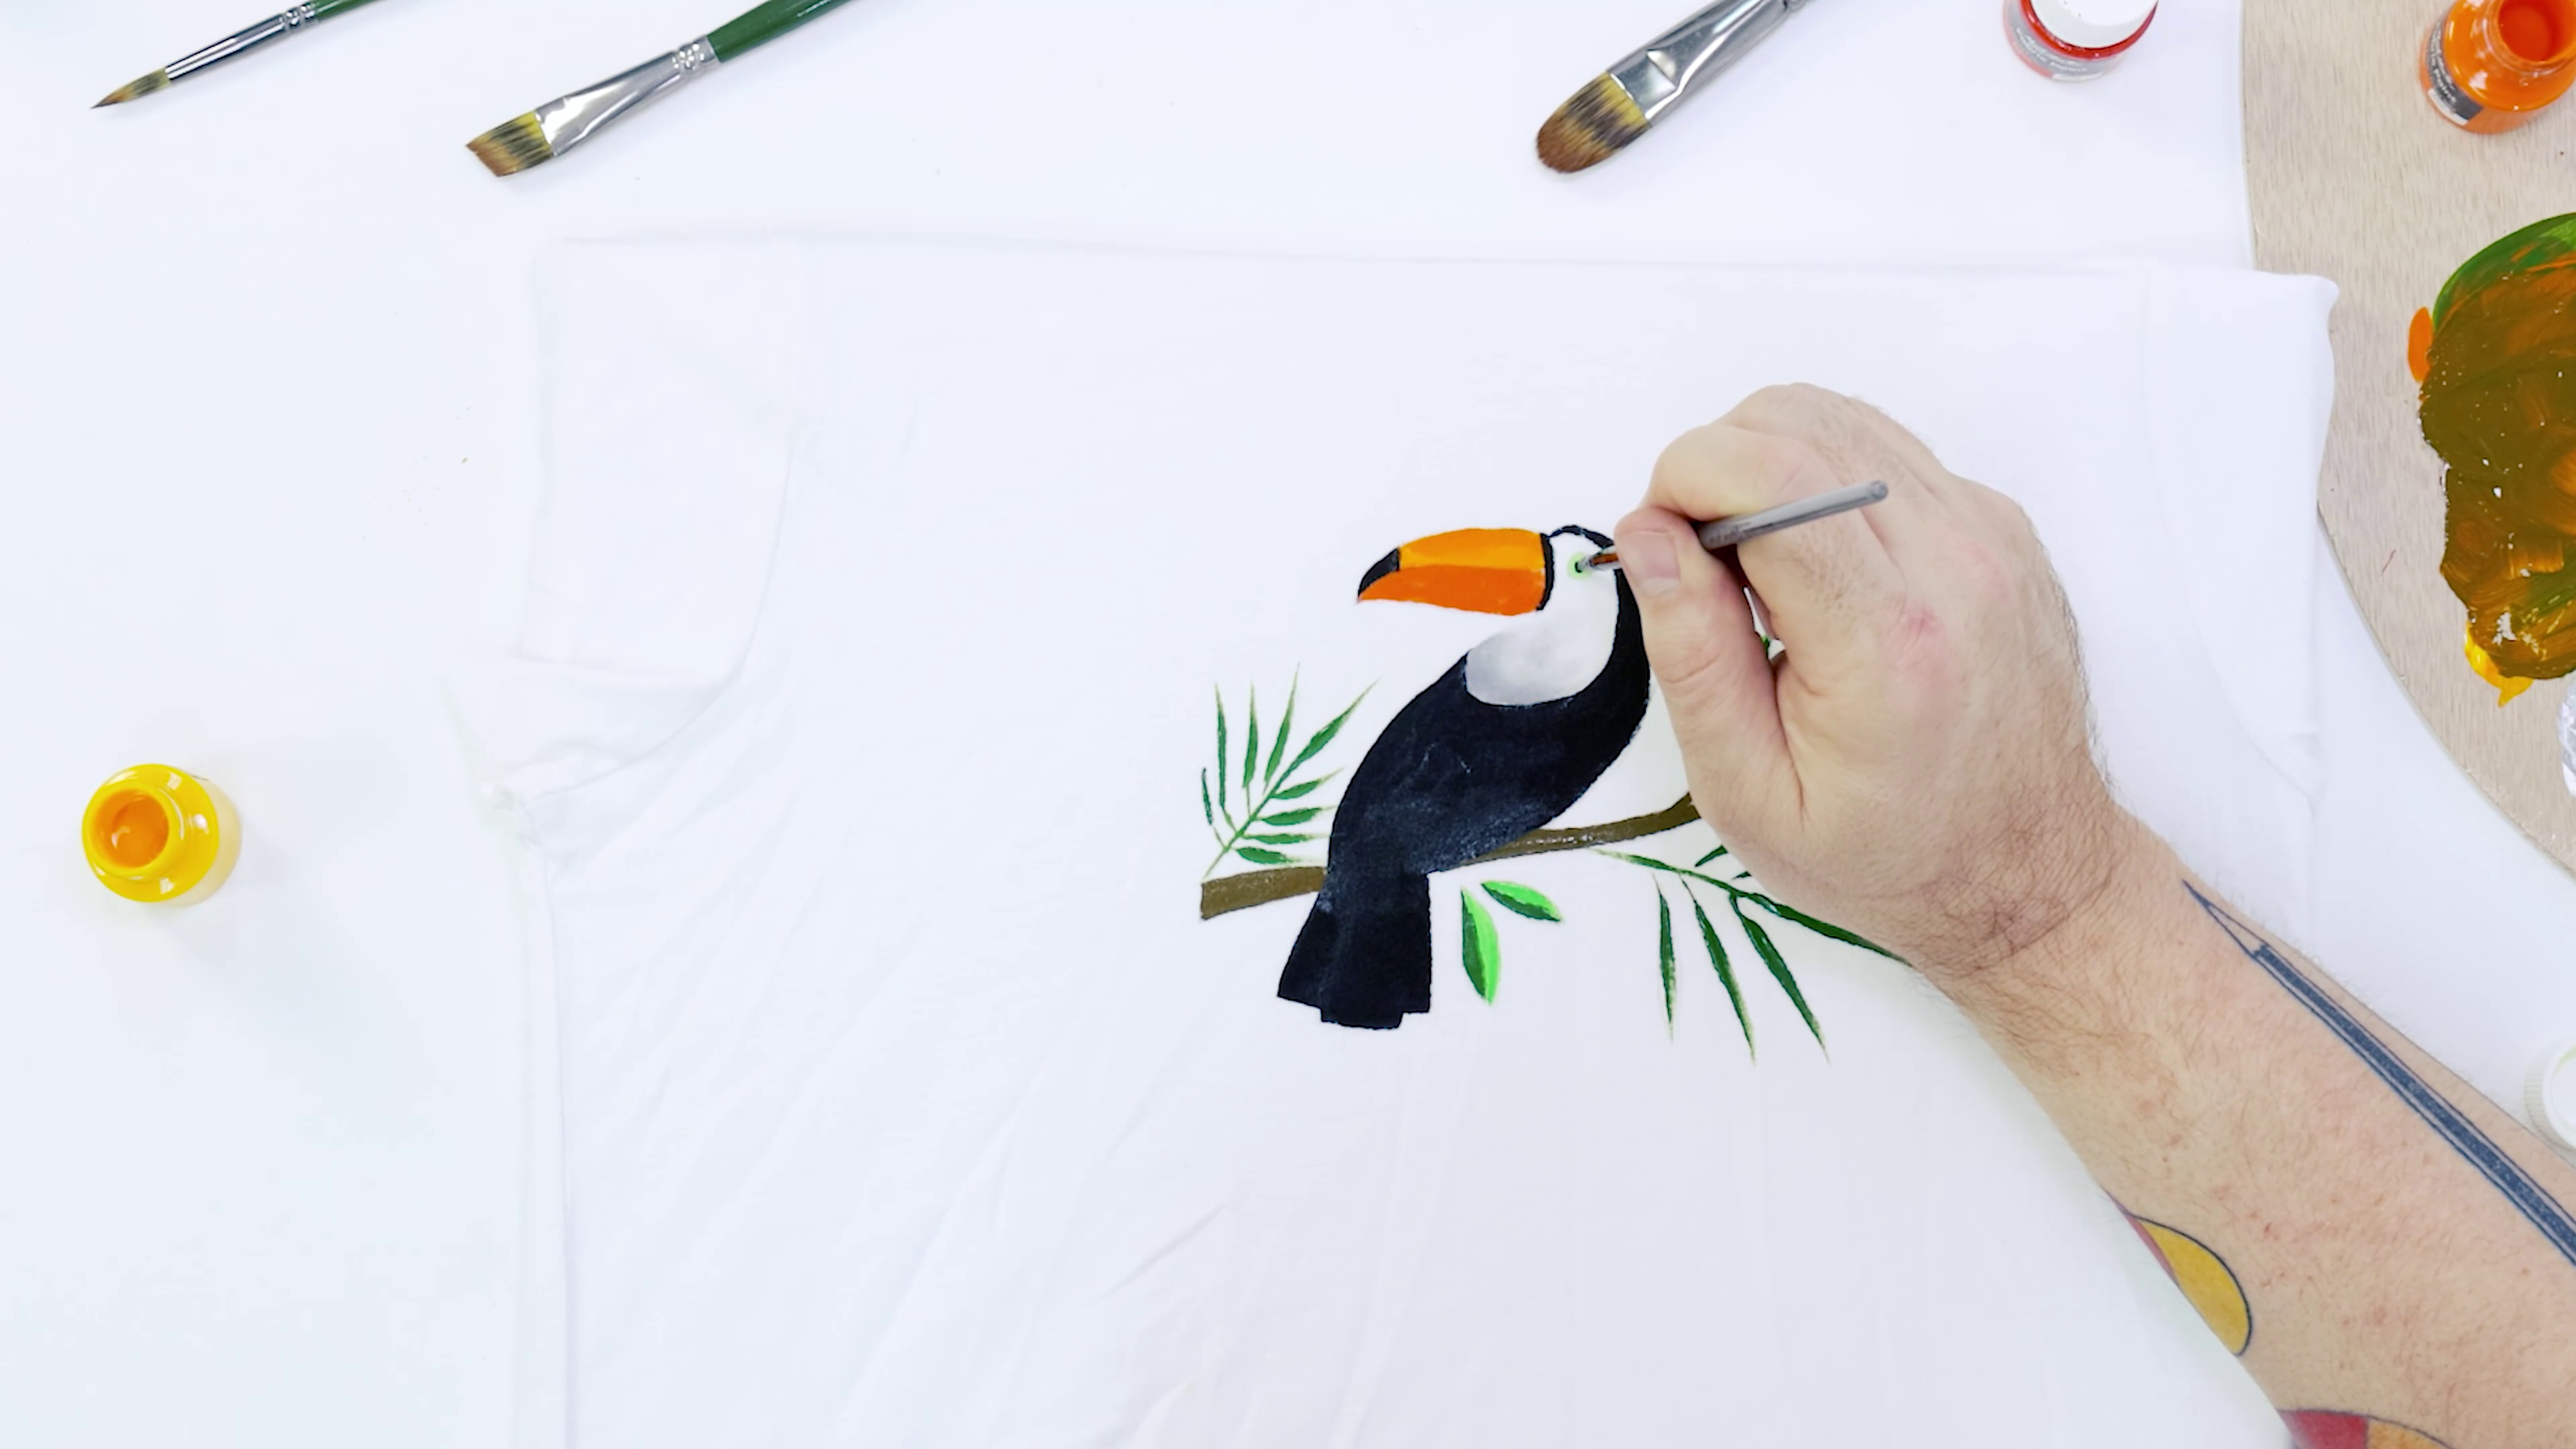
Take a moment to envision your creation, then squeeze a bit of paint onto a palette or directly onto your fabric. Whether you opt for brushes, applicators, fingers, markers, or other tools, the aim is to apply the paint where you want it to go. Embrace the joy of experimentation, trying out different techniques to discover what resonates most with your artistic style.
Keep your paint layers thin and even for the longer lasting results. Once each layer is dry, you can add additional coats to increase the opacity of your colours.
Heat setting paint on fabric
Heat setting fabric paint is simple. Wait until your artwork is 100% dry before placing a piece of cloth over it. Iron the design through the cloth for 3-5 minutes on a low heat setting (approx. 100°C) to fix the paint to the fabric. This keeps it in place and makes sure it won’t come away when you wash the garment.
Best way to stencil on fabric
Now, let's talk techniques, namely: stencilling! Stencils are great for painting a shape accurately on your fabric, so you don’t have to freehand precise outlines. They’re also handy for recreating repetitive patterns, like animal prints or geometric designs.
Start by cutting your stencil shape into Watercolour Paper, cardboard, or thin plastic. Secure it to your fabric using gaffer or painter’s tape, making sure to stick it down firmly so it doesn’t move.
Apply the fabric paint within the stencil openings, making sure to saturate your design area evenly for a bold result. Lastly, carefully peel off the stencil, and let the paint dry completely before heat-setting as usual.
Stamping fabric paint
Stamping is like giving your fabric a little tattoo – just plonk your stamp into some paint and away you go! Whether you have some stamps sitting around at home, or want to create your own, the choice is yours. Carrots can be used for creating neat circles and potatoes can be cut into specific designs using a knife or a cookie cutter. Our Creative Clay can also be moulded into unique shapes and designs that are great for DIY stamping.
To get a feel for it first, try stamping on paper before you tackle fabric. Dip your stamp into the paint, or for more control, add paint directly to the stamp using a sponge, and press it onto the fabric firmly. Lift it carefully and allow the design to dry before heat setting to keep it in place.
Freehand fabric painting
Feeling wild and free? Try drawing your designs straight onto the fabric without a guide. You might just find the experience liberating.
Pick your tool of choice – brushes, markers, fabric sticks, sponge applicators, or even your fingertips. Experiment with strokes, blend colours, and layer paint like you're creating a fashion masterpiece. The sky is the limit when you create freehand so it’s a good skill to practice.
You may also find mixing techniques help when adding details to your designs, such as free handing facial expressions on stencilled animals. It’s all up to your imagination but if you need some pointers, check out this fabric paint techniques article!
How to wash fabric paint
Your painted fabric deserves a spa day too, so we’ll spill the best washing method to keep your designs safe. The good news is – you can use your washing machine!
Providing you have heat-set your paints, simply turn the garment inside out and wash it on a gentle, cold cycle. That’s it!
Now you know all about using fabric paints, you’re ready to upcycle textiles at home. Have a go and tag us on Instagram or Facebook @montmarteart or use #montmarteart.
Looking for more lessons and techniques? Explore our Tips & Techniques collection, or else browse Projects for your next big idea.
To stay up-to-date with the latest projects, inspo, tips, and tricks, join our Creative Connection community by signing up down below.


