


Create a nautilus shell relief sculpture with polymer clay
If you’re looking for a crafty weekend project, this relief sculpture of a nautilus shell is so realistic and fun to make. Using our polymer clay and acrylic paints, you can create a stunning sculpture to hang as a focal point on your wall. Follow along with our step-by-step guide and video below!
Extra materials you will need:
- A drill with a 3mm drill bit
- 4 small round head screws
- 2x30mm screws
- Screwdriver
- Pliers
- Hobby knife
- Scissors
- Tape
- Sandpaper
- Wire coat hanger
- Aluminium foil
Prepping the frame
Firstly, flip over the 30x 30cm painting board and lay it flat on your workspace. Pop a round head small screw in each corner. As the armature will be held in from behind the board through holes, these will provide some space so the board sits flat on the table.

Creating the shell outline
Download and print the shell outline under “Resources” on the tutorial webpage – this will be very handy. Cut the shell outline to size so that it fits inside the frame. Shade the backside with the 6B pencil, flip the sheet over and centralise the printout inside the frame. You can then transfer the outline by re-tracing the line work with your pencil.

Next, drill two holes using a 3mm drill bit on each side of the shell outline (see picture below for placement). Moving back over to your workspace, lay the outline sheet down and bend the coat hanger around the profile of the outline. Mark the position of where each wire meets the base of the shell with your pencil. Finally, bend the wire with pliers at the marked points and snip to a length of 30mm from the bend point.


Take your wire outline and insert it into the two holes in your frame (refer to picture below for placement). Flip your frame over and fold the wire at the bend.

Then, roll out the aluminium foil and fold it over six times. Mould it over the coat hanger and reshape it so that it forms a compound convex shape. Once you are happy with that shape, cut off the excess foil.

Create a ball of aluminium foil and fit it to the underside of the shell, just under the first sheet and knock it into shape. You can use the handle of your pliers to gently shape the shell.

Once you are happy with the shape, fix two 30 mm screws through the ball of clay and into the base. This step is pretty important to ensure the shell is secure and won’t move around in the frame once hung on the wall.

Wrap some tape around the aluminium foil along the base to bind them together. Once you’re satisfied with the shape and feel the armature is secure, you can move on to adding the clay.

Adding the clay
The clay will need to be rolled into sheets so that it can easily lay over the armature. In this tutorial, we used a Mont Marte clay press on the largest setting to create a clay sheet 6mm thick. If you don’t have a clay press, just place the clay between two sheets of aluminium foil and flatten it out with a rolling pin to the desired thickness.

Join the clay sheets together and wrap around the aluminium foil, from the opening of the shell on the inside and outside. Polymer clay is quite sticky so it will adhere to the underside of the shell nicely. You can make a small cut in the clay sheet with your hobby knife to help the sheet fit under the opening of the shell.

It's a good idea to support the underside of the clay in the opening of the shell with your hand while you press the top layer of clay on. Press the clay together so there are no air pockets between the aluminium foil and the clay.

Then, cut away the excess clay to shape the outside profile of the shell and then on the inside.
Add another sheet of clay over the aluminium foil ball into the mouth and then blend into the clay already down with a flat modelling tool. Once you’re done, cut away the excess.

Baking & refining the sculpture
Smooth out the clay with your flat modeling tool and then bake it following the instructions on the clay packaging. We baked it for 30 minutes at a temperature of 130 degrees Celsius or 266 degrees Fahrenheit. This will be the first baking.
Once the sculpture is removed from the oven, let it cool down. You can then add clay to any surfaces you feel are uneven. In this tutorial, we refined the central area of the shell so that there is a smooth transition from the large part of the shell around into the small part inside the mouth.


You can add a small amount of water to help smooth it out too. Once you’re happy with the shape, bake the sculpture a second time for 30 minutes at the same temperature as the first bake.
Remove the sculpture from the oven and allow it to cool again. When you’re ready, sand the sculpture to level out any uneven and rough patches. Remove any dust around the shell to prepare the area to be painted.

Painting the shell
Squeeze out some Titanium White and Burnt Sienna to create an orange-beige shade and paint this over the whole shell and allow it to dry. Tip: you can use a hairdryer to speed up the drying process.

To create the beautiful stripes of the nautilus shell, pure Burnt Sienna and a touch of Burnt Umber. Mix in a touch of water so that the paint flows smoothly.
You can then start painting the stripes at the base of the shell and apply thinner stripes at the centre of the shell. In this tutorial, we have paid close attention to the colour guide print out to make the stripes look as authentic as possible. Once you’ve covered the shell in stripes, set it aside to dry.

As Burnt Sienna is a semi-opaque colour, you can apply an additional thin layer over each stripe to enhance the pigment. Again, allow it to dry once you’re finished.
Pour out some more Burnt Umber and mix with a little water. You can then scrub this onto the central area of the shell as a tint.

To make the stripes pop, add some Titanium White in between the stripes and fade out closer to the centre of the shell.

To finish off the centre of the shell, take a small amount of Lamp Black and paint into the area under the central point. Allow it to dry before moving onto the last part of the shell.

Squeeze out some Pearl White and paint this over the black centre. You can apply a second coat once the first is dry. Well done, you’ve finished the shell!

Painting the frame
In this tutorial, we have used Lamp Black to carefully paint around the shell and up to the edge of each wood bar but feel free to choose your own colour. It’s a good idea to use a large flat brush and add a little water to help the paint flow smoothly.
This final step is optional, but if you would like to emulate the look of a stain on the frame, create a very watery mix of Burnt Umber lay over the frame. If you can’t see the grain of the wood, just add more water.

If you try this project, we'd love to see it! Snap a photo and Hashtag montmarteart or tag us on Instagram or Facebook @montmarteart.
Material List
- Painting Board Premium 30.5 x 30.5cm (12 x 12in)
- Satin Acrylic Paint Premium 75ml (2.5 US fl.oz) Tube - Titanium White
- Satin Acrylic Paint Premium 75ml (2.5 US fl.oz) Tube - Lamp Black
- Satin Acrylic Paint Premium 75ml (2.5 US fl.oz) Tube - Burnt Sienna
- Satin Acrylic Paint Premium 75ml (2.5 US fl.oz) Tube - Burnt Umber
- Dimension Acrylic Premium 75ml (2.5 US fl.oz) Tube - Pearl White
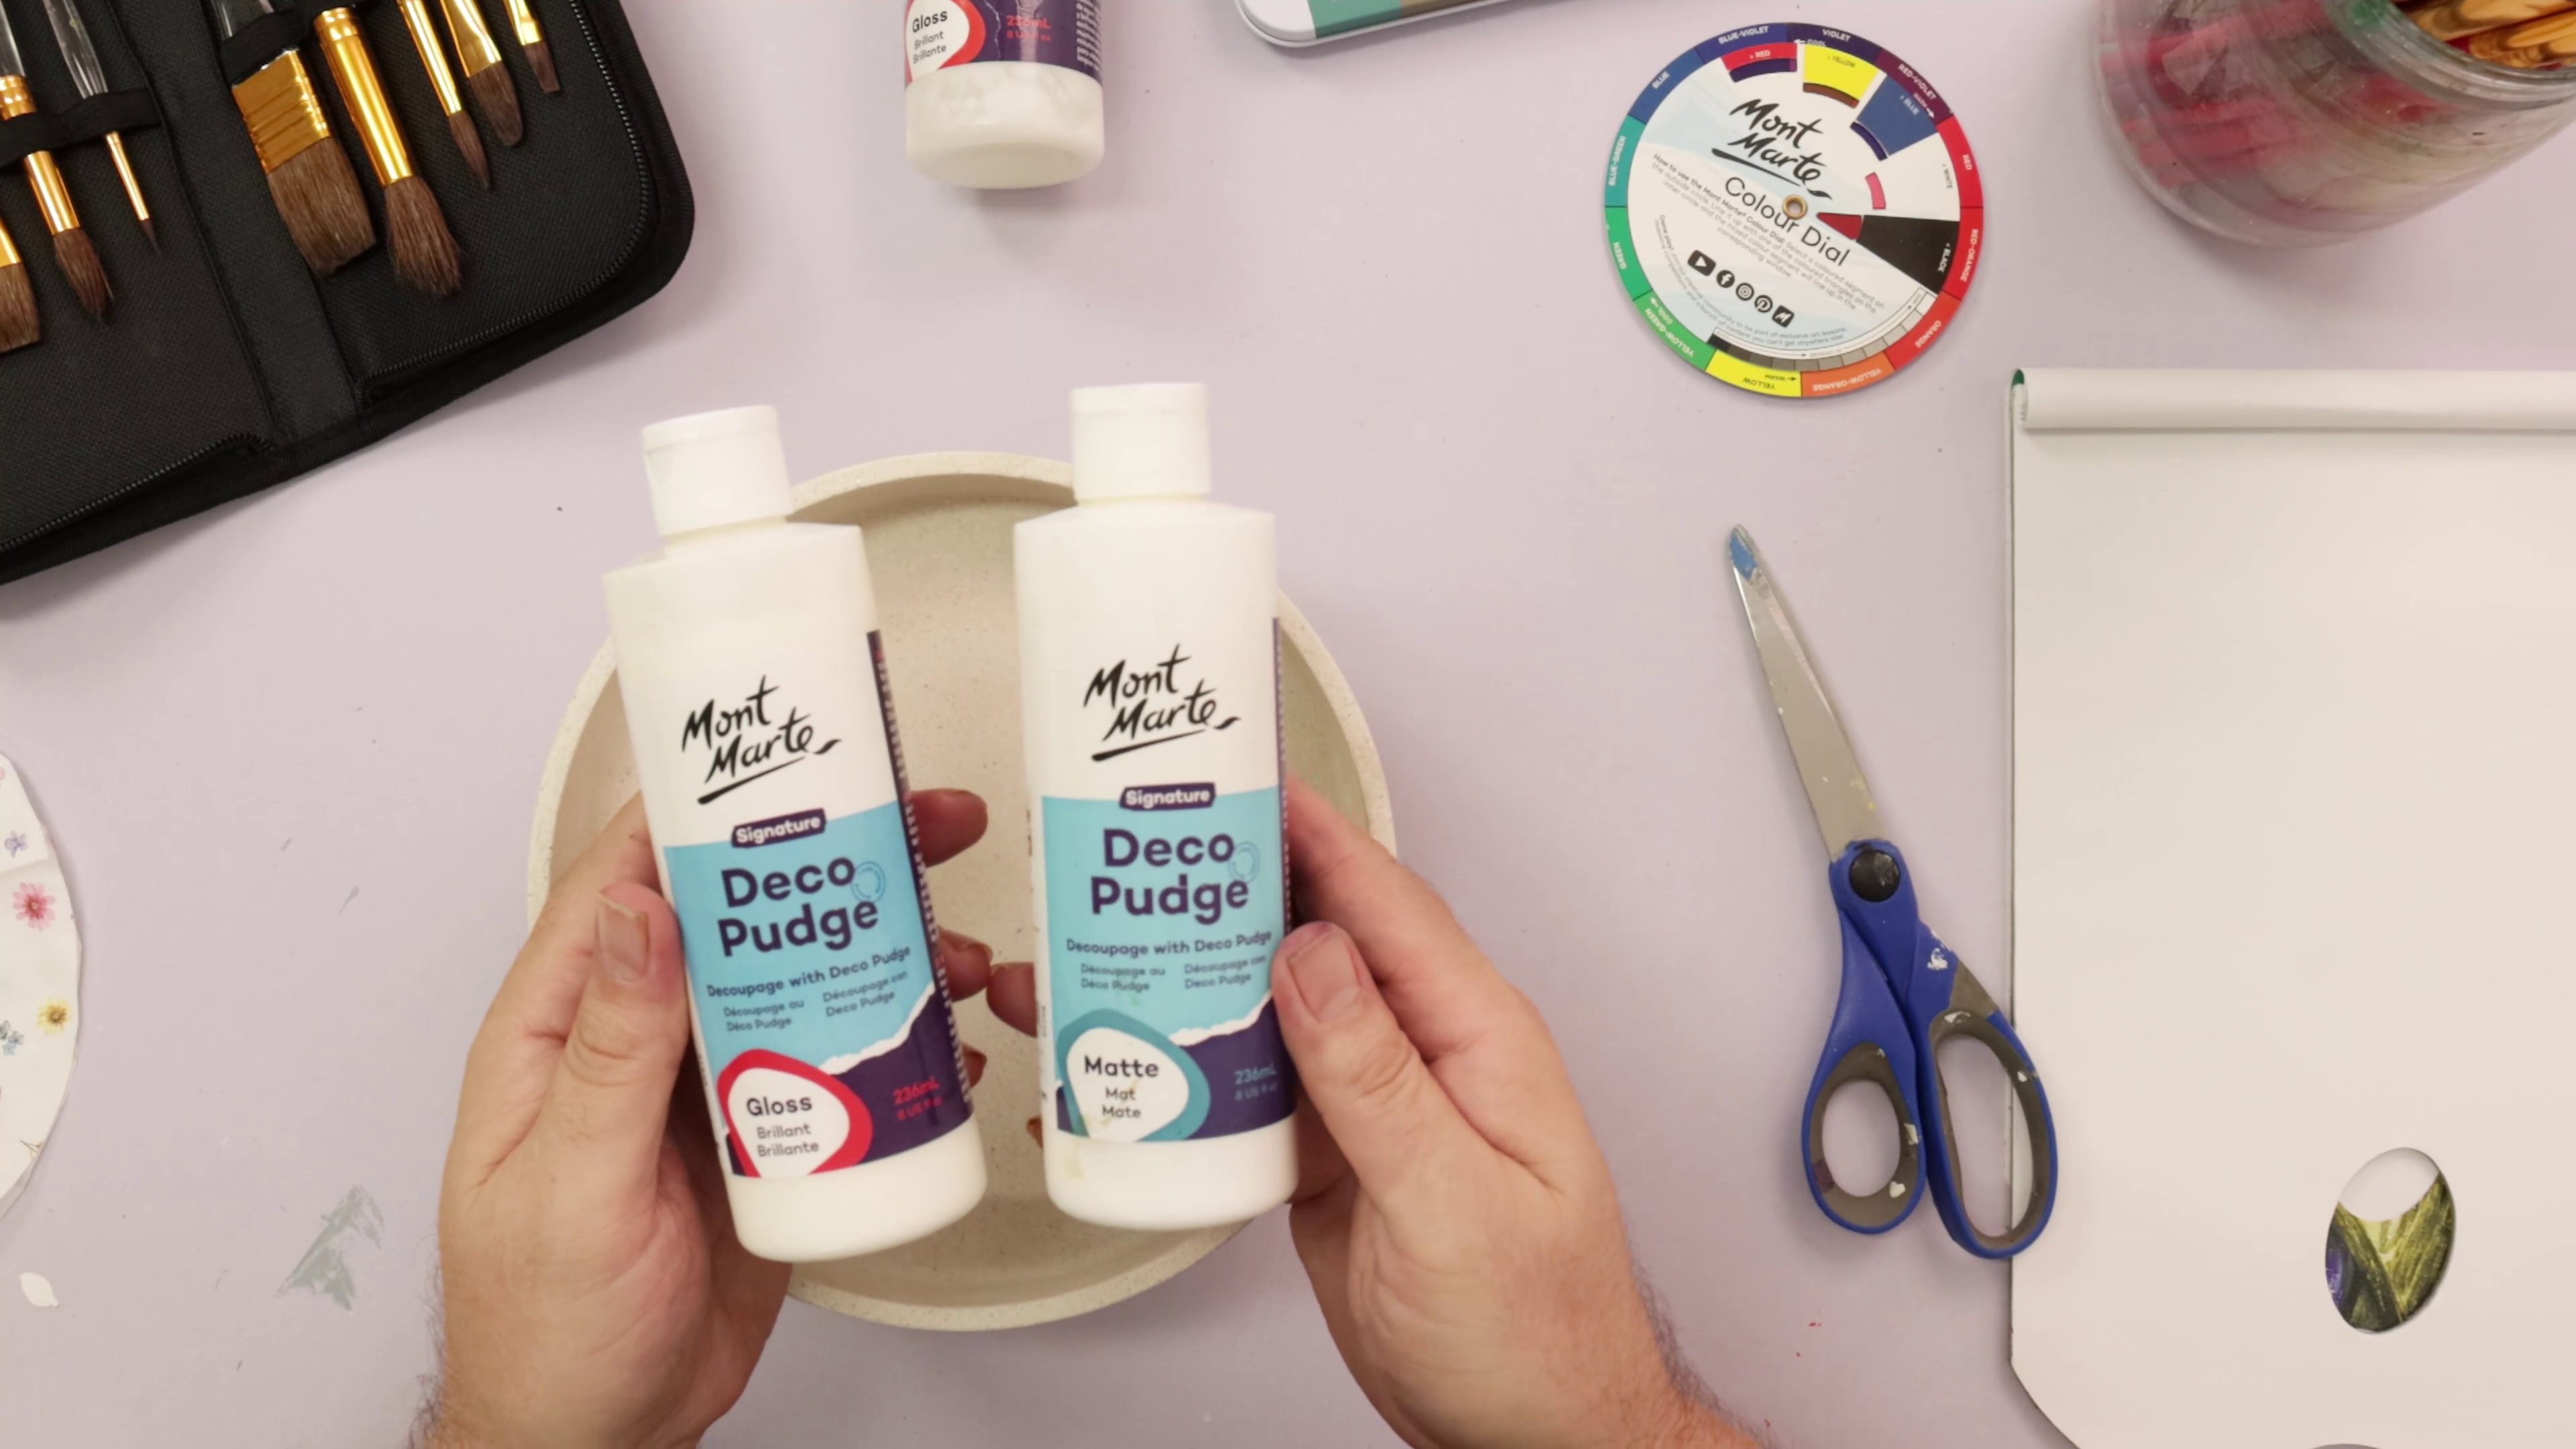
- Make n Bake Polymer Clay Signature 400g (14.1oz) - Titanium White
- Acrylic Brushes Signature 4pc
- Tear-off Paper Palette Signature 50gsm 36 Sheet
- Mini Modelling Tools Signature 10pc
- Drawing Set Signature 8pc
Shop Materials List
You may also like
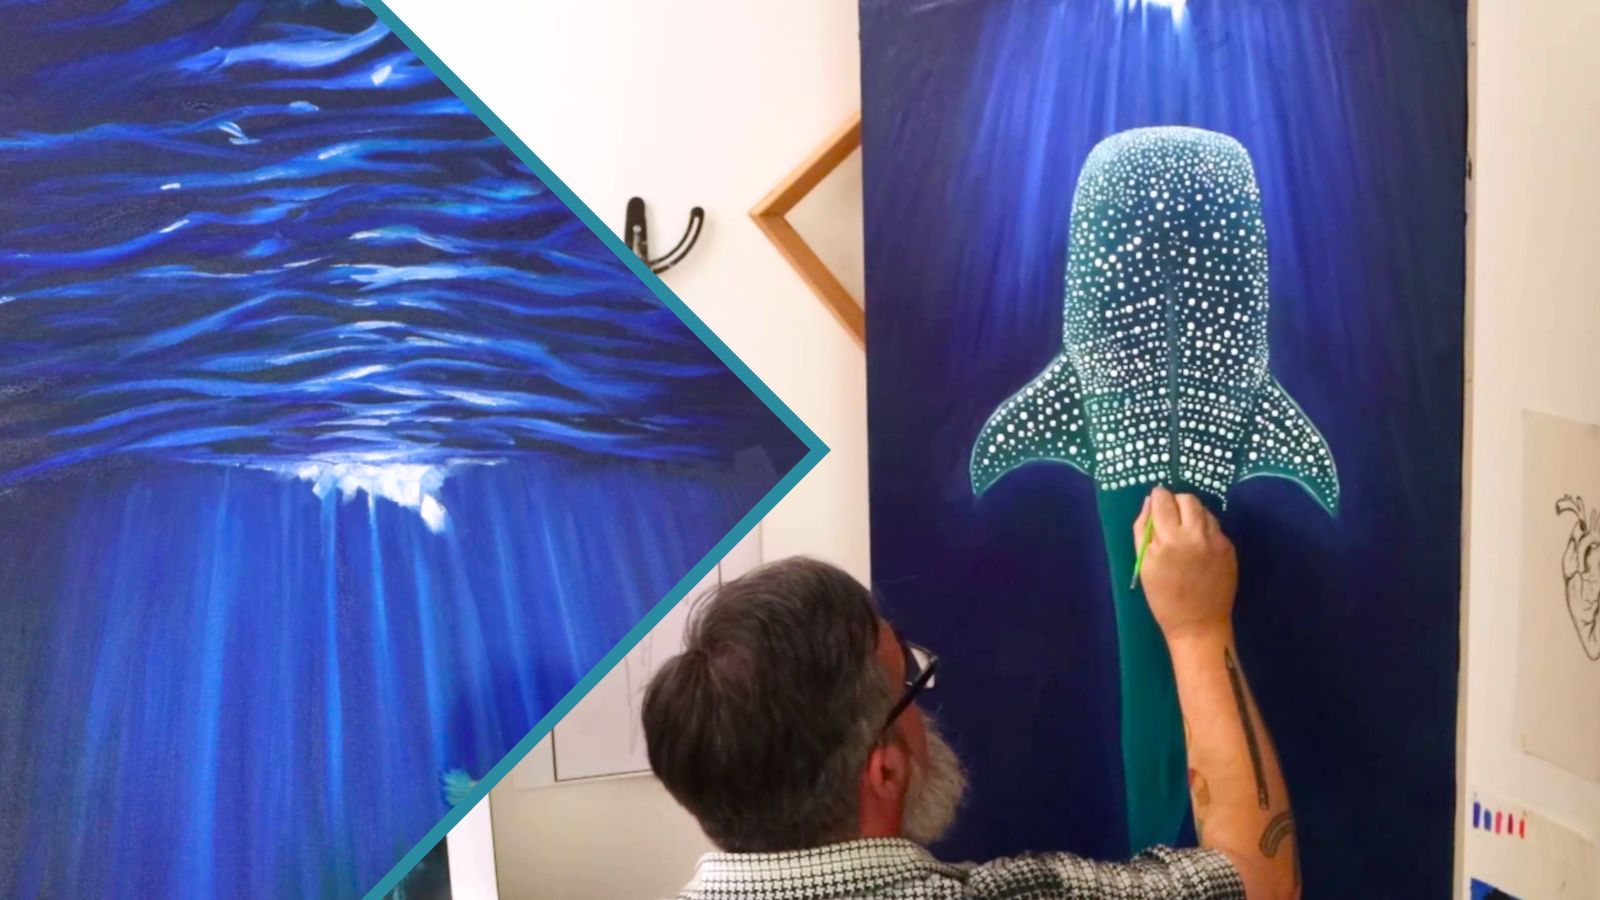
How to paint a whale shark
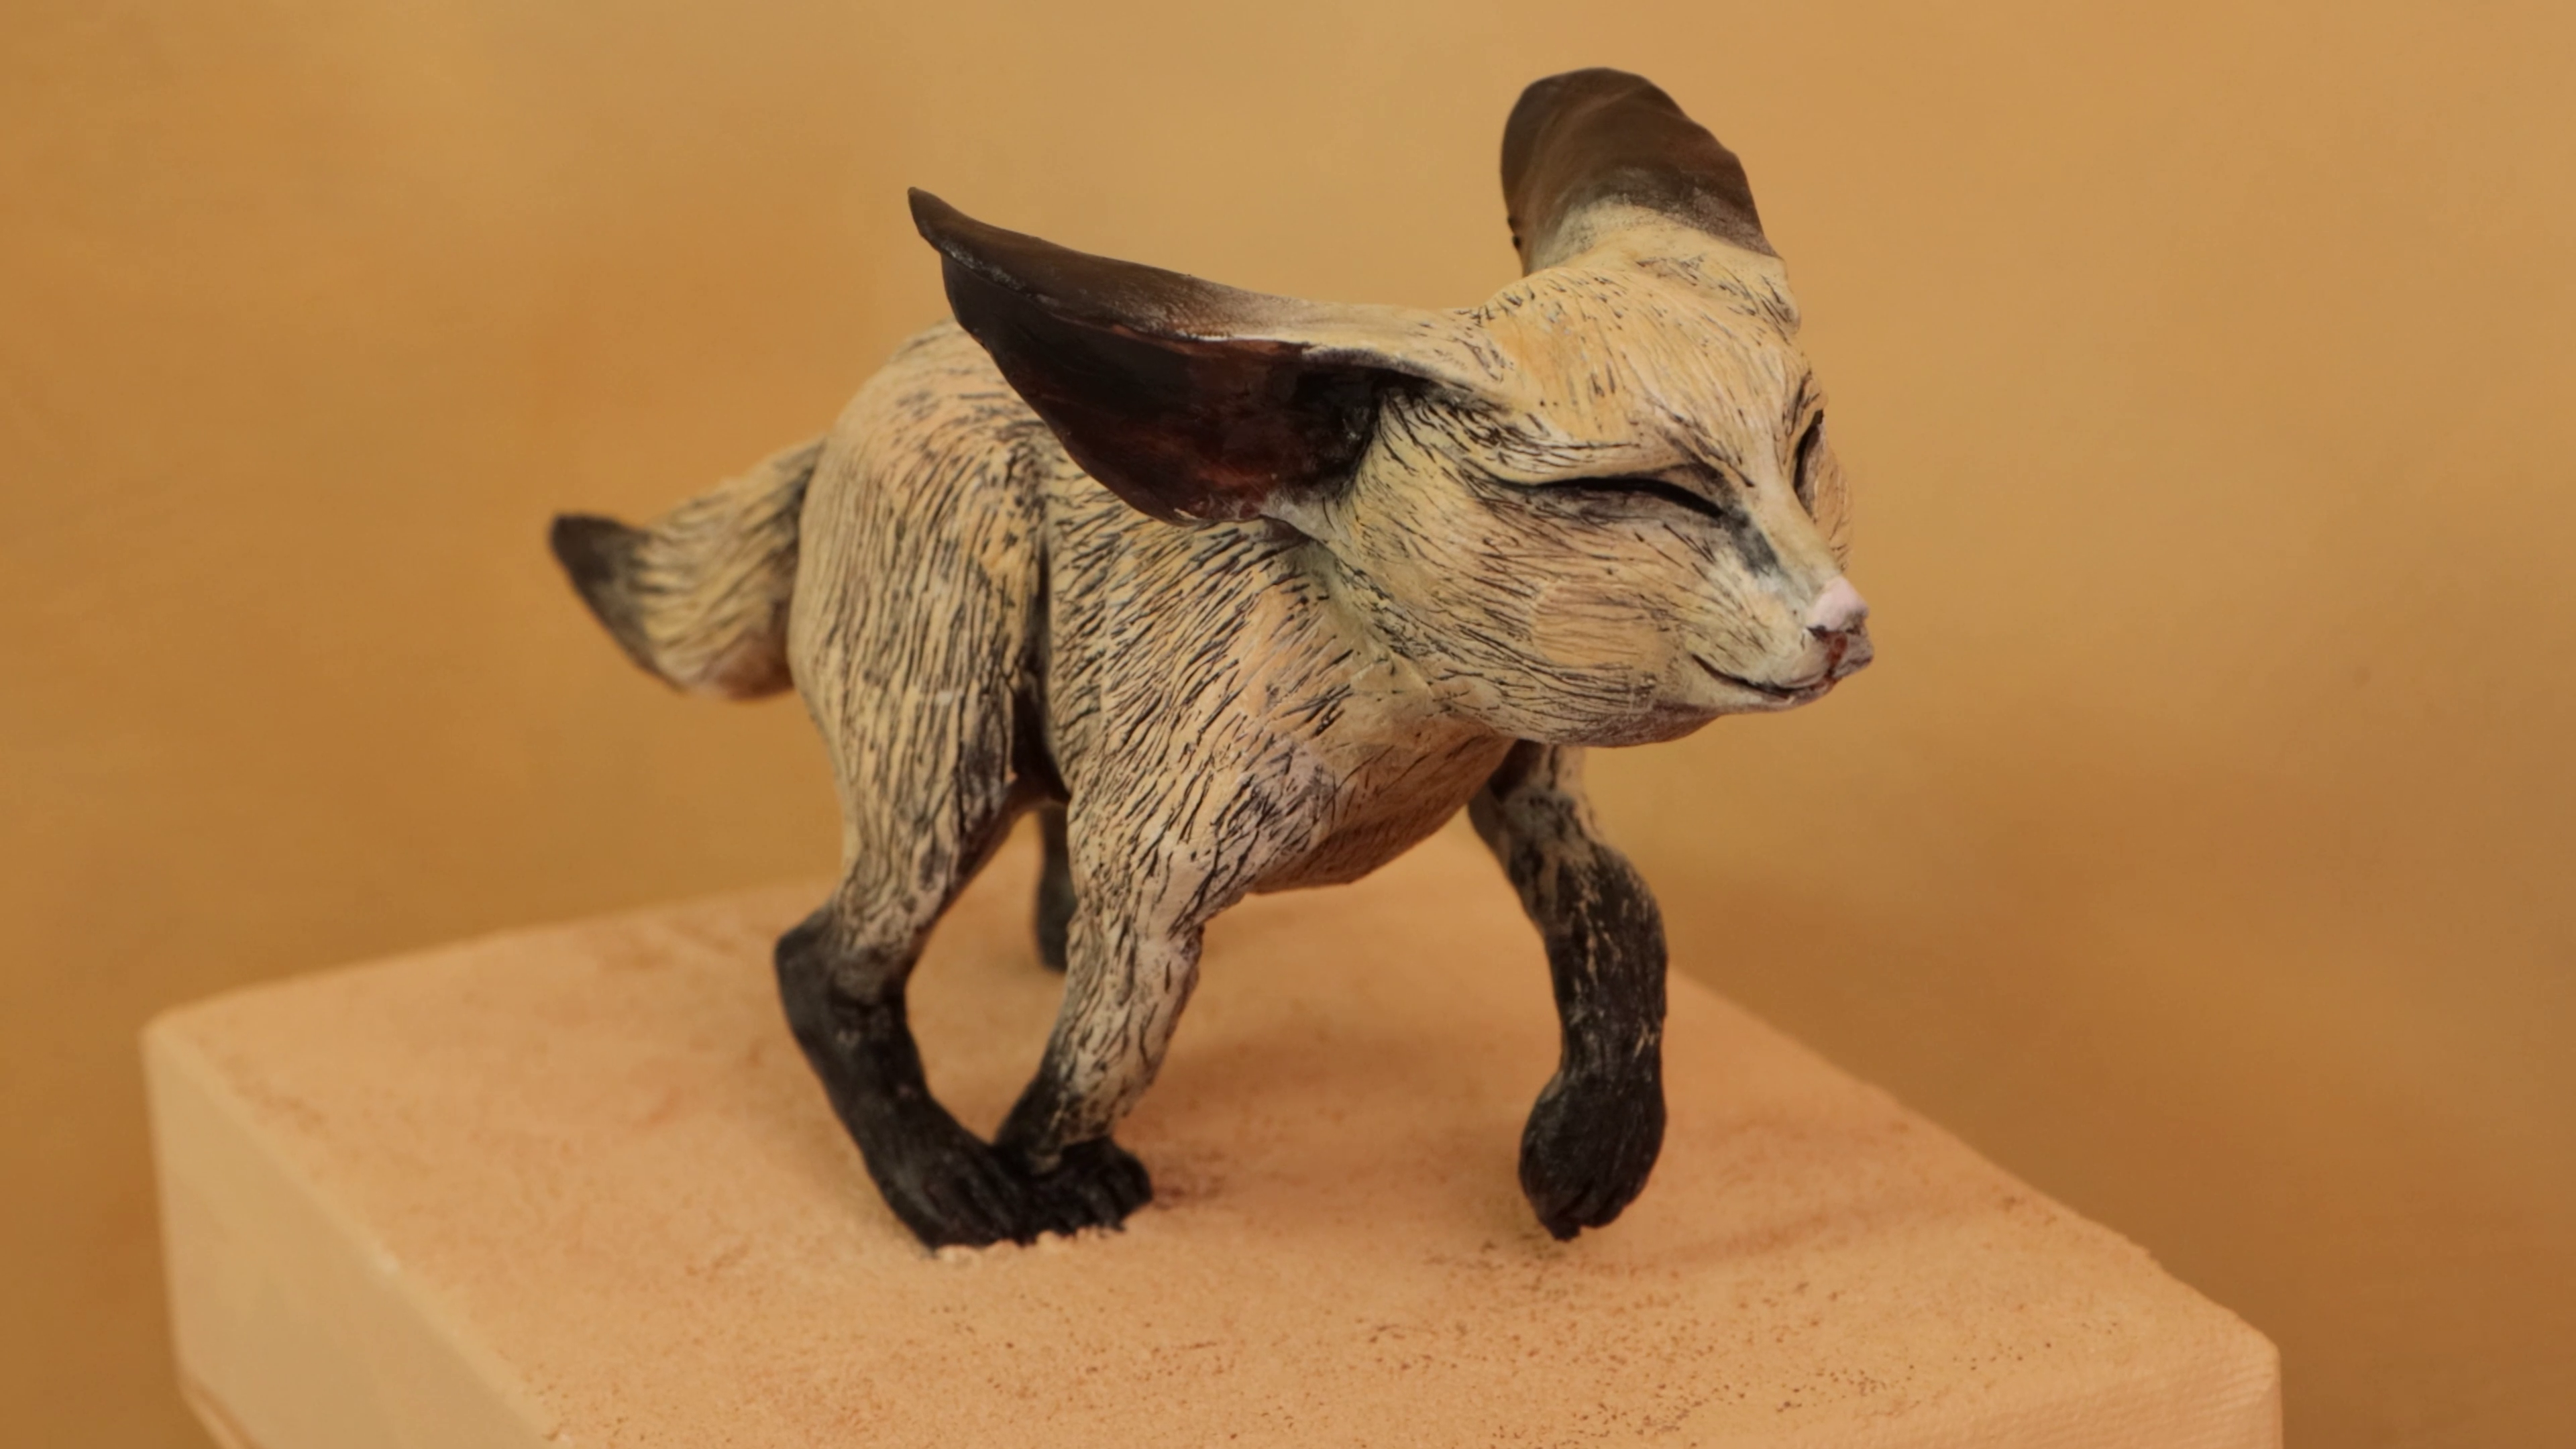
Polymer clay fox tutorial: painting
How to make a paint glaze with ceramic paints