Art projects don’t always go smoothly, but that’s where some useful art and craft hacks come in handy! Here are some common questions and quick fixes to help you tackle unexpected bumps in your creative process.
1. How to fix a dried-out marker?
Markers may dry out if they’re stored without the lid properly secured (it happens to the best of us!). If you’re using alcohol-based markers, remove the nib, add isopropyl alcohol to a dish, and submerge the nib in the alcohol. Leave it for 5-10min before popping it back into the marker body. It should be good to go again!
To revive a water-based marker, pop the nib out, pour a tiny bit of water into the marker, and then reinsert the nib. Replace the lid and shake the marker so the water spreads into the nib. This should revive the colour, although may dilute it just a little.
2. How to fix a torn canvas?
If your canvas has a tear, try this hack! Start by measuring the size of the tear before cutting a patch from scrap canvas. The patch needs to be larger than the damaged area. Curve the edges when cutting the patch – this makes them less likely to lift in the future.
Flip the canvas over so you’re looking at the back of the tear and trace around your patch where you want to stick it. Apply PVA glue to both the canvas and the patch, using a brush to get a nice even coat. Press the patch down, place a sheet of paper over the top, and weigh the spot down with something flat and heavy (like a book). Leave to dry and then paint over the patched area!
3. How to keep gouache from cracking?
Gouache can sometimes crack if applied too thickly. To avoid this, build up your layers slowly by applying thinner coats of paint and allowing each layer to dry before adding more. You can also mix a touch of water into the gouache to keep it flexible and thin. If cracking does happen, gently sand the area, then apply a thin layer of paint to cover the cracks.
4. How to fix cracked polymer clay?
Cracks in polymer clay are usually caused by uneven curing or clay that’s too dry. To fix cracks, mix a little bit of Plaster of Paris with paint that’s a similar colour to your design. Mix together until smooth and apply to the cracked area. Use a fine, soft brush to work the paste into the crack until it’s filled evenly and smoothly. Brush away any excess paste and then allow to dry completely. Check out this process in the video above!
5. How to fix a canvas dent?
Got a dented canvas? No worries! We’ve got a quick and easy fix to get you back to creating in no time. This simple trick can work wonders on both new and painted canvases.
First, flip the canvas over so you’re looking at the back of the frame. Soak a sponge in water and wring it out so it’s just damp. Place the sponge on the dented area of the canvas. If there’s any extra water, gently rub it into the fabric. Let the sponge sit for a minute or two – perfect time to grab a coffee or snack while you wait!
After a couple of minutes, remove the sponge, flip the canvas back over, and voilà! The dent should be gone, leaving your canvas looking fresh and ready for your next masterpiece.
To avoid future dents, use stretcher keys to keep the canvas tight. These handy inserts help pull the canvas tighter, reducing sagging or denting. Simply pop two keys into each corner of the frame and gently hammer them in. If you need a closer look, check out our tutorial video on how to use stretcher keys.
With this simple fix, you can now repair a dented canvas and keep your artwork looking its best!
6. My paint pen tip dried out. Help!
If your acrylic paint pen has dried out, don’t fret! You may be able to save it. Start by uncapping and gently removing the marker tip with tweezers or scissors. Snip the end off – it’s likely got dried paint clogging the flow. Reinsert the refreshed nib and reprime the pen to get the paint to the tip. The finished result might not be quite as perfect as a new pen, but it’ll give it a second life!
7. How do I fix warped watercolour paper?
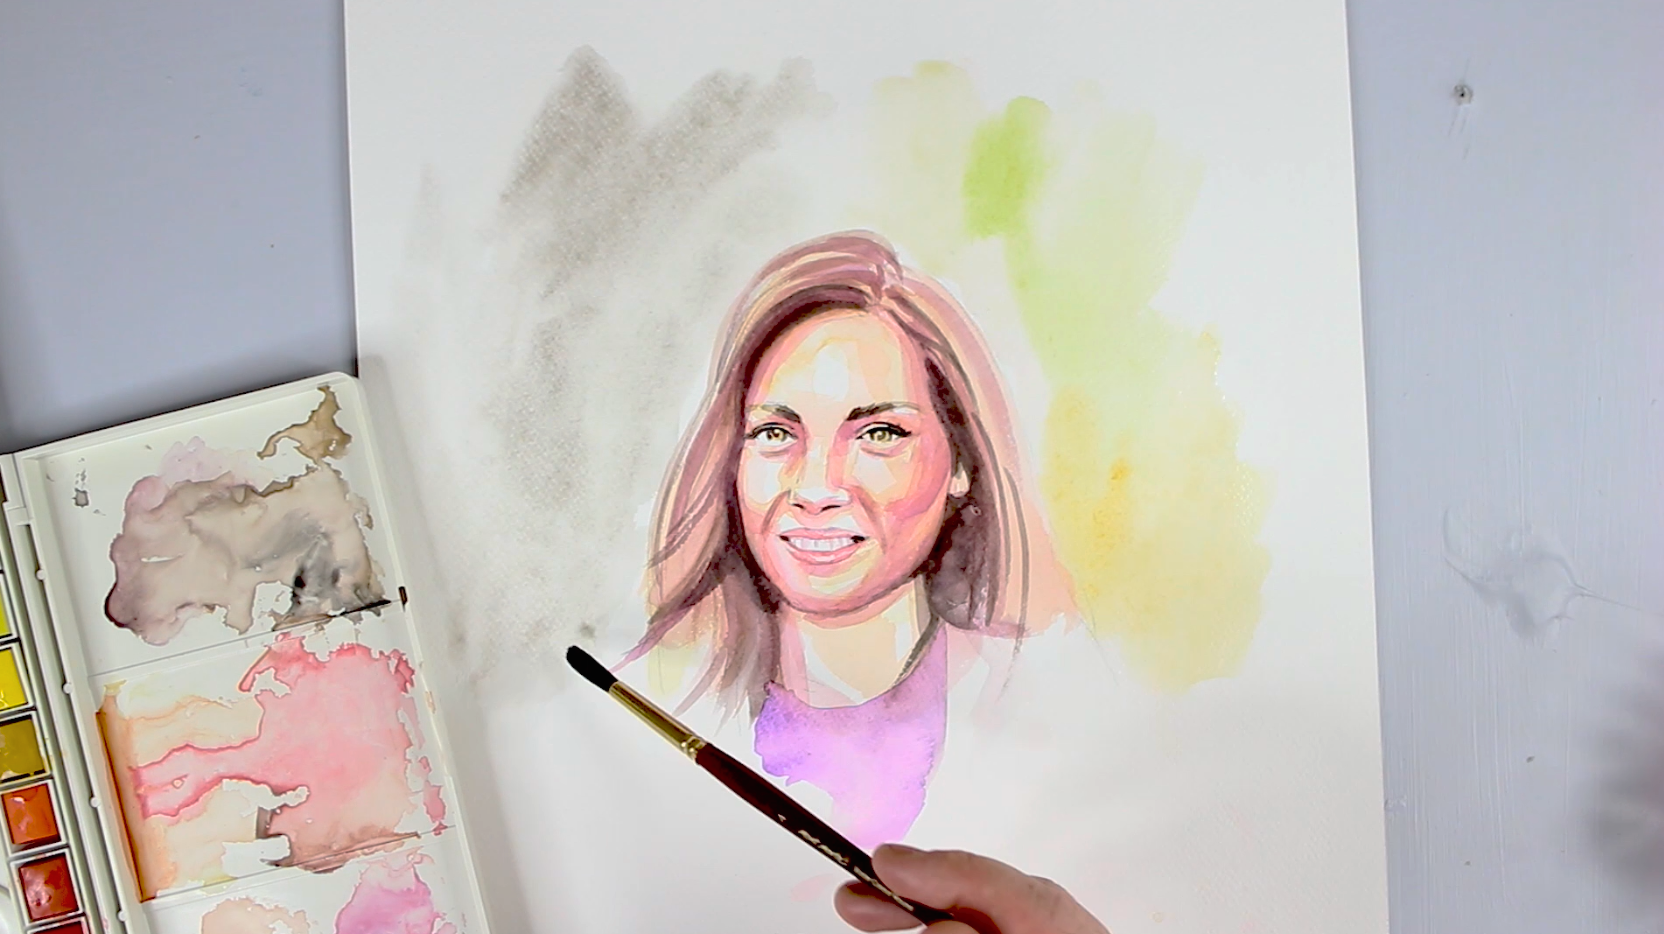
Watercolour paper can be a little frustrating as it buckles and warps very easily when drying. Dampen the back of your warped paper with a spray bottle or damp sponge. Place the paper face-down onto a sheet of regular paper larger than the size of your artwork. Add another piece of regular paper or a towel on top, then weigh it down with books and leave to dry overnight. Voila! Paper fixed.
8. How to stop paint brushes from shedding
If your brushes are shedding, we recommend following these easy steps! Before using them for the first time, spend some time cleaning the brush with warm soapy water. Gently use your fingers to massage the bristles, as some additional bristles may get caught up in the brush head during manufacturing. Rinse the brush thoroughly and continue this process until the bristles stop releasing.
Leave the brush to dry flat or upside down so that water doesn’t pool in the ferrule. Water-damaged ferrules can result in bristles escaping and shedding while you work. Once dry, you store your brushes upright, so the bristles maintain their shape.
Clean your brushes immediately after use, to prevent paint drying in the brush head. This will keep your bristles in top condition, so they last longer! Always be gentle while washing so as not to loosen the brush glue.
If the brush continues to shed, simply grab some pliers and squeeze the ferrule together tightly. This will help your bristles stay in place and keep their form.
9. How to fix cracks in air-dry clay?
Air-dry clay can develop cracks as it dries, but these are easy to fix. Start by wetting a brush and moistening the cracked area with water. Fill in the area with soft, fresh clay, smoothing it out with your finger or a brush. Allow it to dry completely and ta-da the crack should be gone! This technique works for both large and hairline cracks. Sealing your clay project after it’s done can also help prevent future cracking.
10. How to paint evenly?
Check out the video above for a few tips on painting evenly. A good starting place is to prime your surface with Gesso for a smooth base. Pick brushes that are an appropriate size and with soft bristles (like taklon or squirrel hair). Mix your colours very thoroughly until completely combined – that way the colour doesn’t look streaky when applied. Lastly, pick up the right amount of paint for your stroke – too much will look blotchy and not enough will look patchy. You can also add Flow Medium to your acrylics for a more fluid application.
There’s more tips in the video so give it a watch!
With these art hacks in your toolkit, you’ll be ready to tackle any challenges and keep your creative process flowing smoothly! If you do get creating, #montmarteart or tag us @montmarteart on Instagram or Facebook. We’re excited to see what you come up with!
For art ideas, explore our Projects and How-tos. If you’re looking for more answers to commonly asked questions, jump into our FAQs collection.
Stay up to date with the latest Mont Marte news, info, products, projects, and more by subscribing to Creative Connection down below. Simply enter your email to get loads of free art lessons and inspo sent straight to your inbox.


