


Air dry clay photo holder
1. Create the inner arch
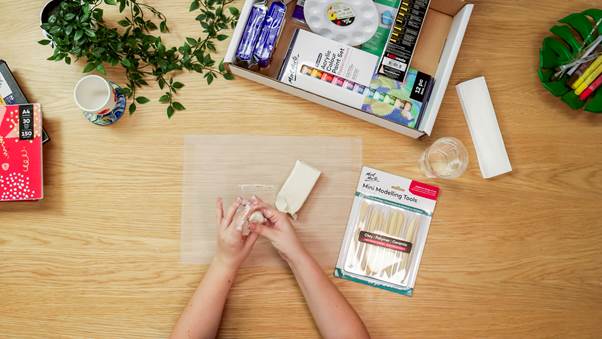
- Open the 250g pack of clay and take a small lump of clay
- Roll into a small cylinder
- Chop in half to form a semi-circle
2. Make the outer arches
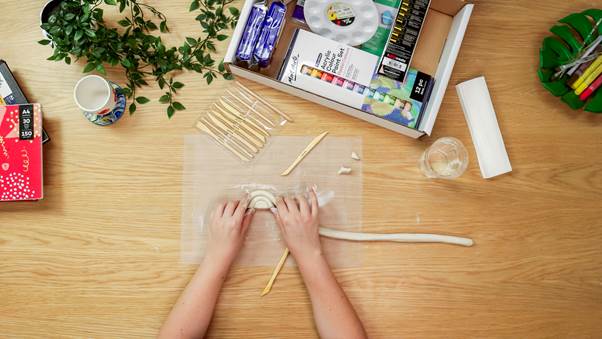
- Roll the remaining clay into a 2.5cm-thick tube
- Bend the clay into an arch over your semi-circle and cut to size
- Repeat for two more arches, layering over the top of the previous arch
- Press each arch into the next to join them
3. Slice and dry the rainbow
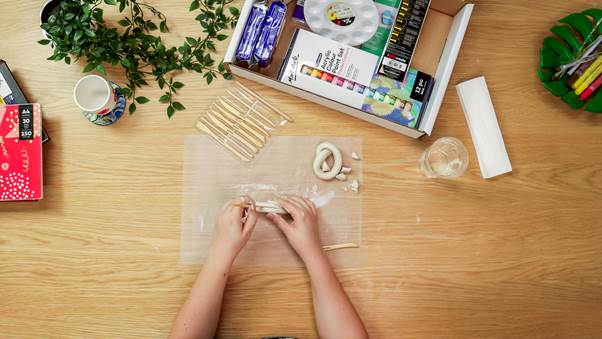
- Slice a slot at the top to fit your photo using a flat tool
- Smooth the clay with a wet finger or brush, then let dry for 24-48 hours
4. Paint the arches
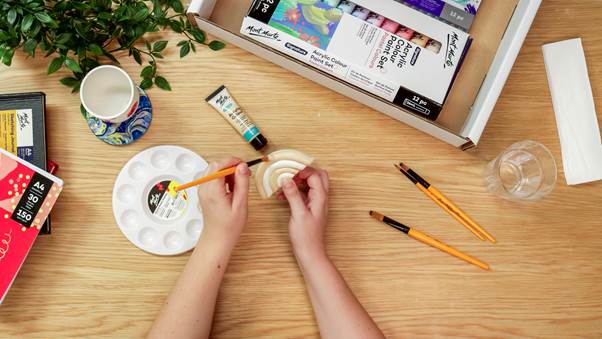
- Once dry, paint your holder with your favourite colours
- We used Pastel Taupe and left some arches natural
- Apply two coats so the colour pops
- Let dry between coats
5. Add the final touches
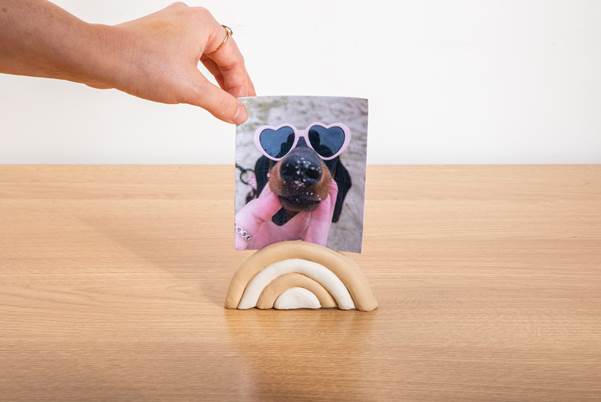
- Once fully dry, apply a coat of clay sealer with a large flat brush
- Add your pic and display!
You may also like

Cactus ring holder DIY

Acrylic watermelon slice painting with Jacklyn Foster

Air dry clay coasters