


Air dry clay trinket dish DIY
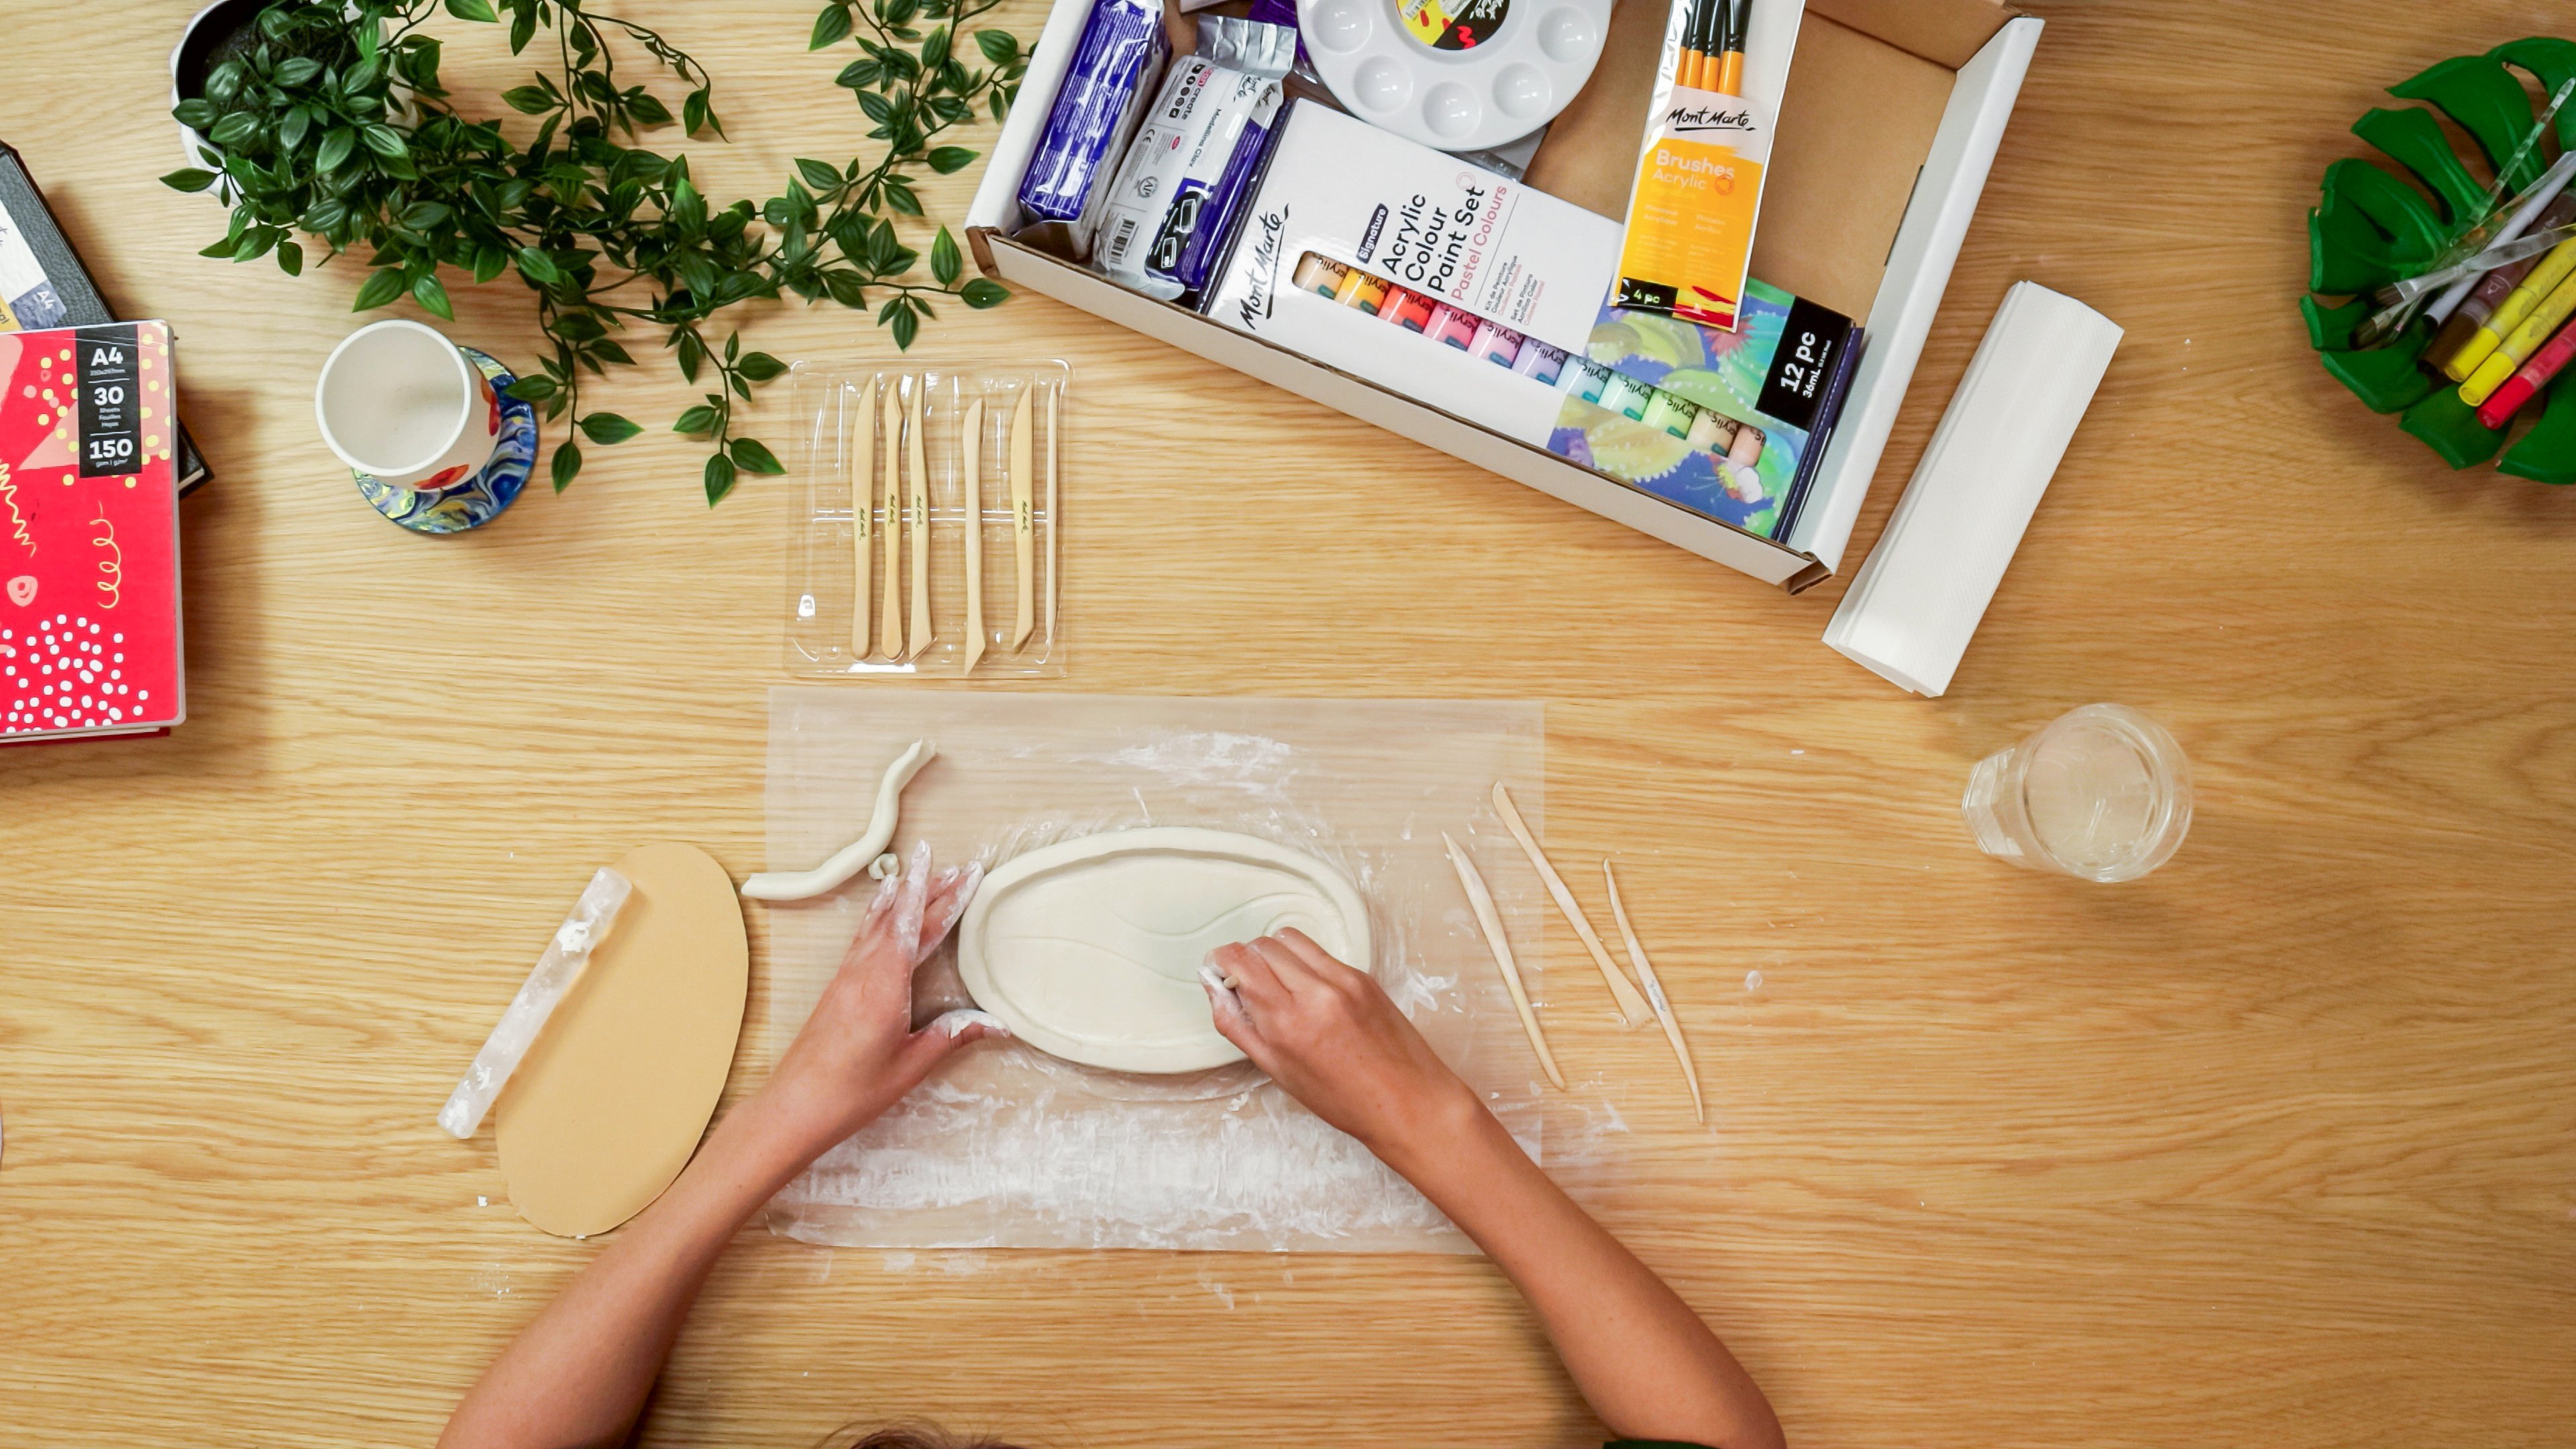
1. Shape the plate
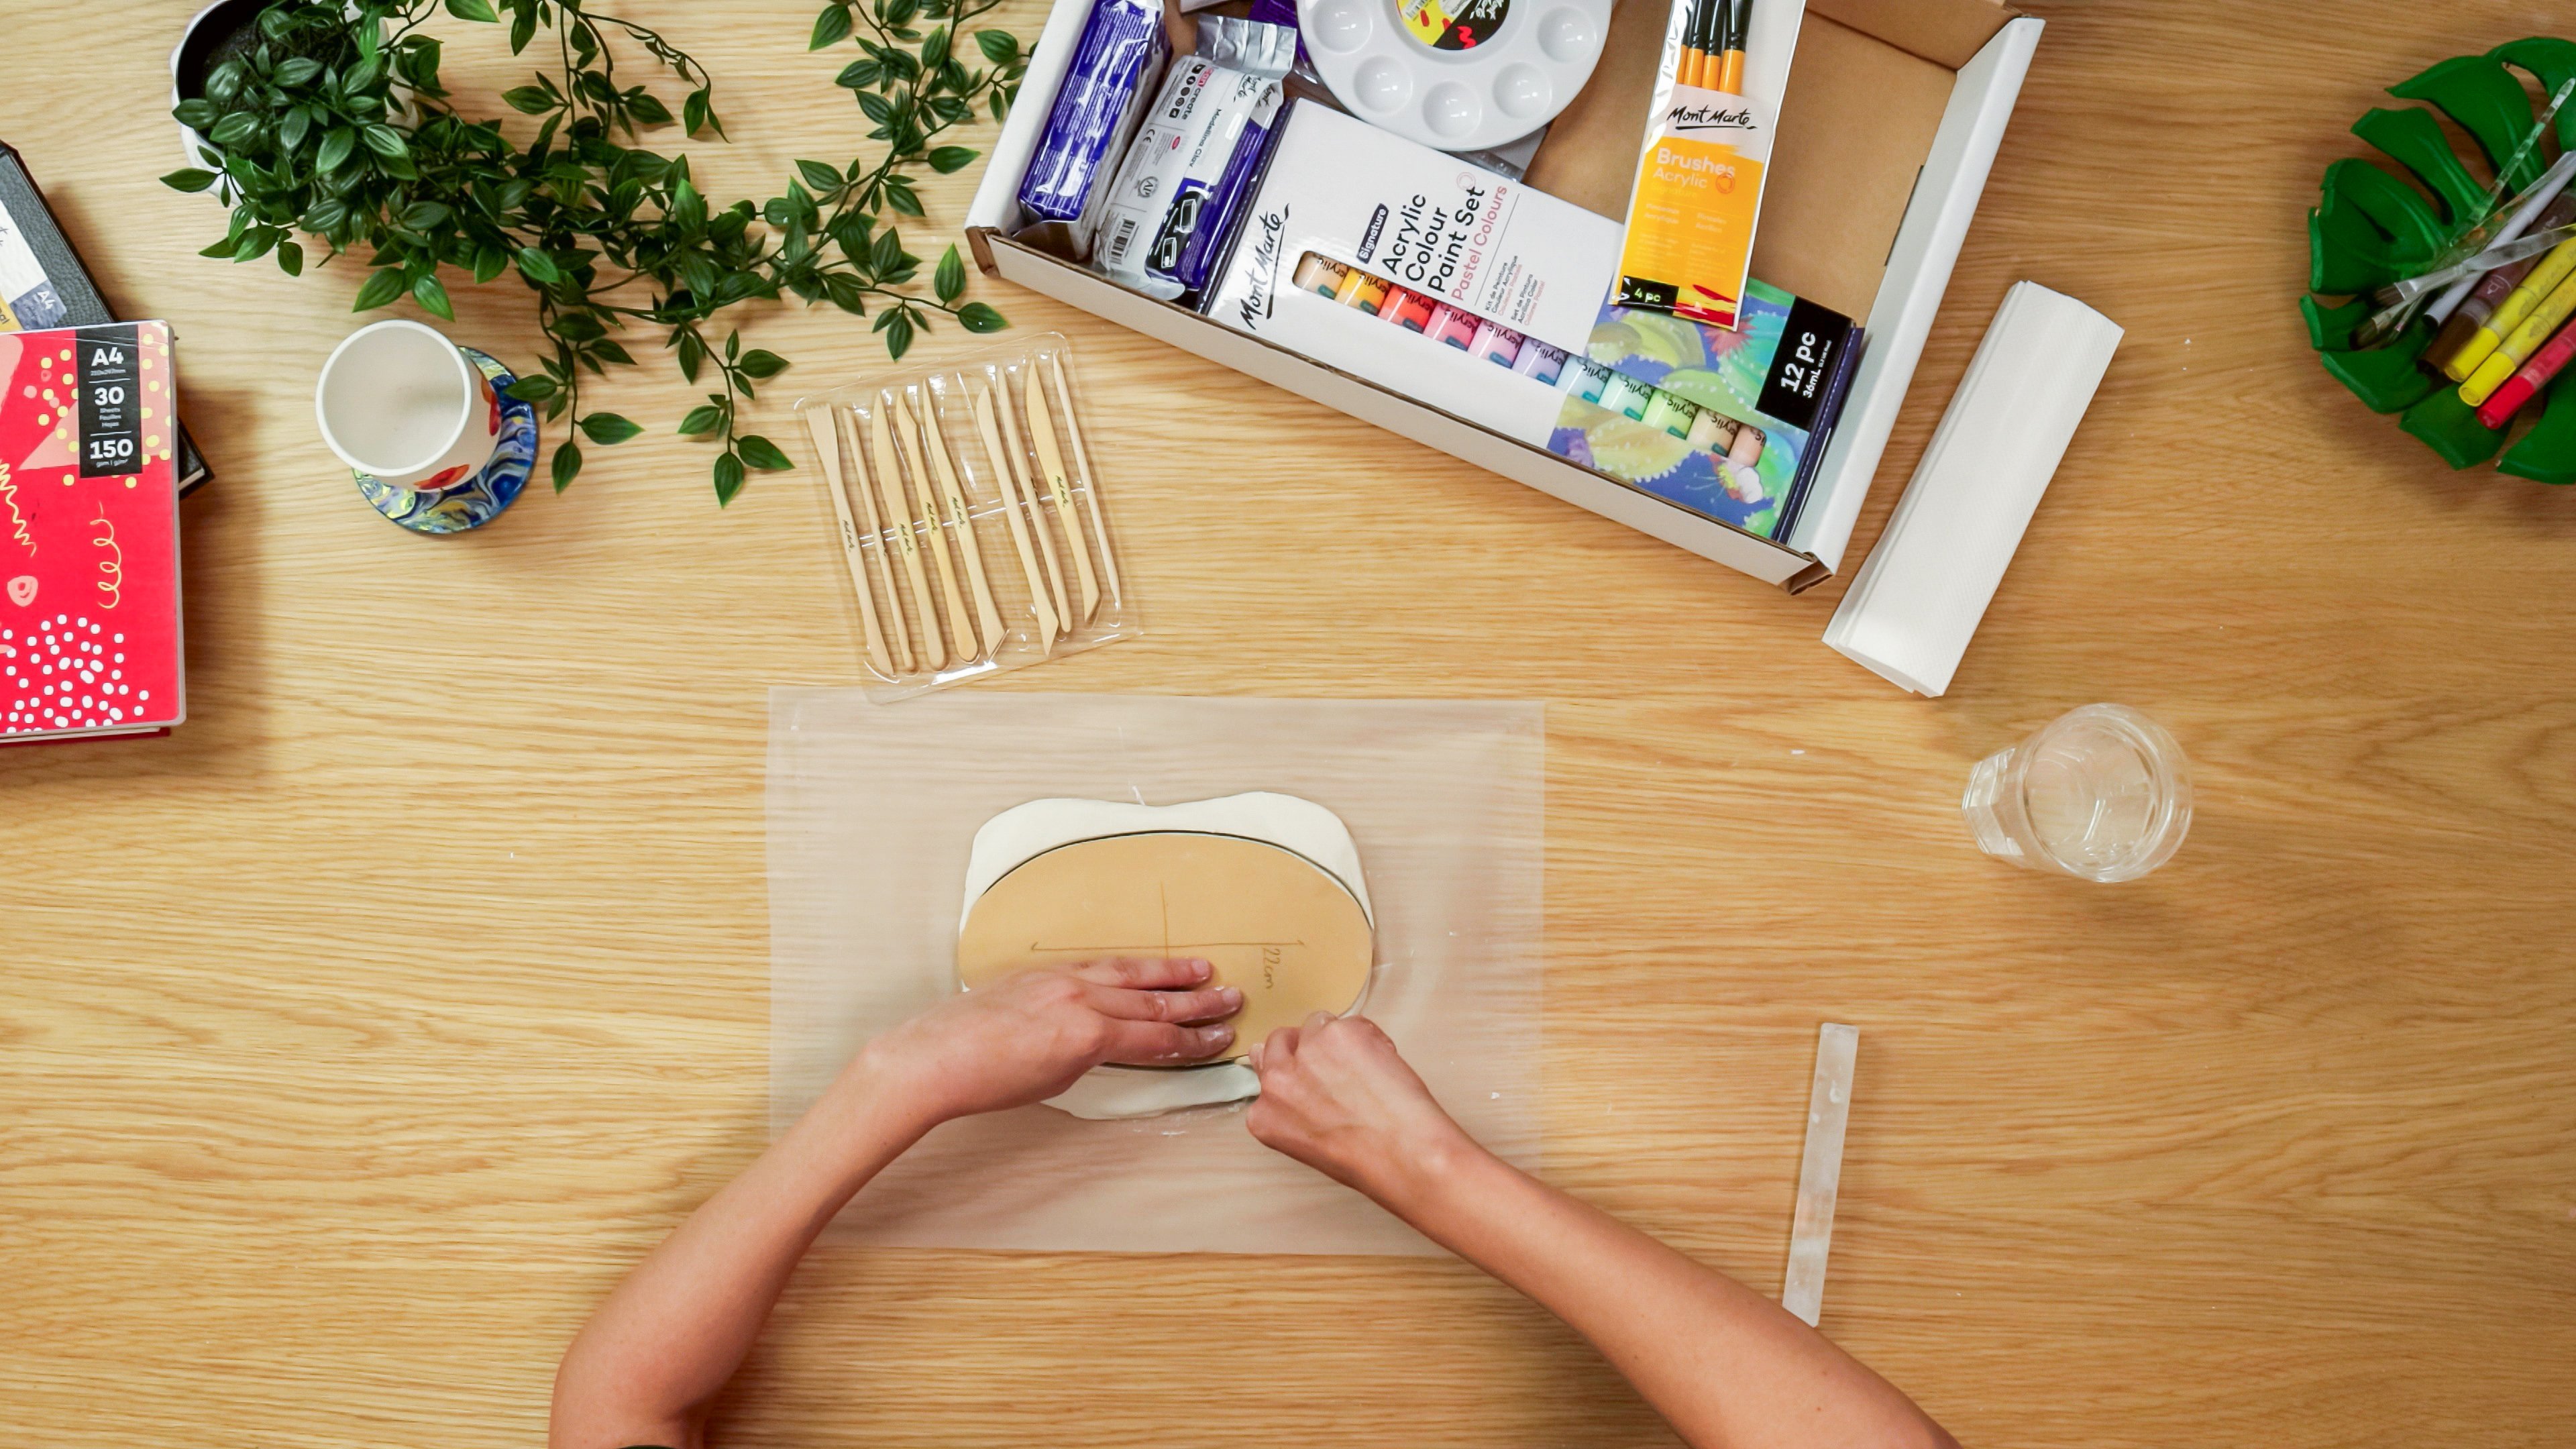
- Roll a 500g pack of clay into a 1cm thick sheet
- Use the provided template to cut out a 22cm x 12cm oval
- Using a clay tool, score a 1cm-wide border around the oval—this will help
attach the plate’s lip
2. Create the lip
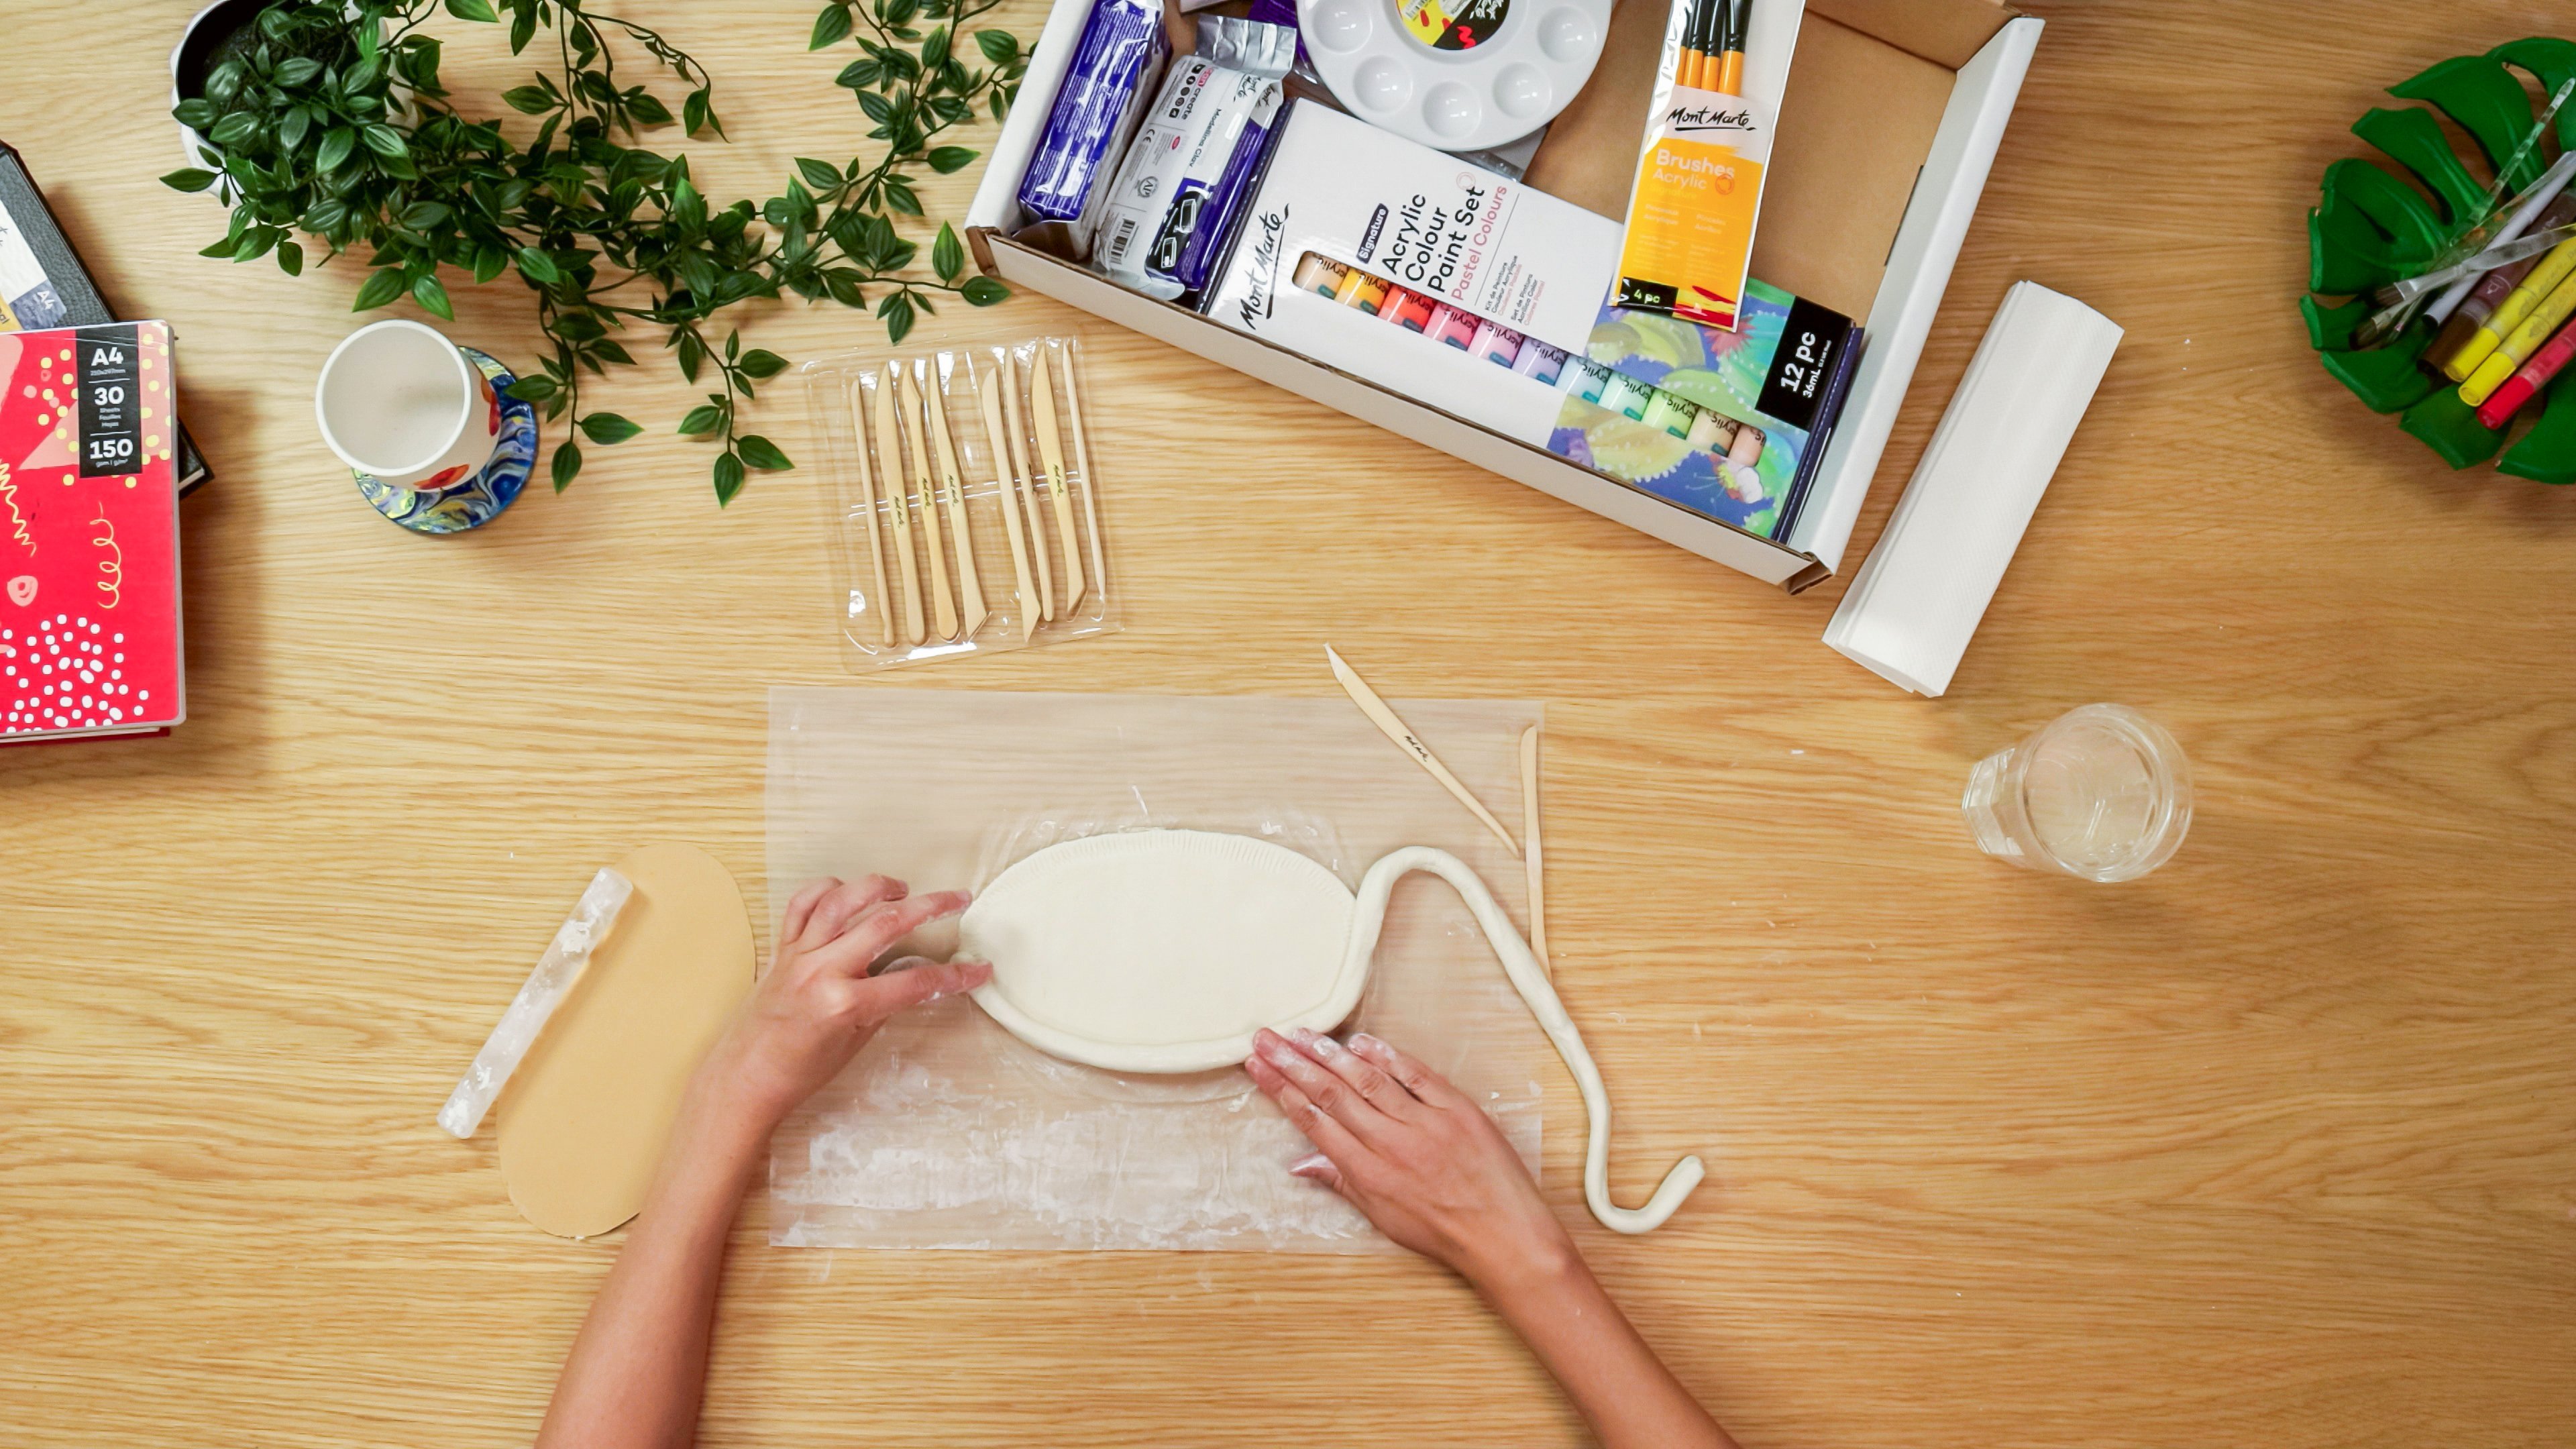
- Roll the remaining clay into a long, even coil
- Place the coil on top of the scored border, wrapping it around the plate
- Use a clay tool to blend the coil into the inside and outside of the plate
- Smooth out the seams with a wet finger or brush
3. Add the design
- Use the round-end clay tool to gently indent your design, referring to the template
- Let the plate dry for 24-48 hours before painting
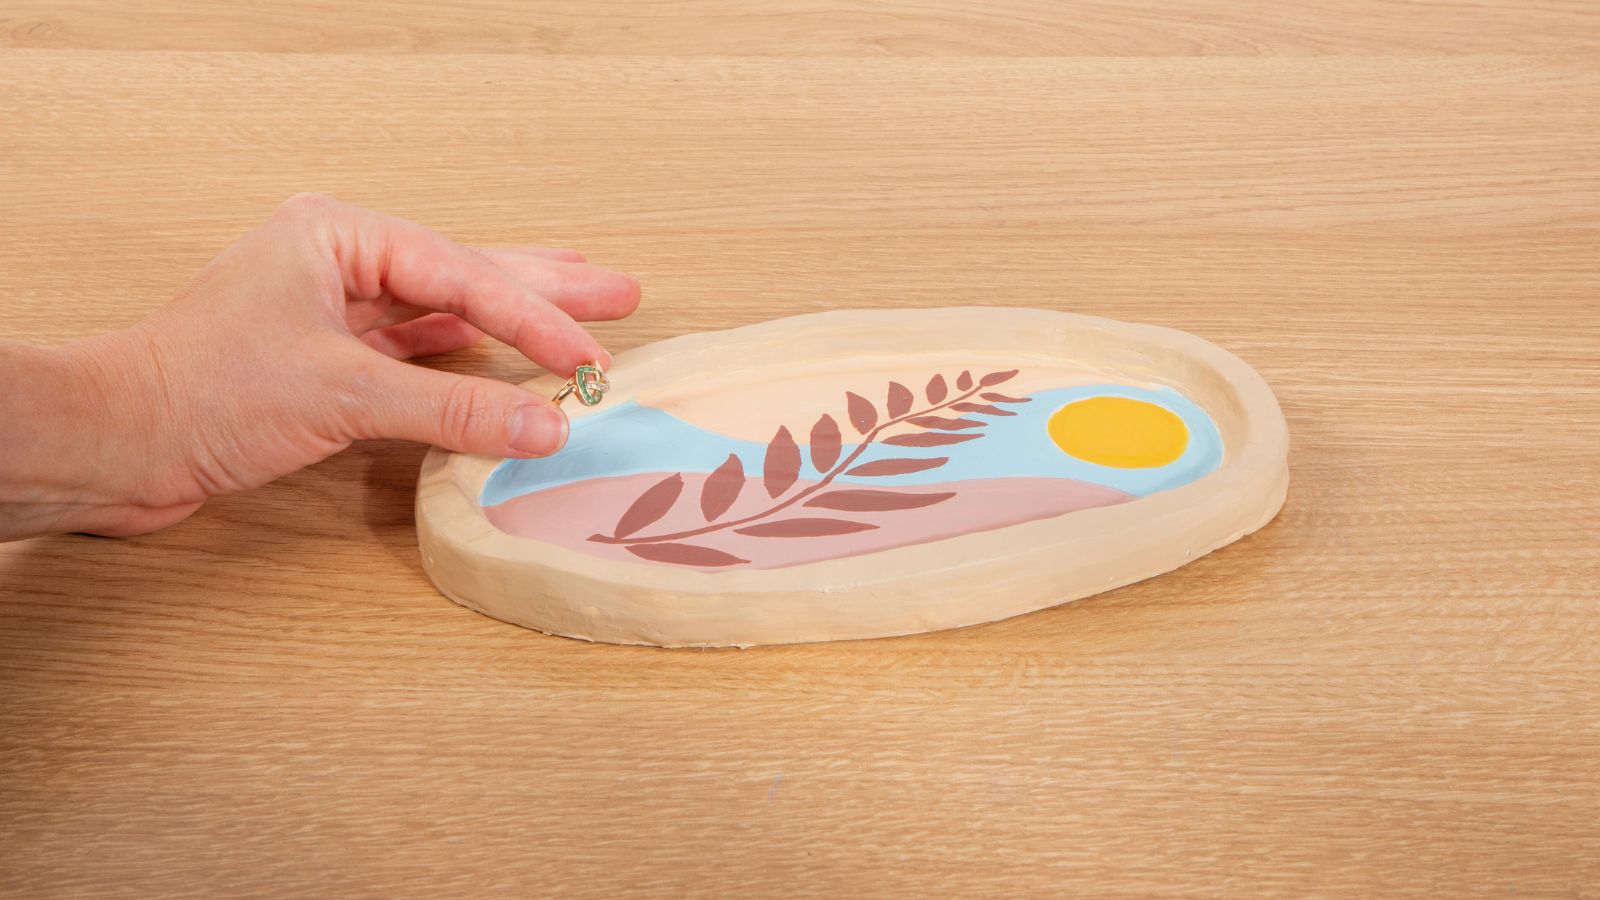
4. Paint the plate
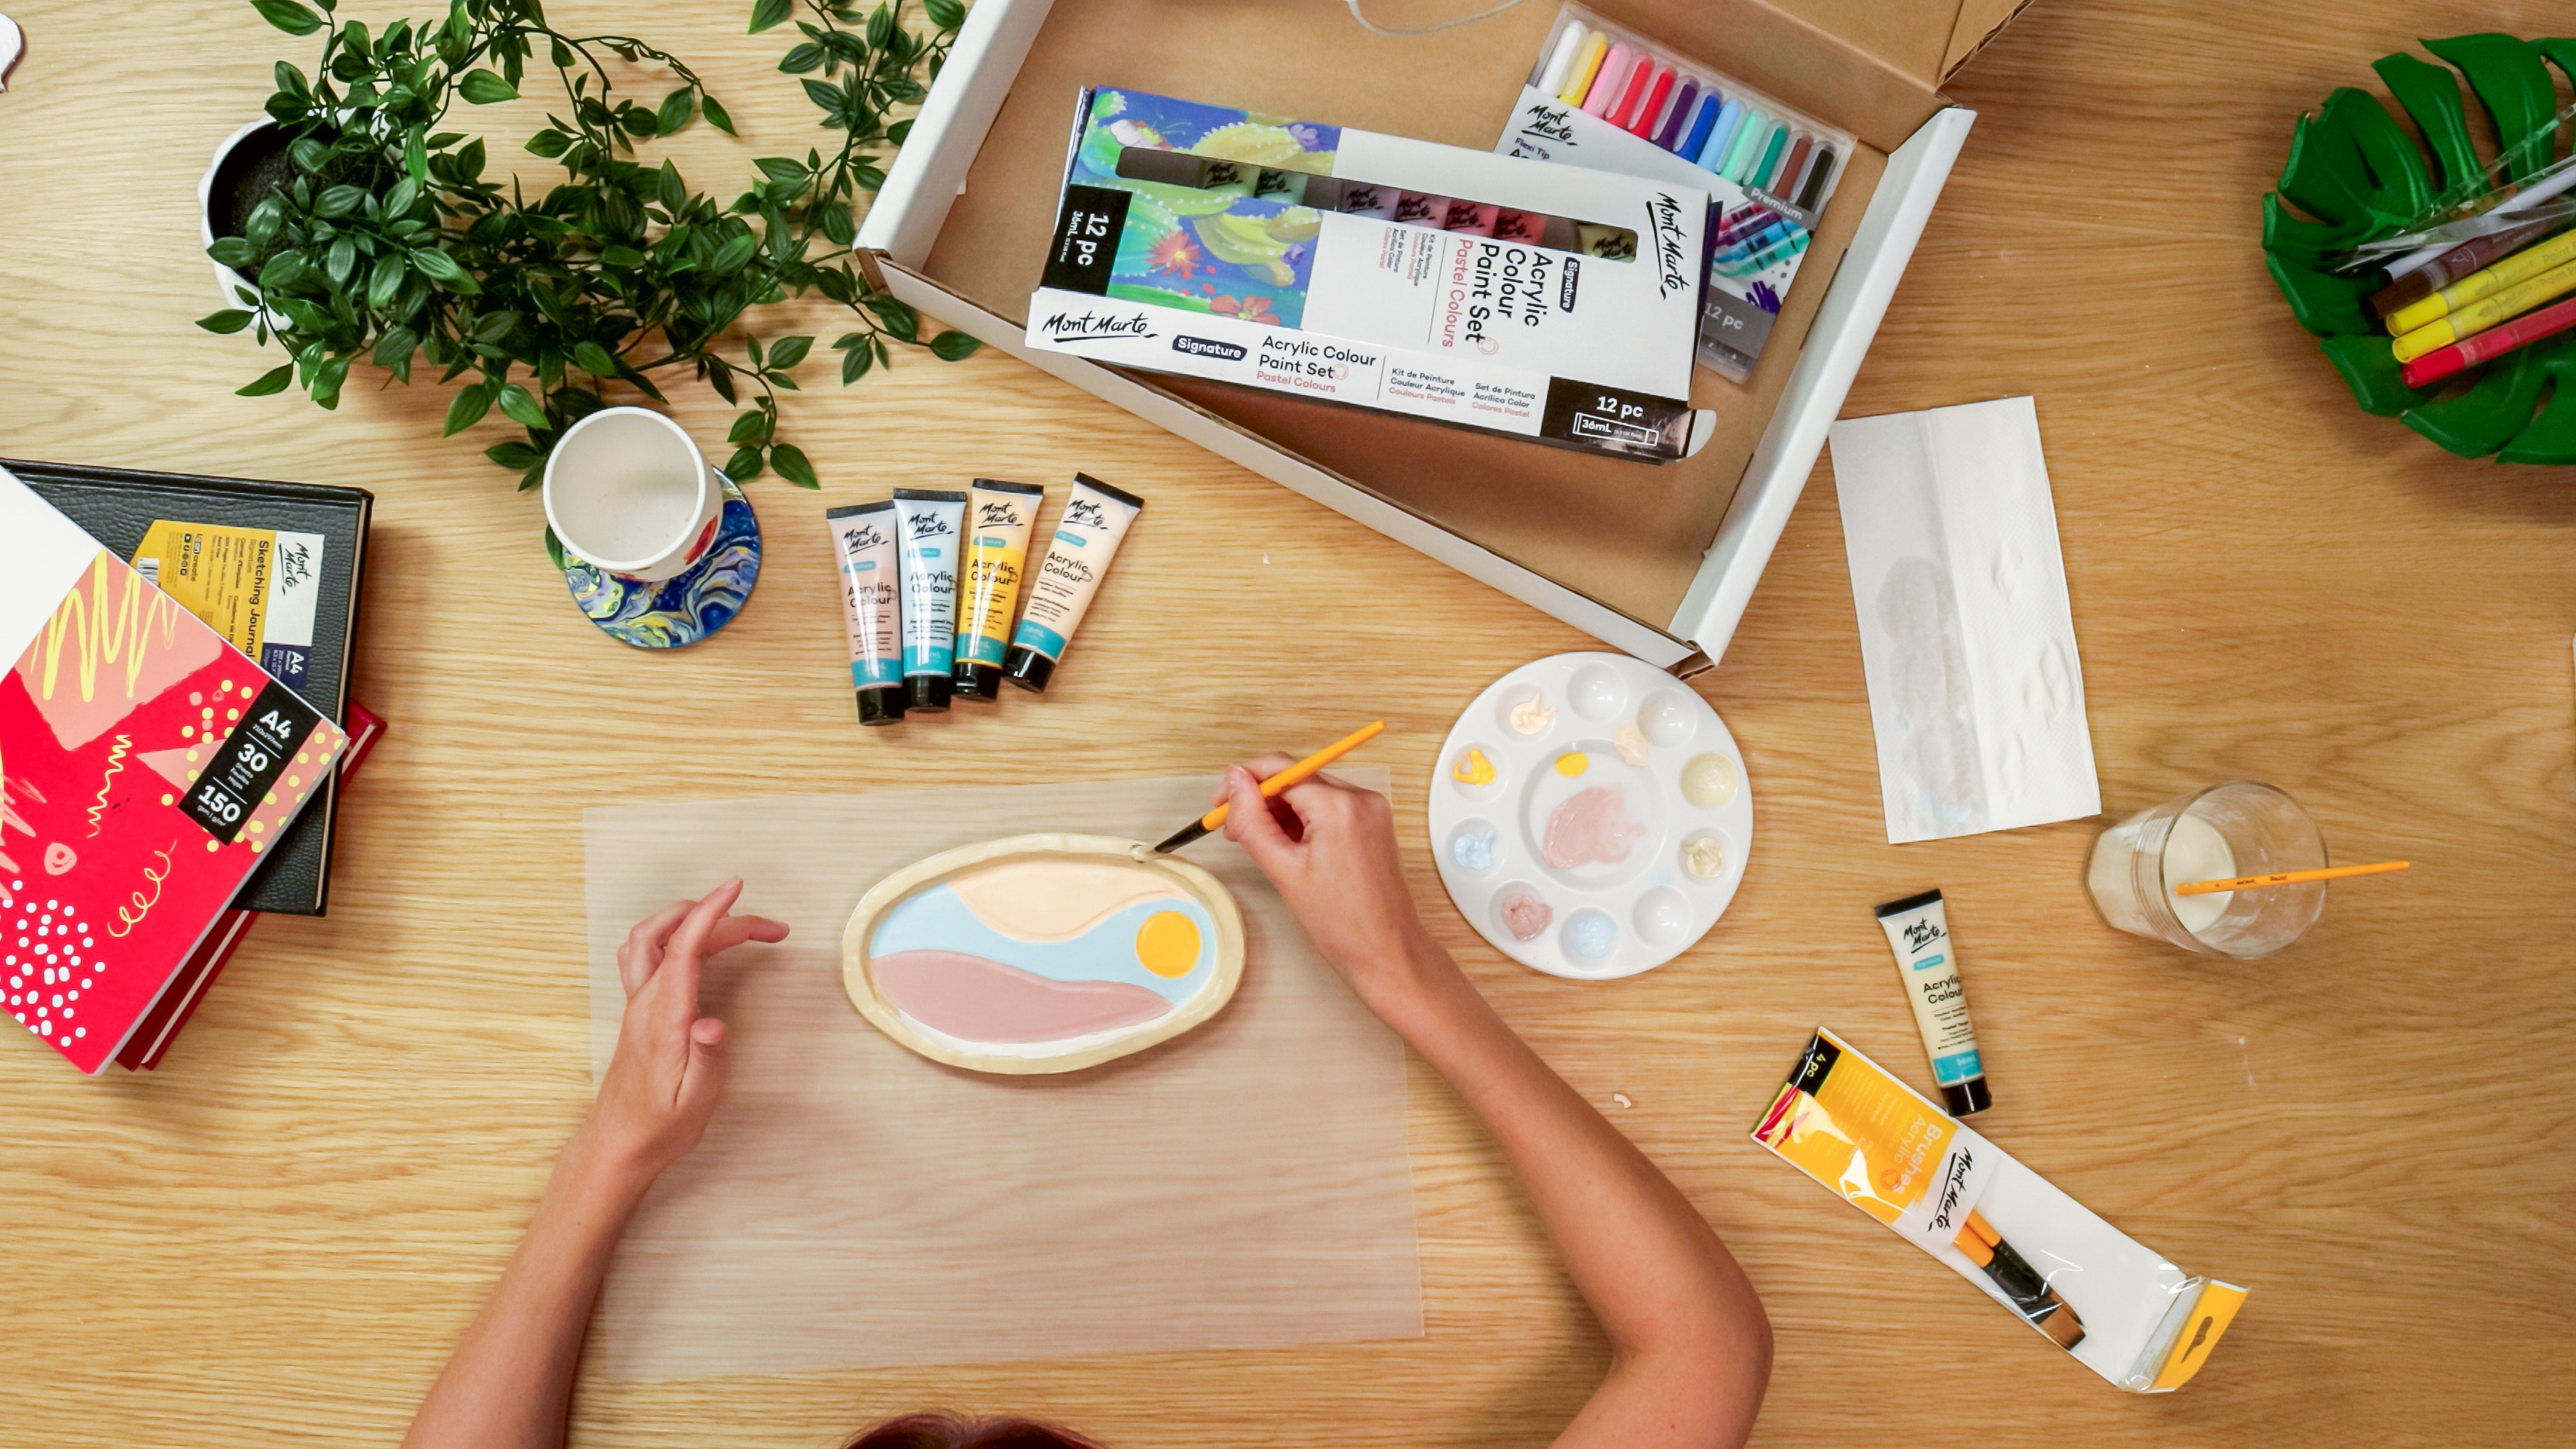
- Choose your colours
- We applied Pastel Mushroom for the bottom; Pastel Eggshell Blue for the middle; Pastel Cantaloupe for the top; Pastel Marigold for the circle; Pastel Taupe for the lip
- Once dry, apply a second coat for extra vibrancy
5. Add the final touches
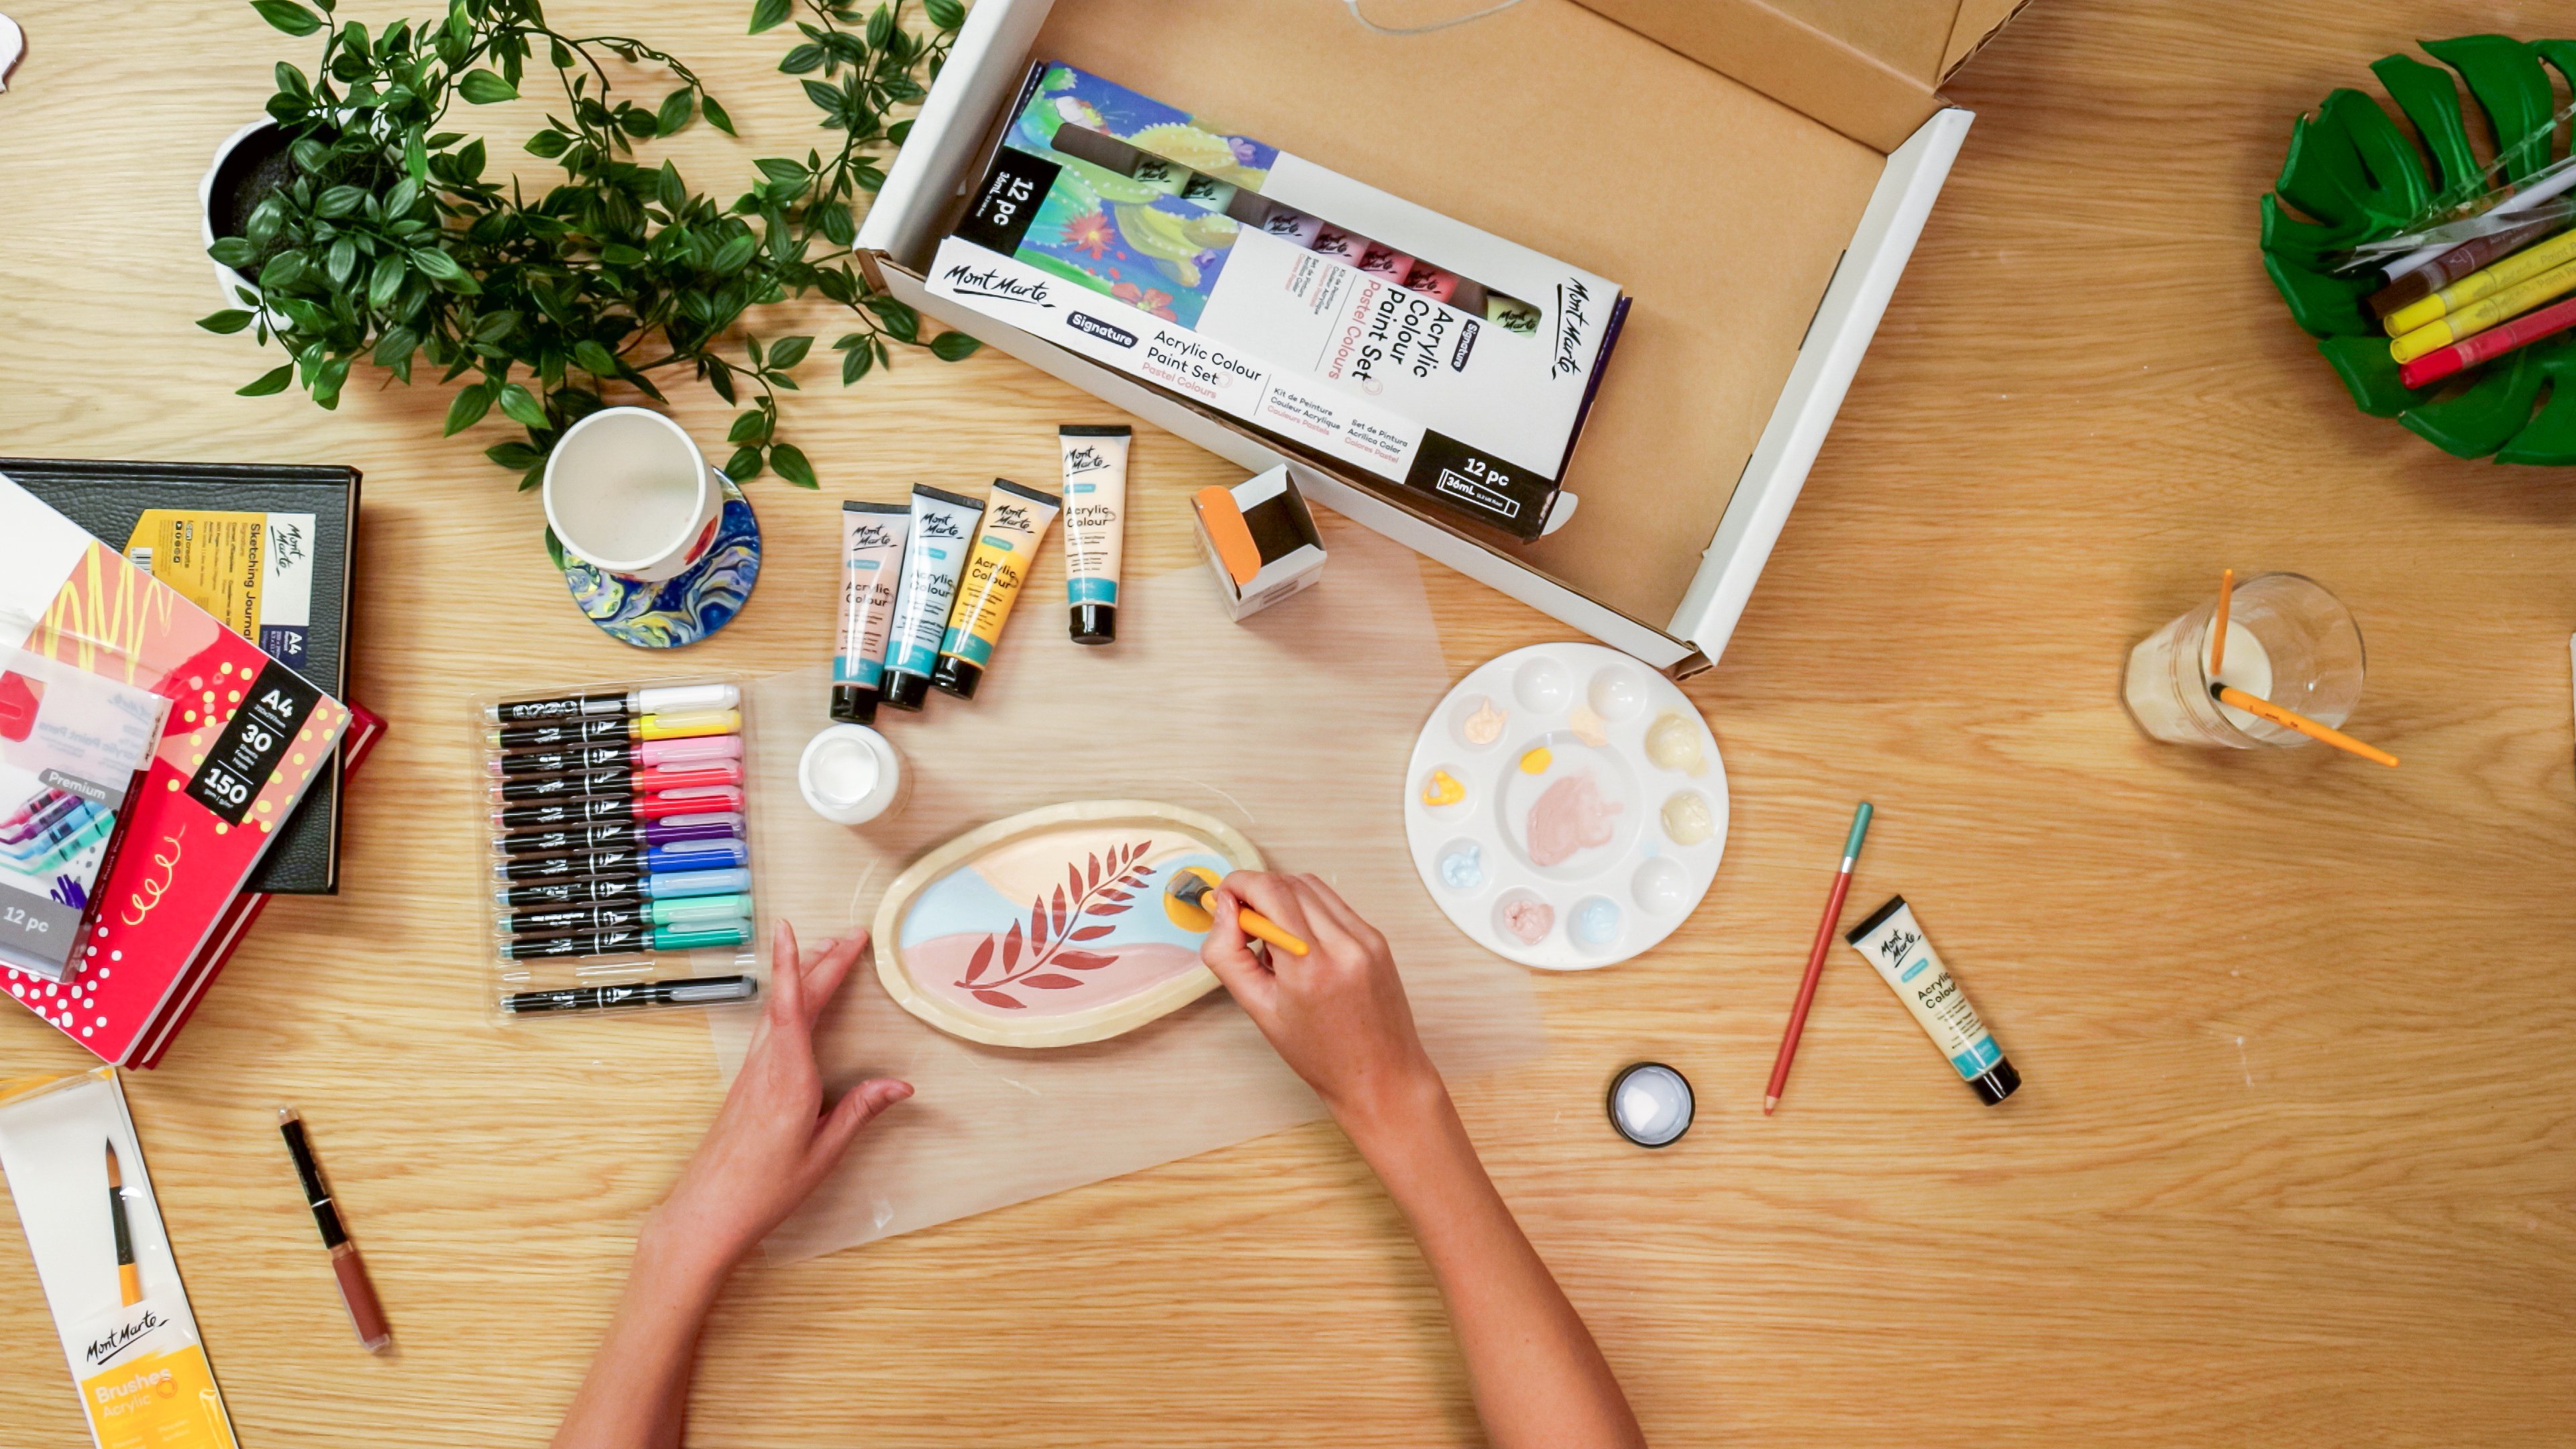
- Use the Sienna paint pen to draw the leaf design
- Once fully dry, varnish the plate with the clay sealer
You may also like

Cactus ring holder DIY

Acrylic watermelon slice painting with Jacklyn Foster

Air dry clay coasters