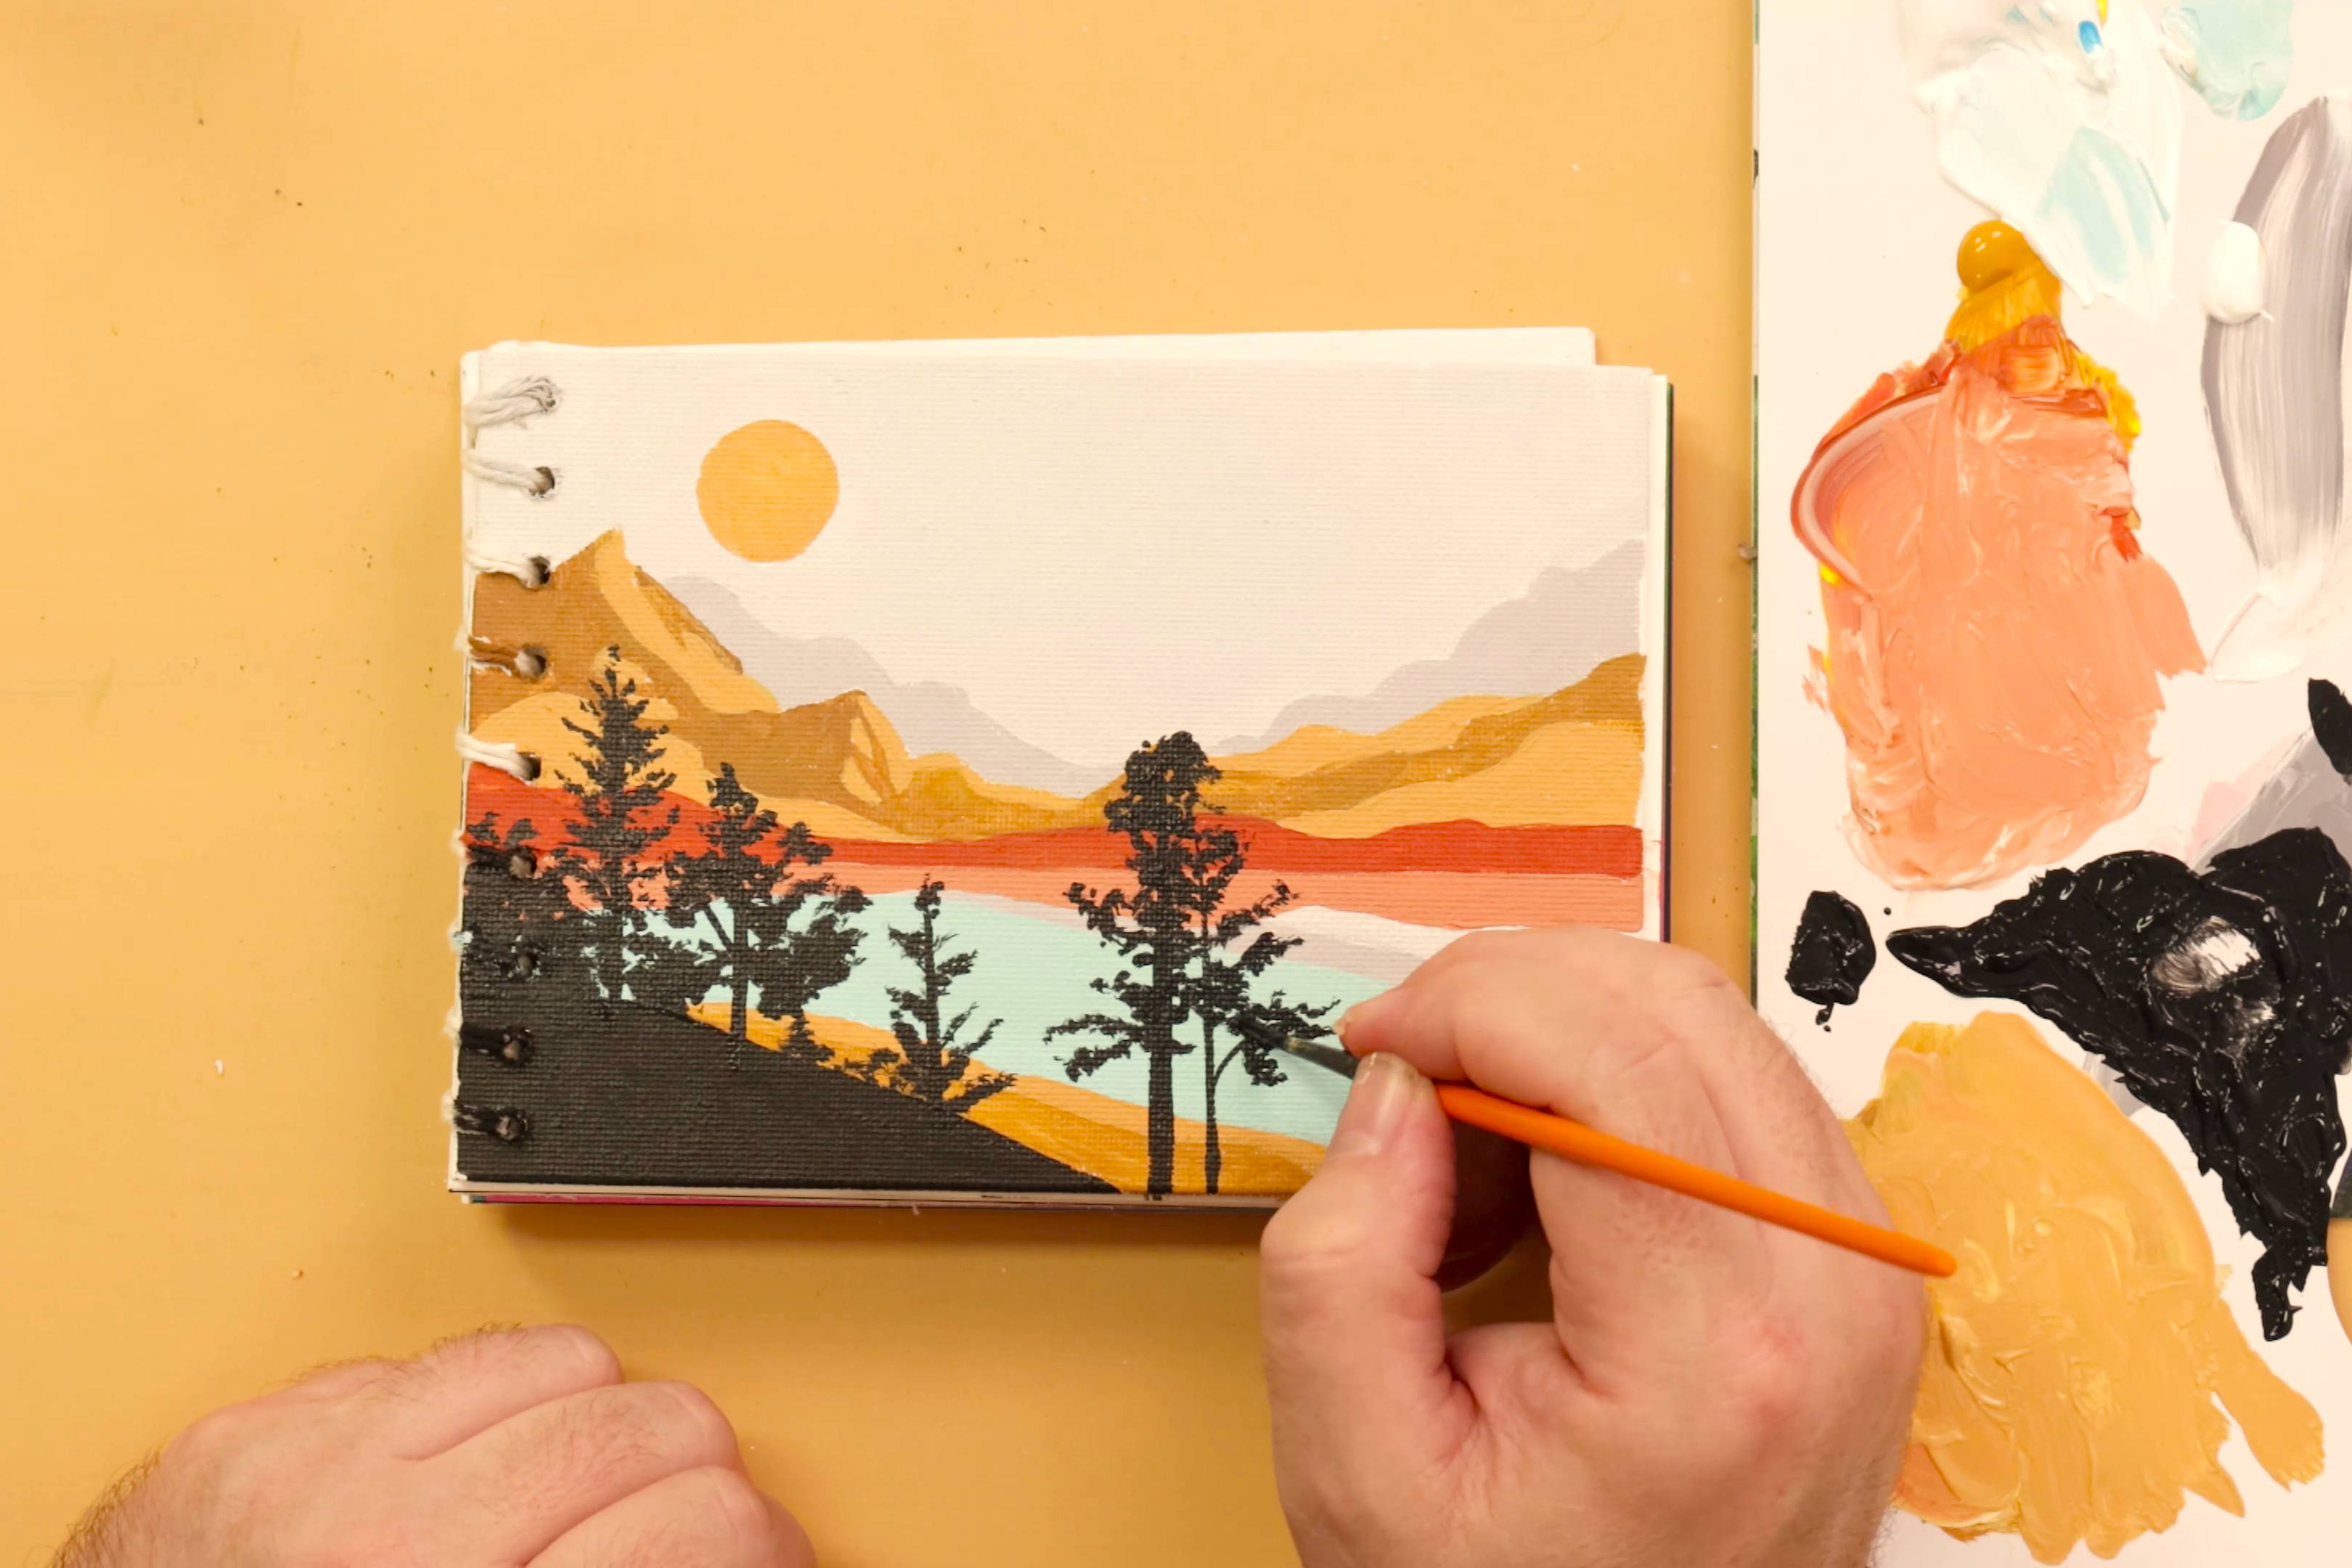
Create a mountain landscape painting in acrylics
Wanting to experiment with acrylics? Follow our step by step process of creating a landscape painting with Mont Marte acrylic paint. Check out the lesson PDF and materials list down below!
1. Outlining and tinting
Roughly draw up the scene with a HB pencil. The most important part of this stage is to get the horizon line in the right place.
Begin by tinting the canvas, this is also called a ground. Because this is a desert scene we want some warmth to our ground so create a mix of Scarlet and Orange. Paint this tone over the canvas but leave it out of the sky. Use the 1 inch flat to do this. Concentrate more red into the background and add more orange into the mountain areas.
For the sky create a blue from Phthalo Blue and Titanium White and lay this into the area using that 1 inch brush. Dip the brush into a fair amount of paint and cut in across the horizon. Make the sky lighter the closer it is to that horizon by mixing more White into the paint. Don’t make the sky too consistent in colour as variation adds to the interest.
While the coat is still wet, add pure Titanium White in to suggest clouds, still using that 1 inch brush. Don’t over work the cloud shapes just lay them in and roughly soften the edges a bit.
2. Creating the mountains
Create a blue from Phthalo Blue, Purple and a touch of Titanium White and paint it into the rear mountains in the background. Mix a Yellow Green, then paint across the top of the mountains to suggest a plateau area.
Whenever colours are laid on like this let the ground show through; it tends to add interest.
Create a beige from Titanium White, Lemon Yellow and Orange. Paint this into the area between the base of the two escarpments. Use this colour and paint it over the top of the rear mountains.
Create a mix of Lemon Yellow, a touch of Medium Green and some Titanium White. Paint this over top of the right plateau using the 1 inch brush. As this colour is laid on, the ground is allowed to show through in areas. Leave the front of the cliffs free of this colour.
3. Detailing the creek
The beige can then be laid in between the escarpments where the creek lies. This tone can then be painted up the escarpment for the right cliff. An Orange darkened with Medium Green is then applied into the cliffs on both sides and then Orange tinted with Titanium White is painted in between the darks.
Detail can then be laid into the creek area between the two escarpments. Refer to the colour print out for guidance here. Work down the creek and add green vegetation, blue water, brown for the reflection of the cliffs and carry the beige across the area.
Lighten the green mix and lay in more areas of vegetation over it allowing the beige to show through.
4. Painting the foreground
Create a Yellow Green from Lemon Yellow, Medium Green and Titanium White and lay it onto the bottom of the canvas. Use the 1 inch brush and lightly apply the paint, but again allow the ground to show through.
To create even more texture, the paint can be applied in criss cross strokes.
There is a creek bed that divides the canvas into two halves so this is left free of colour.
5. Creating vegetation
Create 4 greens; 1 dark green from Medium Green with a touch of Scarlet, a medium green created from Medium Green and Lemon Yellow, a light green created from mainly Lemon Yellow with just a touch of Medium Green and a sage type green from Medium Green and Titanium White.
These greens are then applied starting from the top of the foreground. A colour created from Scarlet Red, Titanium White and a touch of Purple is then scumbled over the creek bed. Apply small balls of vegetation on the top of the left plateau with the sage green mix. Use the small filbert for this.
Use the darker green over the parts of the mountain in shadow and even smaller applications in the distance. For any vegetation in highlight use the light green. Slowly go over the painting building up the vegetation in random patterns. This takes some time so take a more mindful approach to it and relax.
The closer the trees are to the viewer the larger they will be.
Material List
- Single Thick Canvas Premium 50.8 x 71.1cm (20 x 28in)
- Taklon Brush Set in Wallet Signature 11pce - Acrylic
- Satin Acrylic Intro Set Premium 8pc x 18ml (0.6oz)


