


Halloween tic-tac-toe
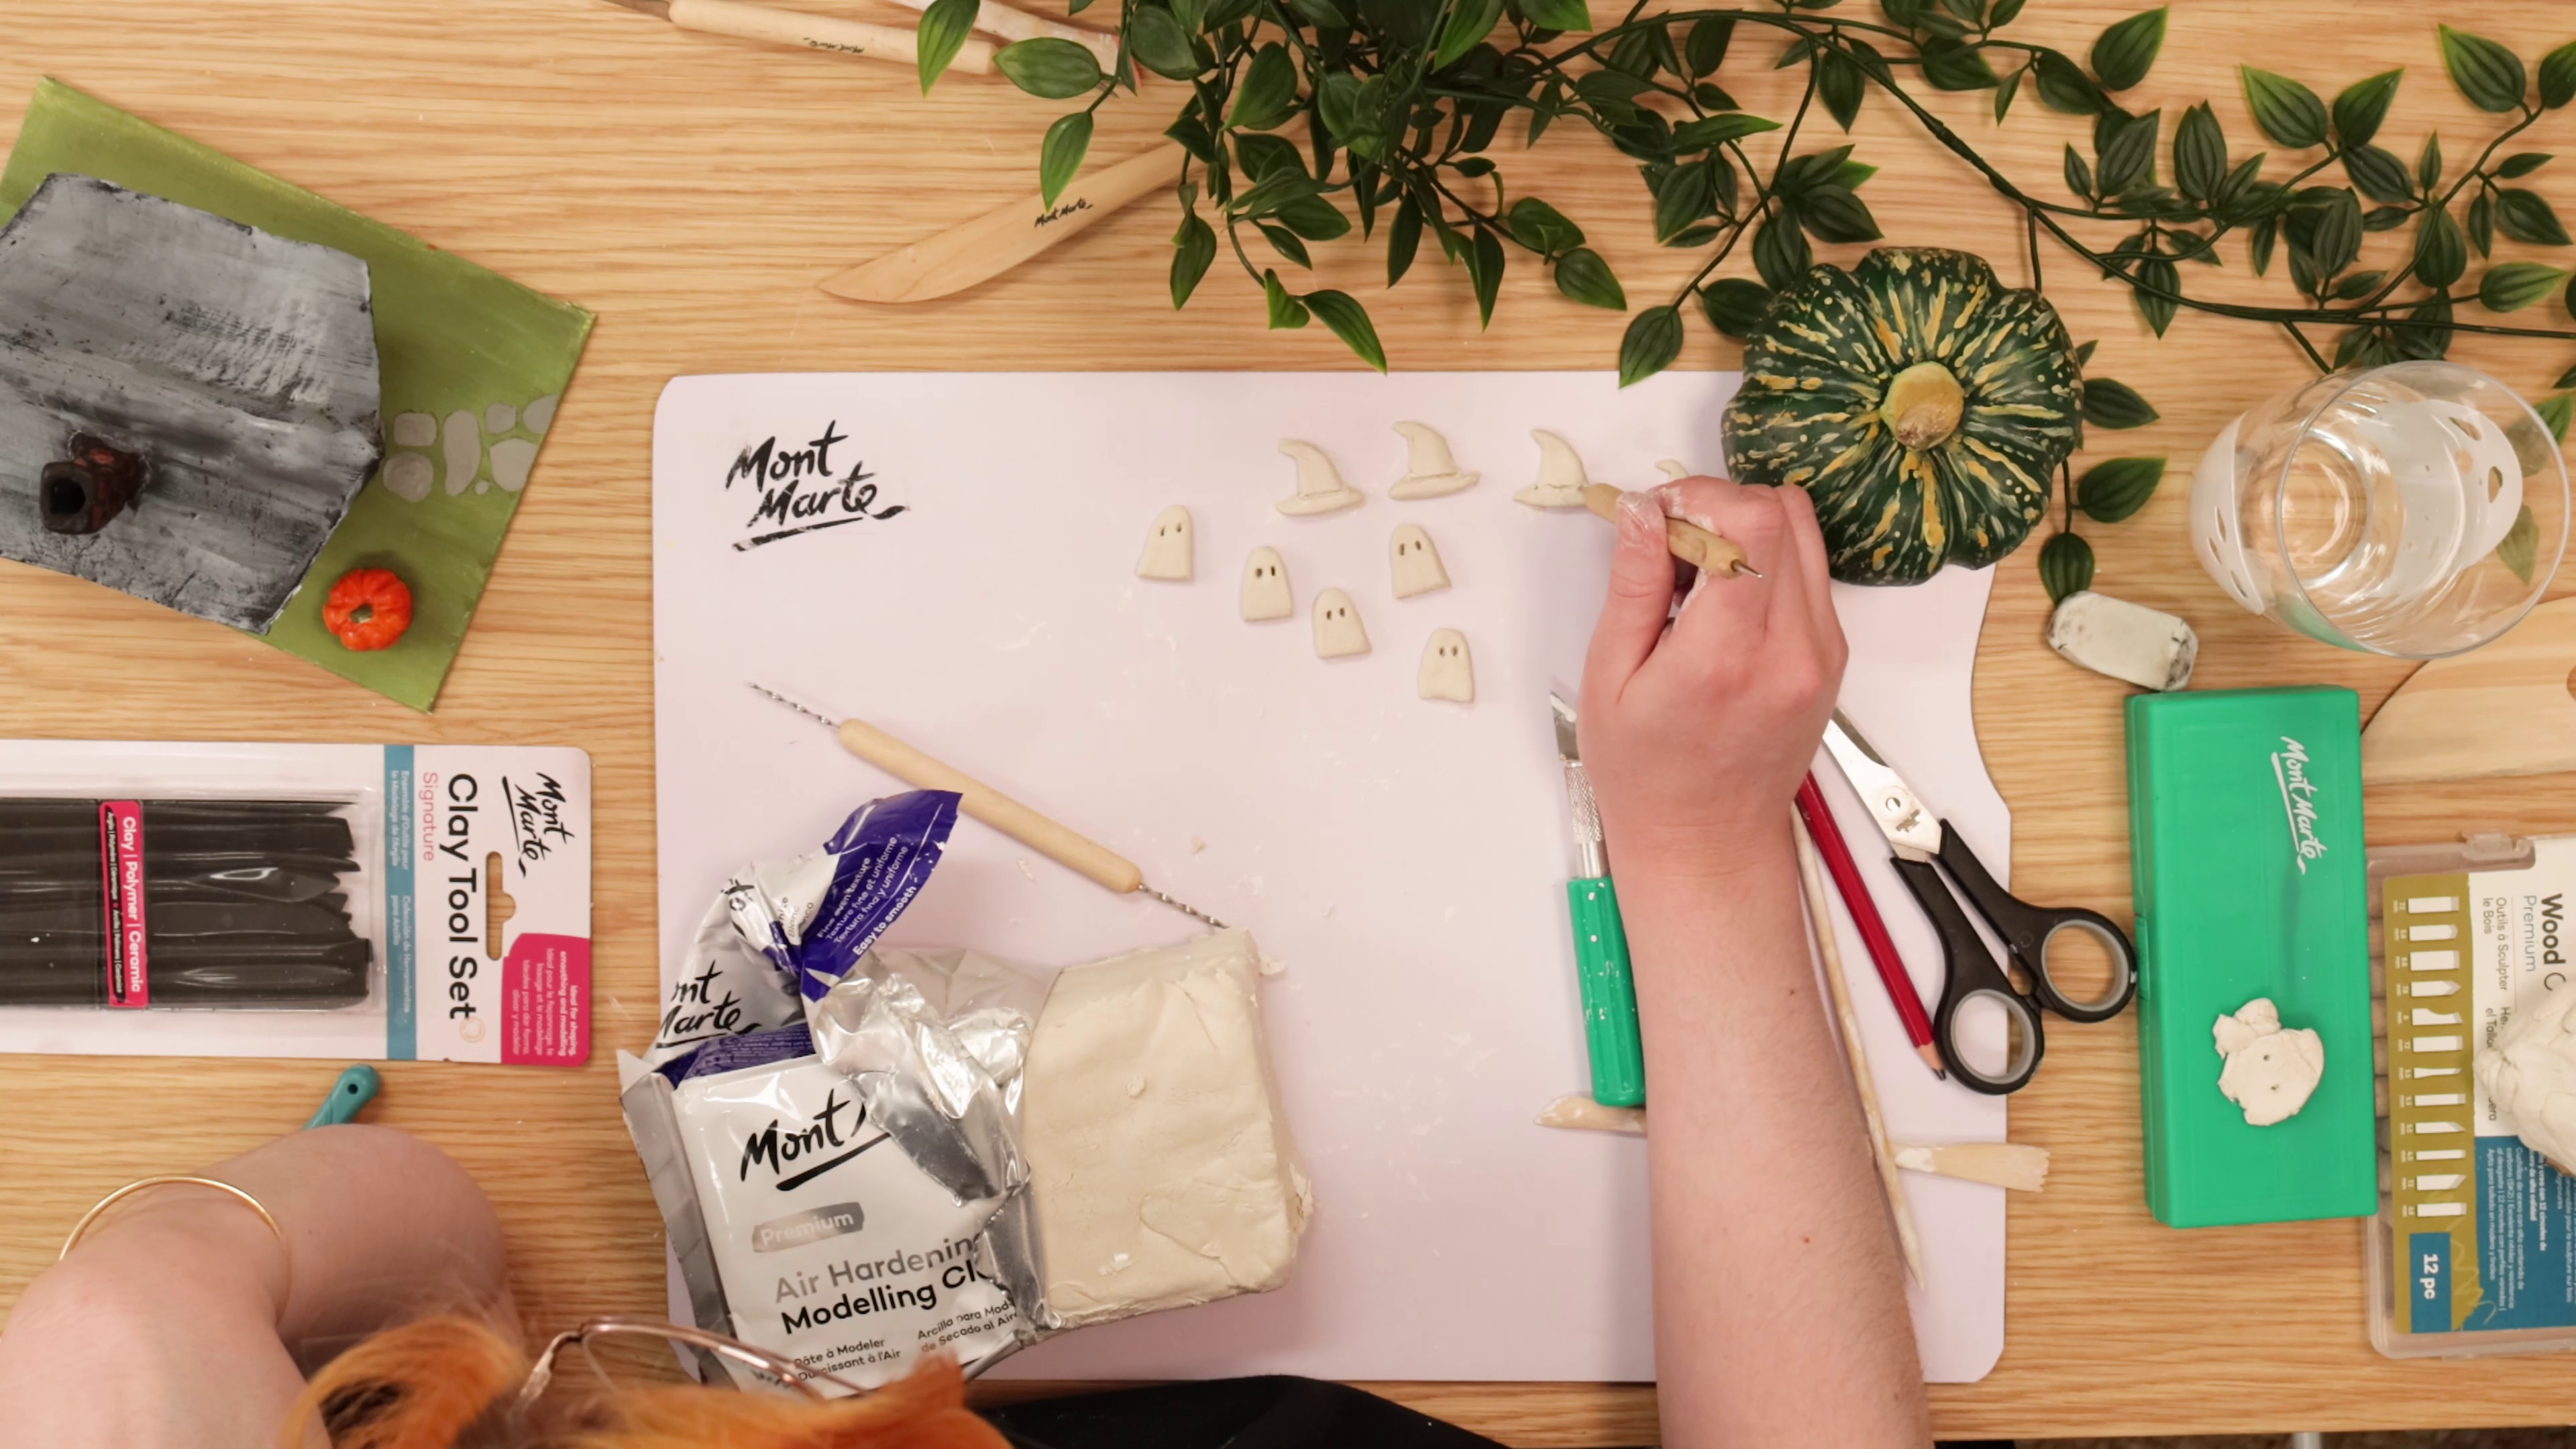
Step 1: Clay tokens
- Roll out a clay slab a few centimetres thick
- Cut out five ghost shapes – they look like a long arch
- Carve two eye holes in each with a pointed sculpting tool
- Cut four cone-shaped witches' hats and carve a band across each
- Let the pieces dry (overnight or speed up with a hair dryer)
Step 2: Air dry clay pumpkin
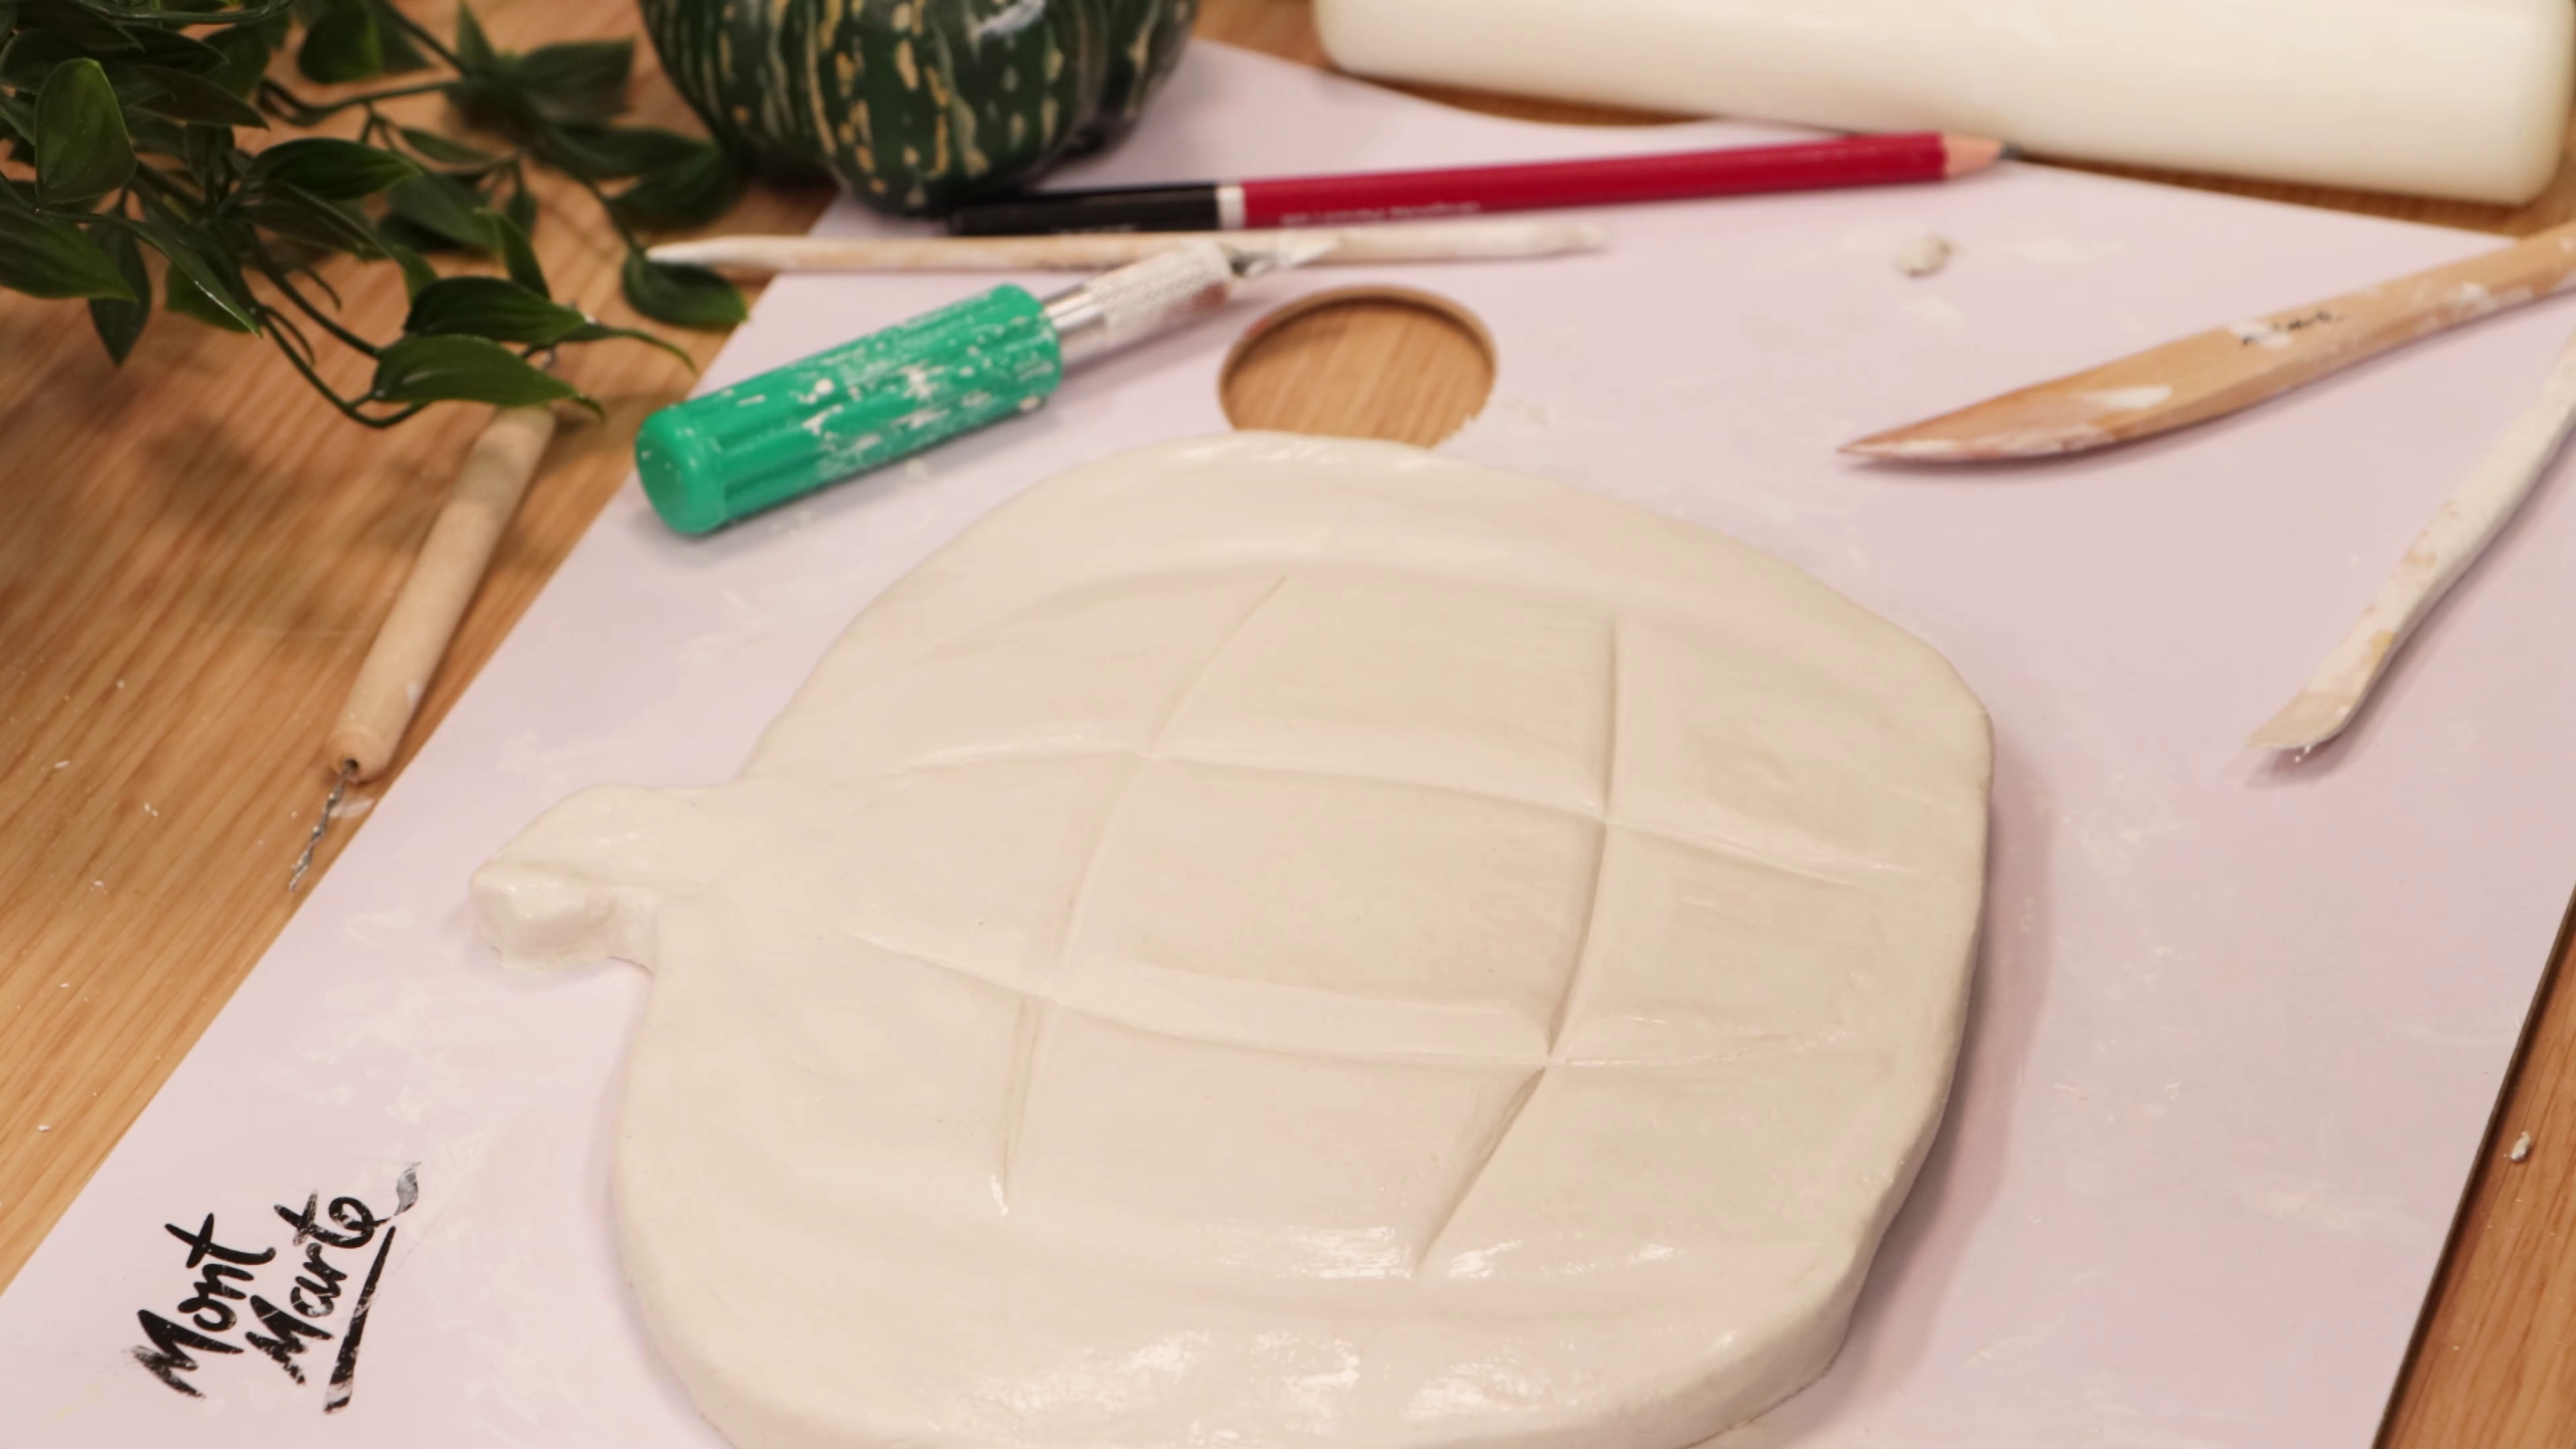
- Roll out a clay slab, about an inch thick, and mould into a round pumpkin
- Add a stalk on top and map out pumpkin details with a carving tool
- Wet your fingers and smooth the edges
- Use a wooden modelling tool to indent vertical and horizontal ridges for the tic-tac-toe board
- Let the pumpkin board dry at minimum overnight (speed dry with a hair dryer at a distance)
Step 3: Clay pumpkin painting
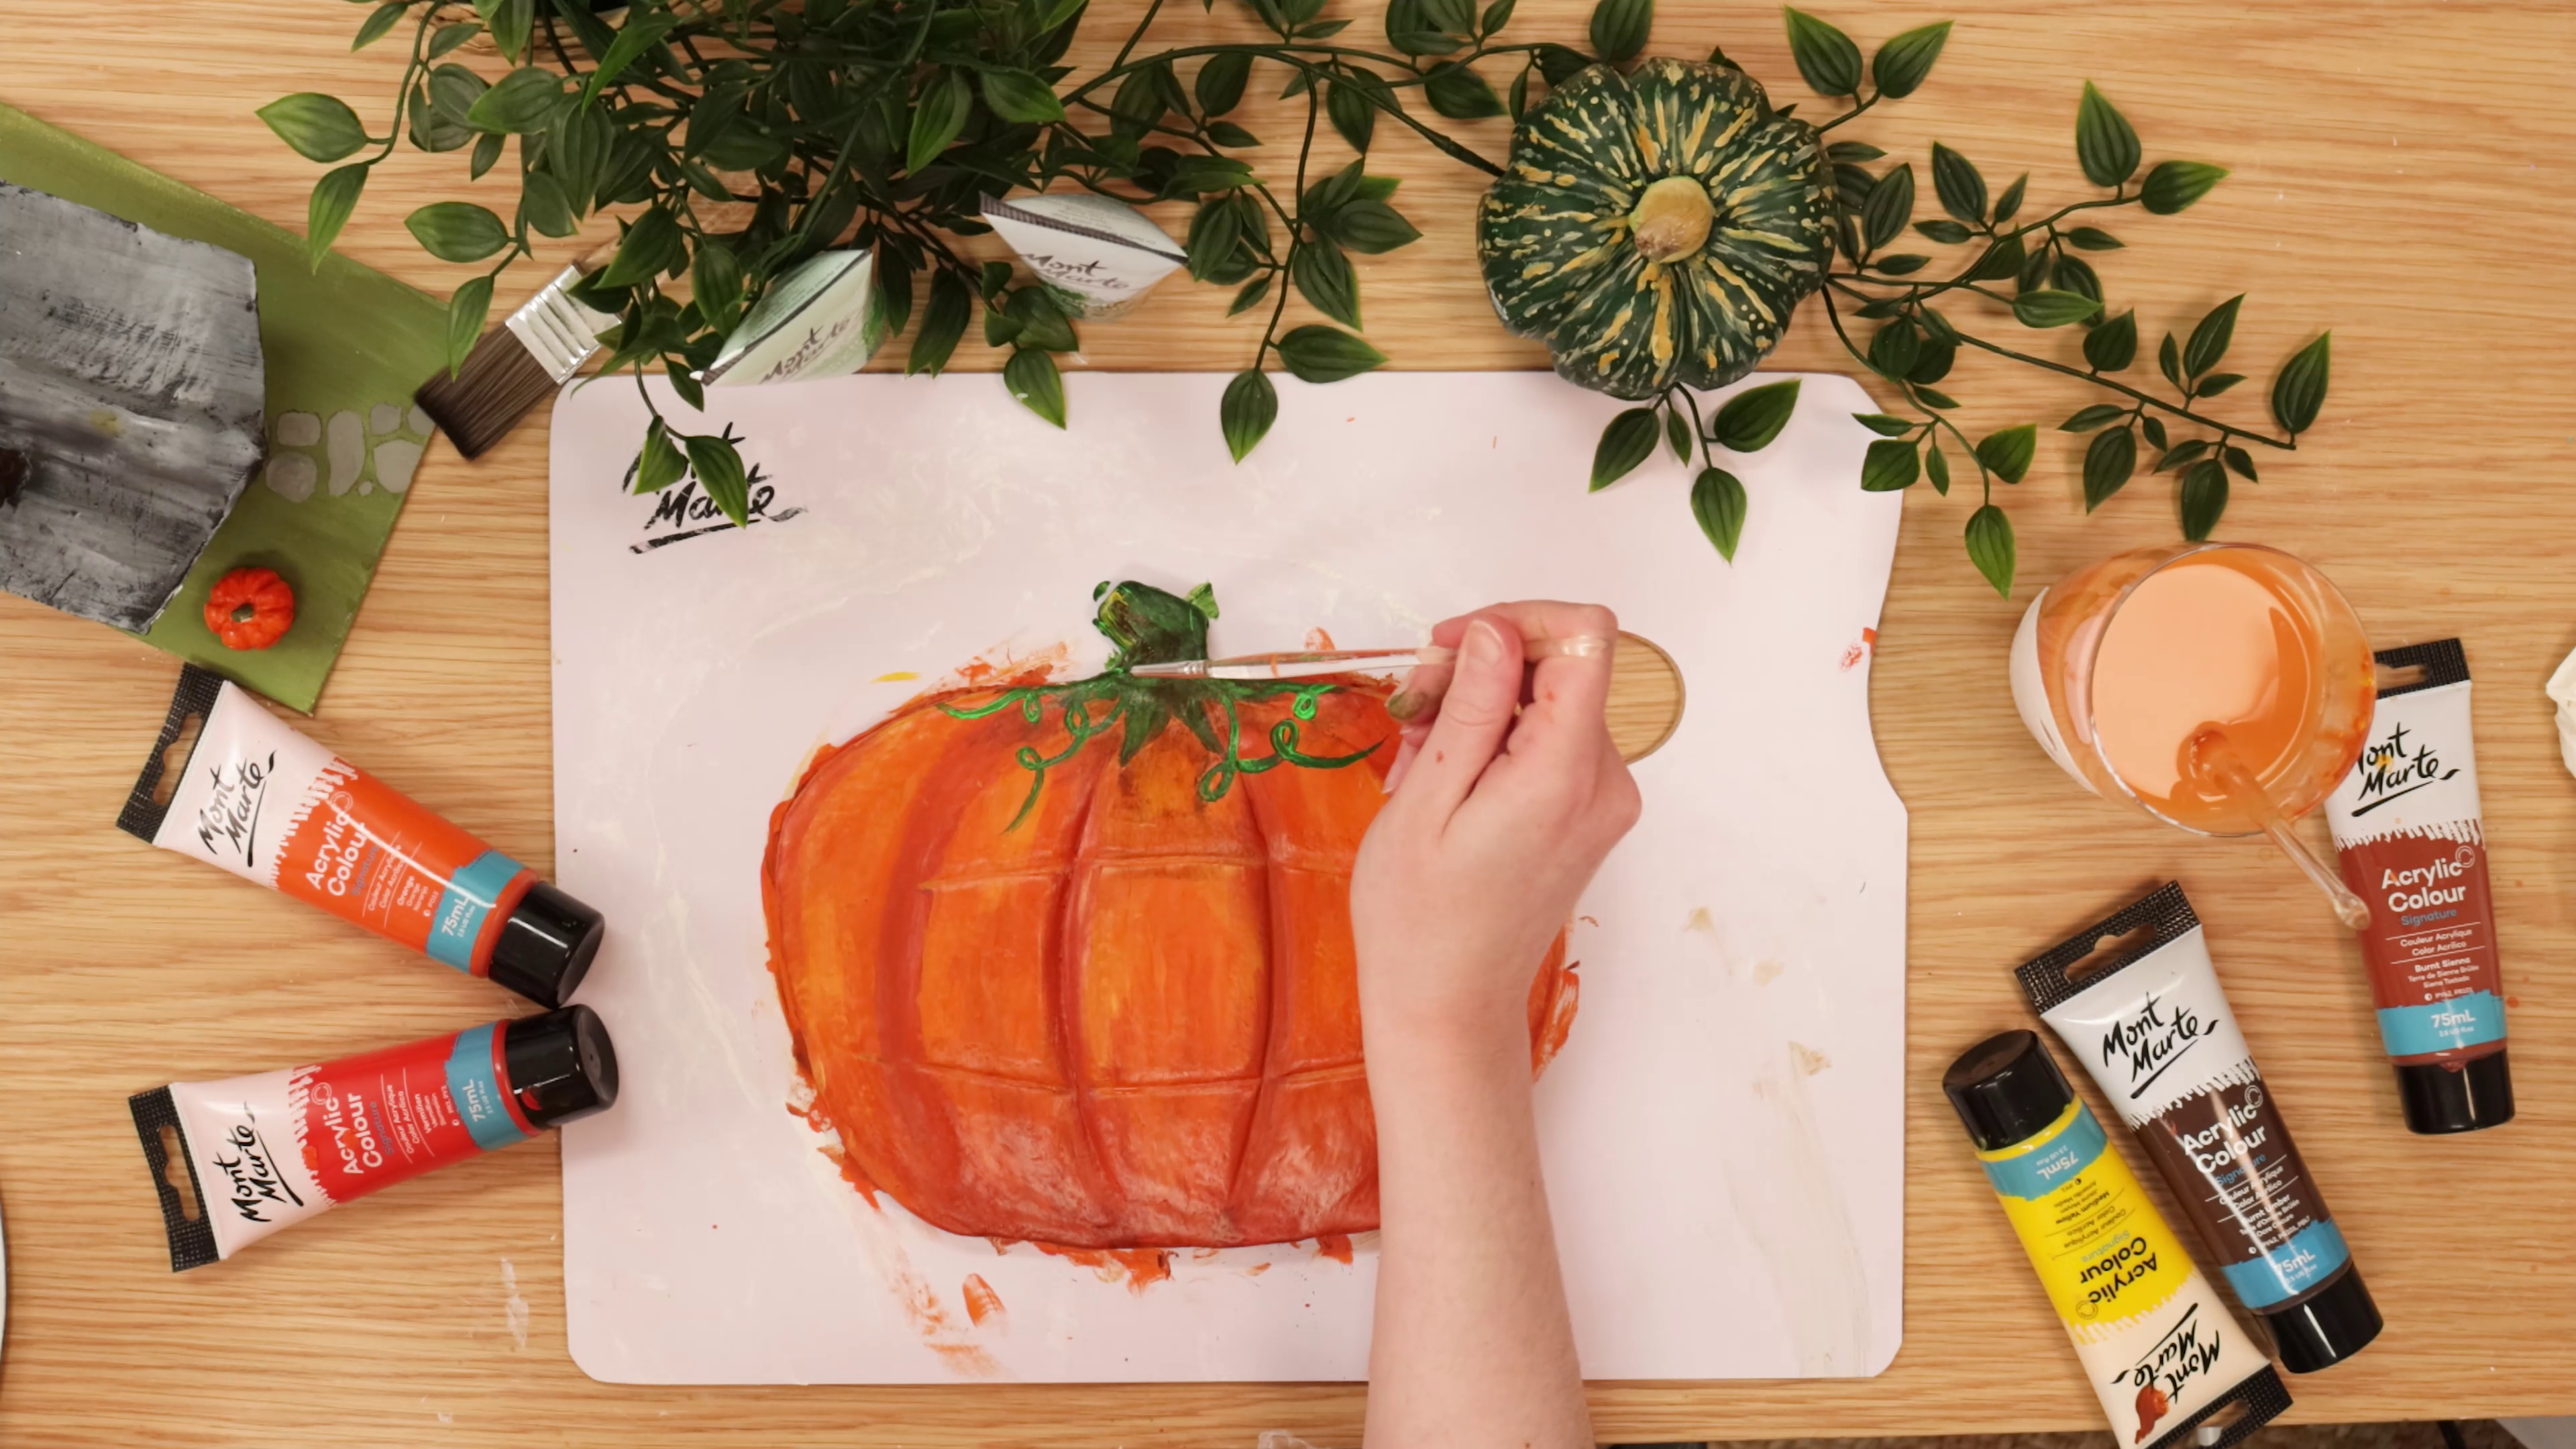
- Paint the pumpkin with Burnt Sienna as the base
- Use Orange for mid-tones and Medium Yellow for highlights
- Deepen the vertical ridges with a mix of Burnt Umber and Vermillion
- Paint the stalk and tendrils with Sap Green
- Highlight the tendrils with Monastral Green
- Deepen the stalk with Burnt Umber and highlight with Medium Yellow
Step 4: Finishing touches
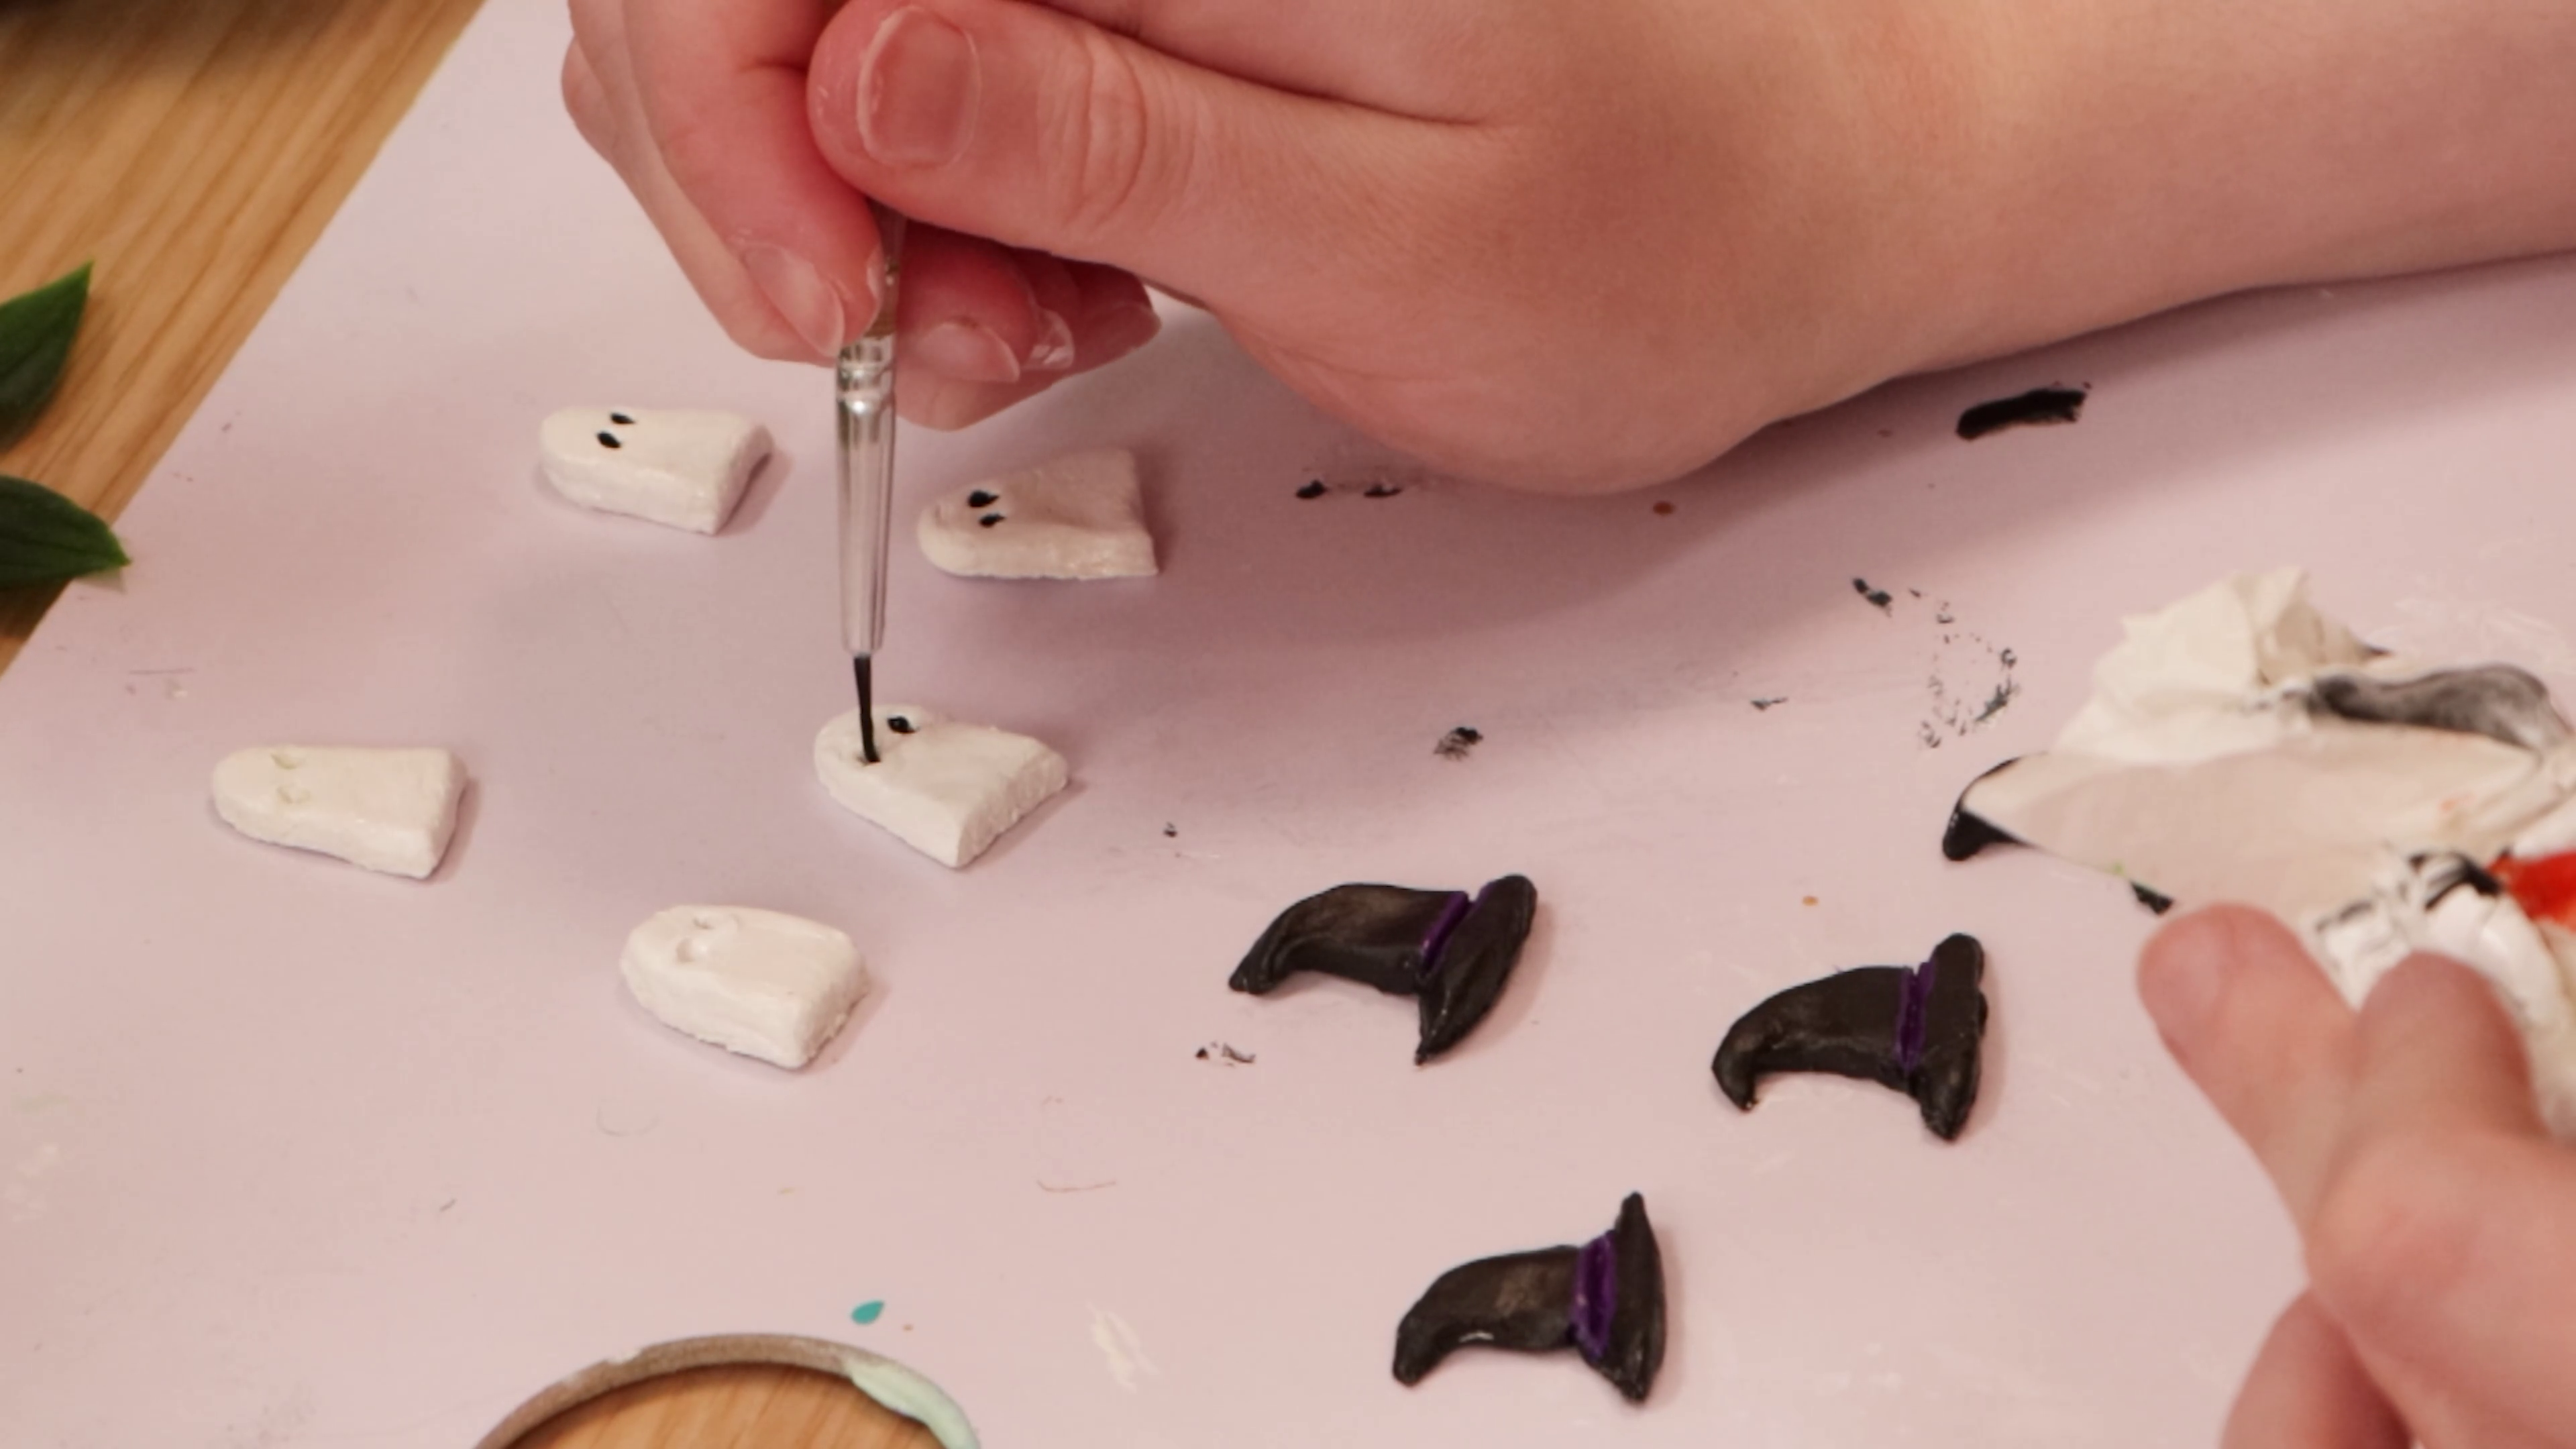
- Paint the ghost pieces Titanium White and allow them to dry
- Add a coat of Iridescent Foil Paint, and paint Lamp Black in the eye holes
- Paint the witches' hats with Lamp Black and allow them to dry
- Mix Purple and Cerise and paint the hat band
Once everything’s dry, feel free to varnish the board with Gloss Clay Varnish or Deco Pudge Gloss, or leave it as is for a more natural look. Now pop it on the coffee table or use it as a centrepiece for a spooky party. Happy Halloween! 🎃🦇
- Air Hardening Modelling Clay Premium 2kg – White
- Acrylic Colour Paints (Burnt Sienna, Orange, Vermillion, Medium Yellow, Burnt Umber, Sap Green, Monastral Green, Purple, Cerise, Lamp Black, and Titanium White)
- Iridescent Foil Paint Premium
- Hobby Knife
- Ballpoint sculpting tool
- Wooden clay modelling tool
- Hair dryer (optional, for speeding up drying)
- Water
You may also like

Cactus ring holder DIY

Acrylic watermelon slice painting with Jacklyn Foster

Air dry clay coasters