How to make photo Christmas baubles
1. Transfer picture to wood with glue (AKA Deco Pudge!)

- Gather your flat wooden bauble, laser printout, Deco Pudge, and paintbrush
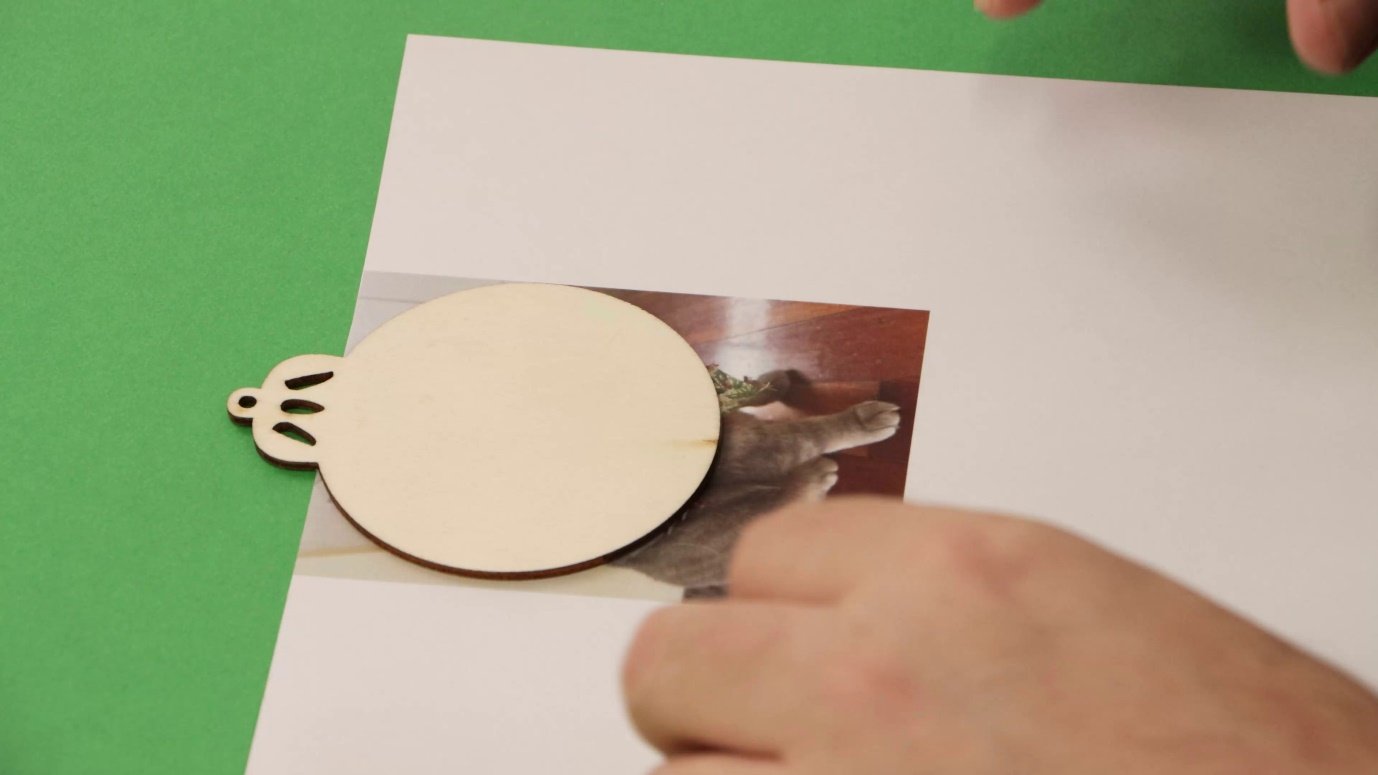
- Make sure your laser printout is the correct size to fit your bauble
- Paint a thin, even coat of Deco Pudge onto the surface of the wooden bauble
- Carefully place the printout face side down onto the bauble
- Press the print firmly to ensure full, even contact with the bauble’s surface
2. Weight and cure

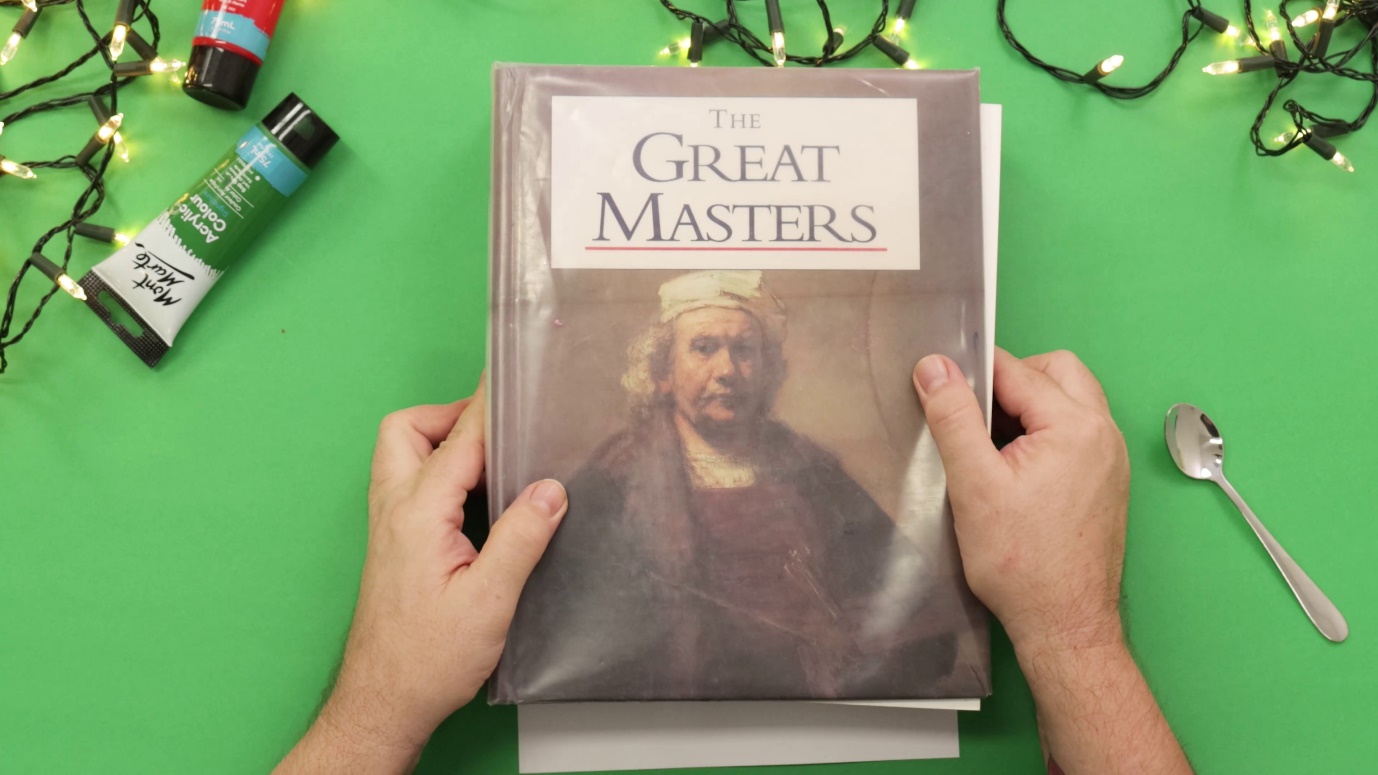
- Place a heavy book over the bauble to apply consistent pressure
- Allow the Deco Pudge to cure for up to 12 hours
3. Make your own photo bauble

- Once dry, cut away the excess paper around the edges of the bauble
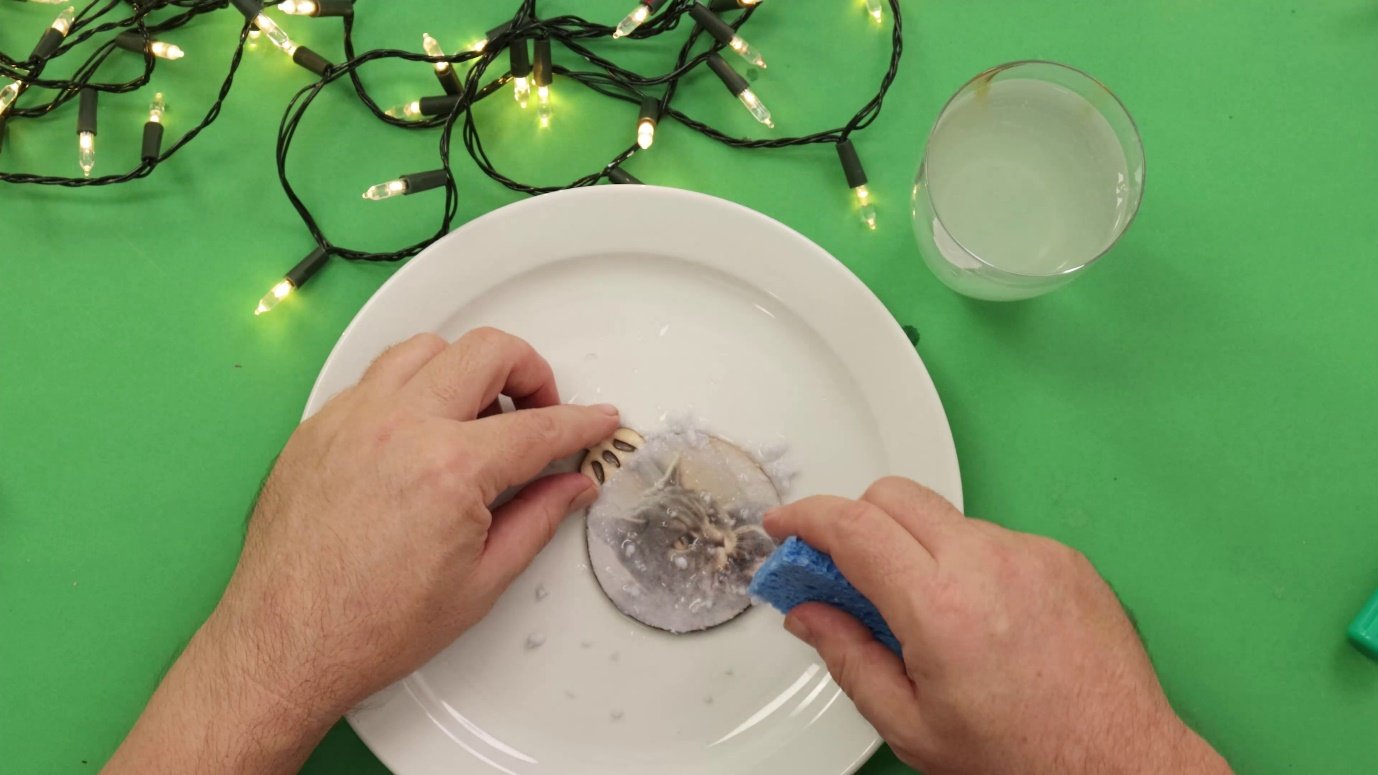
- Dampen a sponge
- Gently remove the paper pulp by rubbing the sponge in small circles on the paper
- Take your time and don’t rush – the more gentle you are the better your print will be
- Once your image is revealed, gently work away the rest of the pulp until clear
- Leave to dry once more, paint the top of the bauble silver, then seal with Deco Pudge
- Thread a ribbon through the bauble for hanging
Hang your heartfelt decoration on the tree or give it to a loved one for a thoughtful gift.
- Deco Pudge (Gloss or Matte)
- Flat taklon paintbrush
- Flat wooden bauble
- Laser printout of your chosen design
- Heavy book (for weighting)


