


How to paint a self portrait
1. Self portrait reference
- Select a high-contrast photo of yourself and print it out
- Tape tracing paper over the printout and trace the outlines, facial elements, highlights, and deep shadow areas
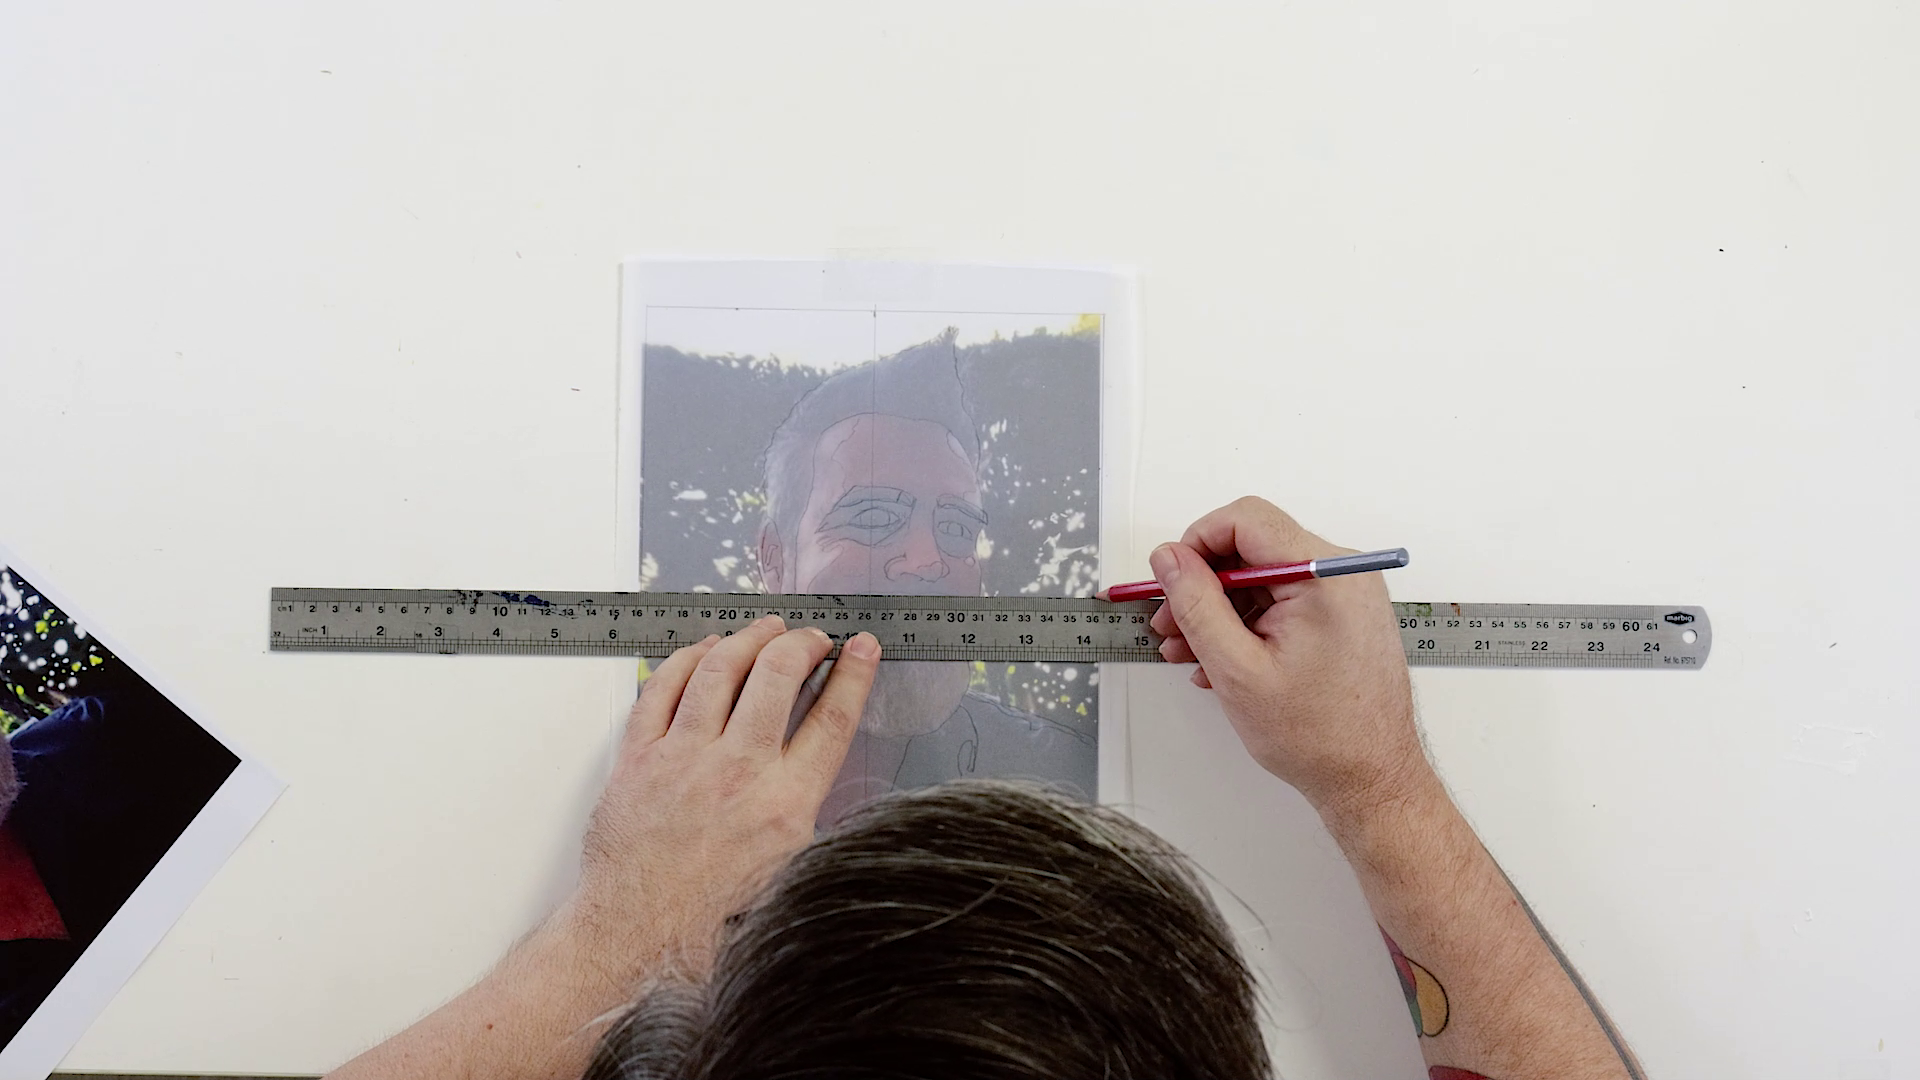
- Grid up the image with as many equally sized grids as needed for accuracy
2. Gridding technique
- Transfer the grid onto the canvas, scaling up the grid sizes to suit the chosen canvas size (e.g., doubling the size of each grid)
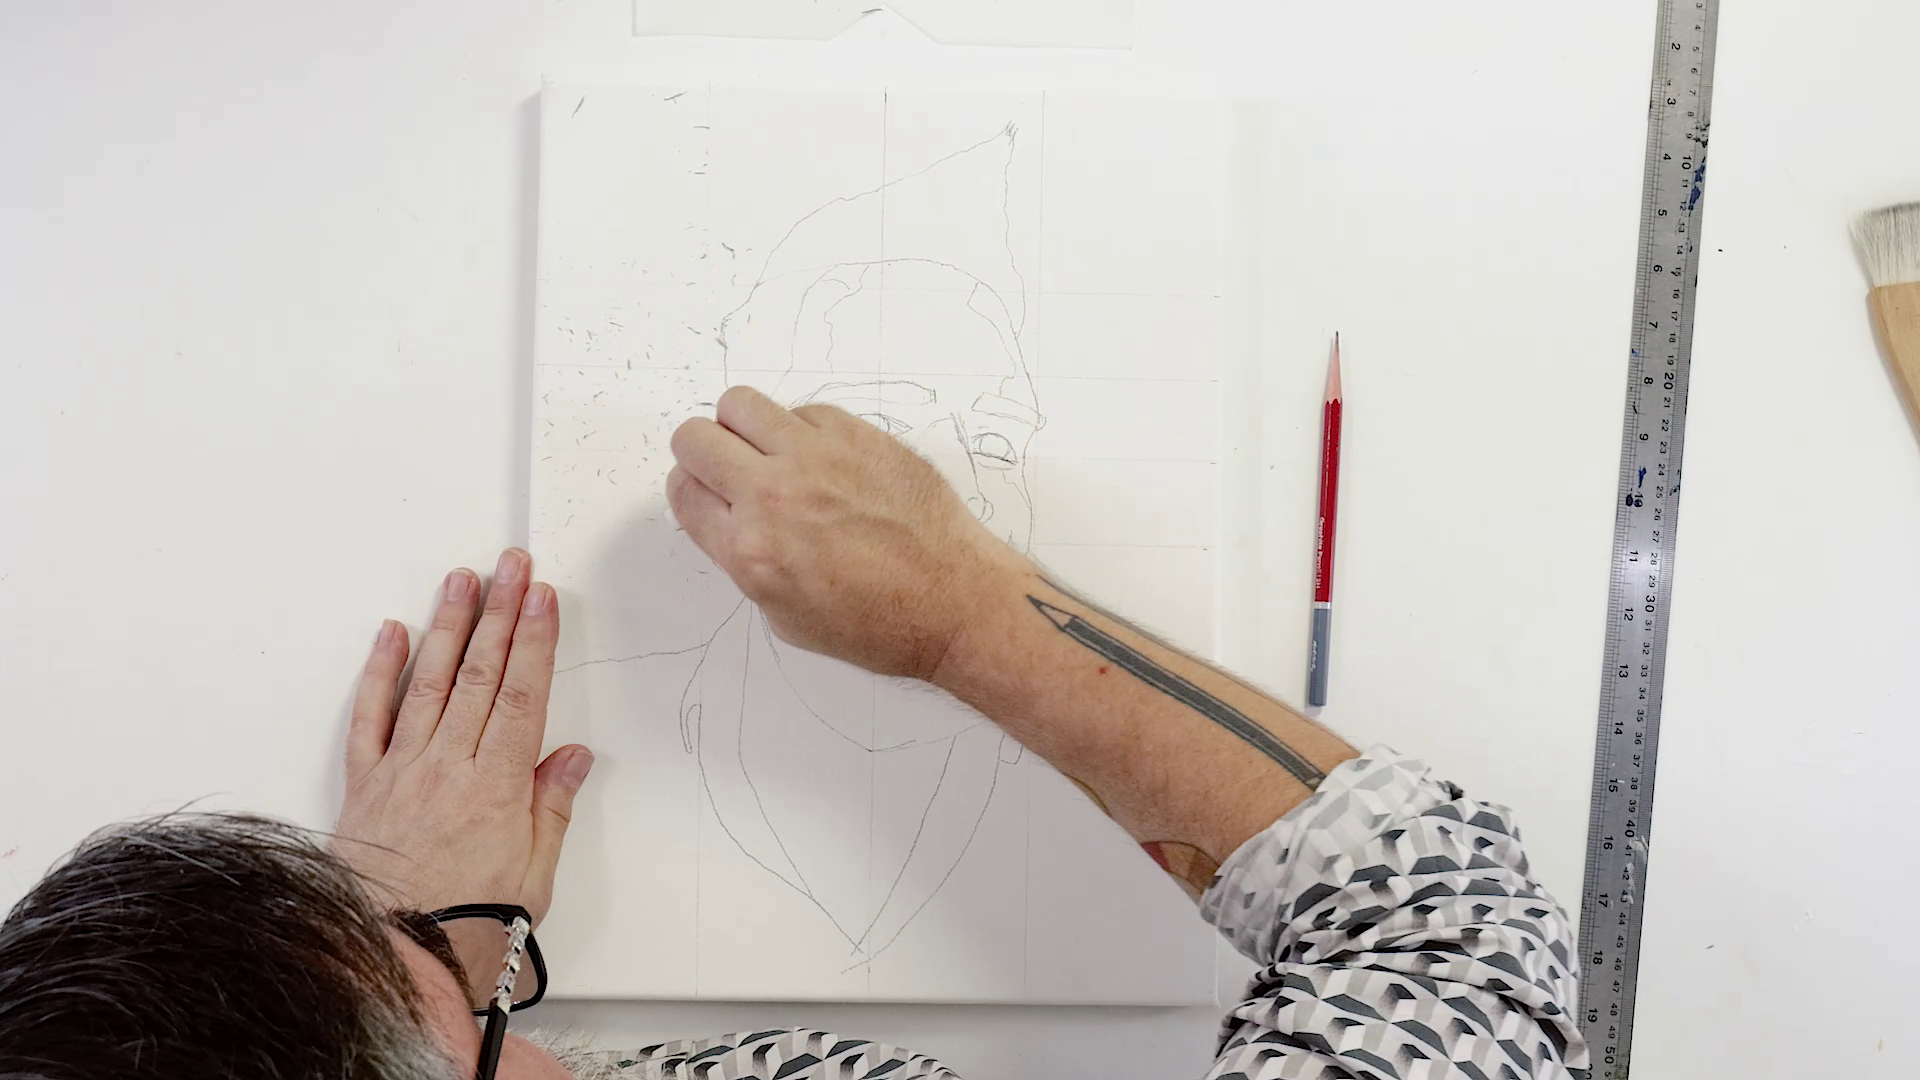
- Draw up the image with graphite pencils, using the grids to get the proportions right
- Remove the grid lines with an eraser when you’re happy with the sketch
3. Paint tinting
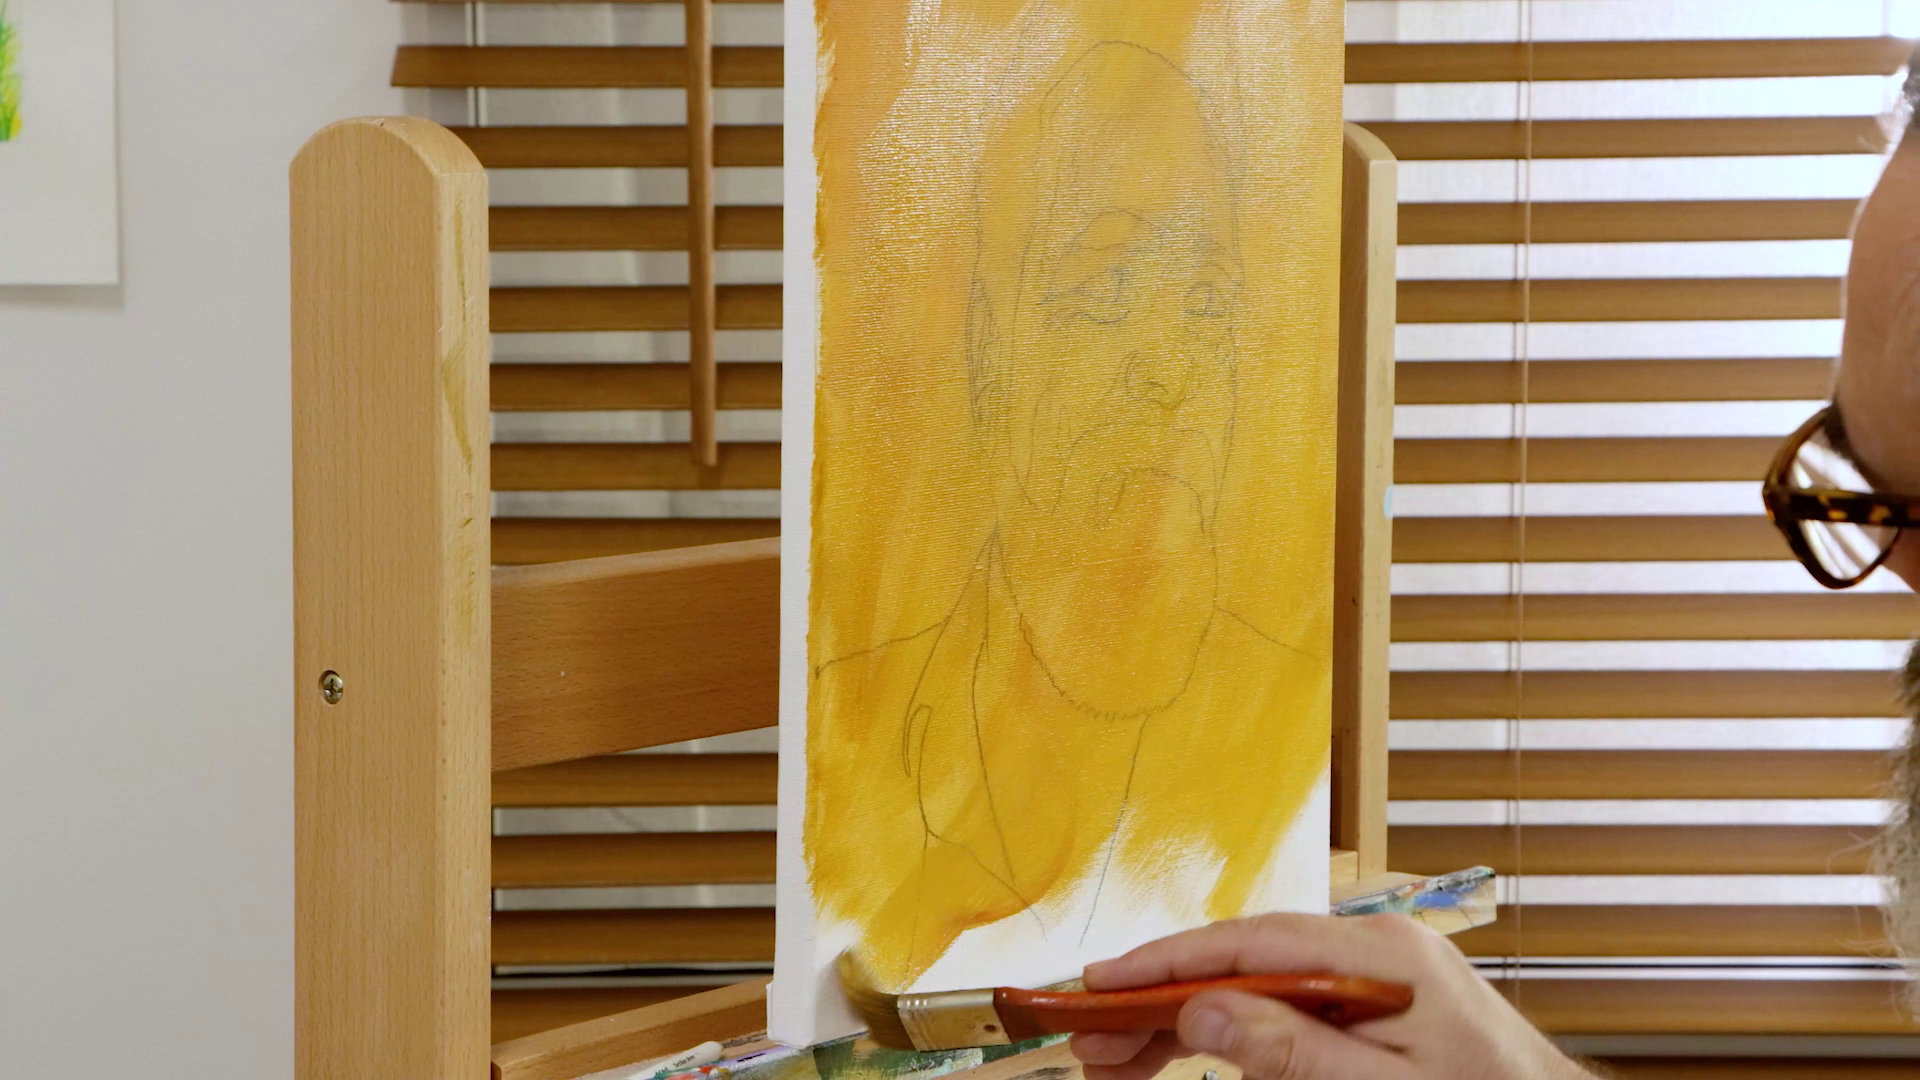
- Mix Yellow Ochre and Burnt Sienna acrylic paint
- Apply a tint with the colours over the entire canvas to seal the graphite and canvas
- This sets up a warm mid-tone to underlie your portrait
- Allow the canvas to dry
4. Mixing skin tones
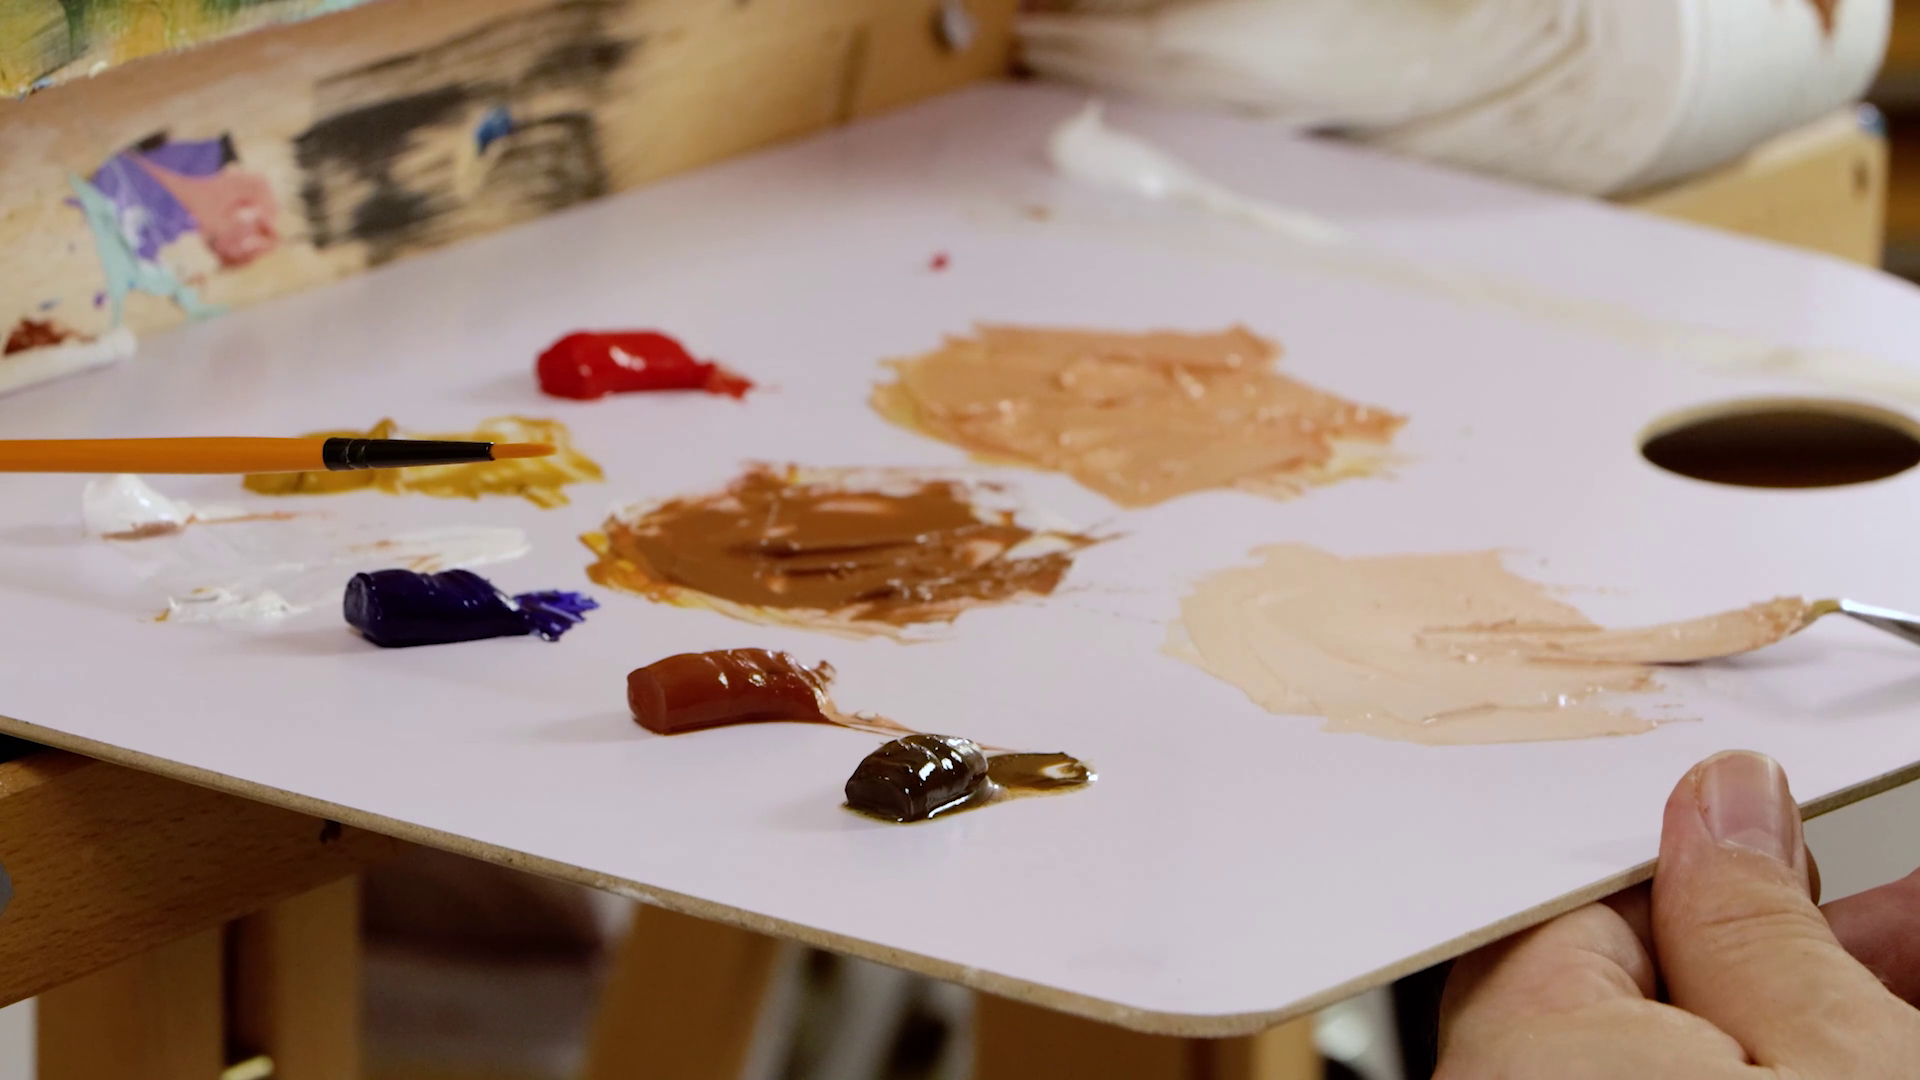
- Squeeze out Titanium White, Vermillion, Yellow Ochre, Ultramarine, Burnt Sienna, and Burnt Umber onto the palette
- Create a mix using Yellow Ochre and Titanium White, then add Burnt Sienna, Burnt Umber, and a touch of Ultramarine to darken the tone
- Add a touch of Vermillion to warm up the mix
- Lighten this mix with Titanium White to create a mid-tone, and lighten further for a highlight tone
- You can use Titanium White to lighten the skin tone and Ultramarine Blue to darken it
- You should now have three main tones: darkest, mid-tone, and lightest
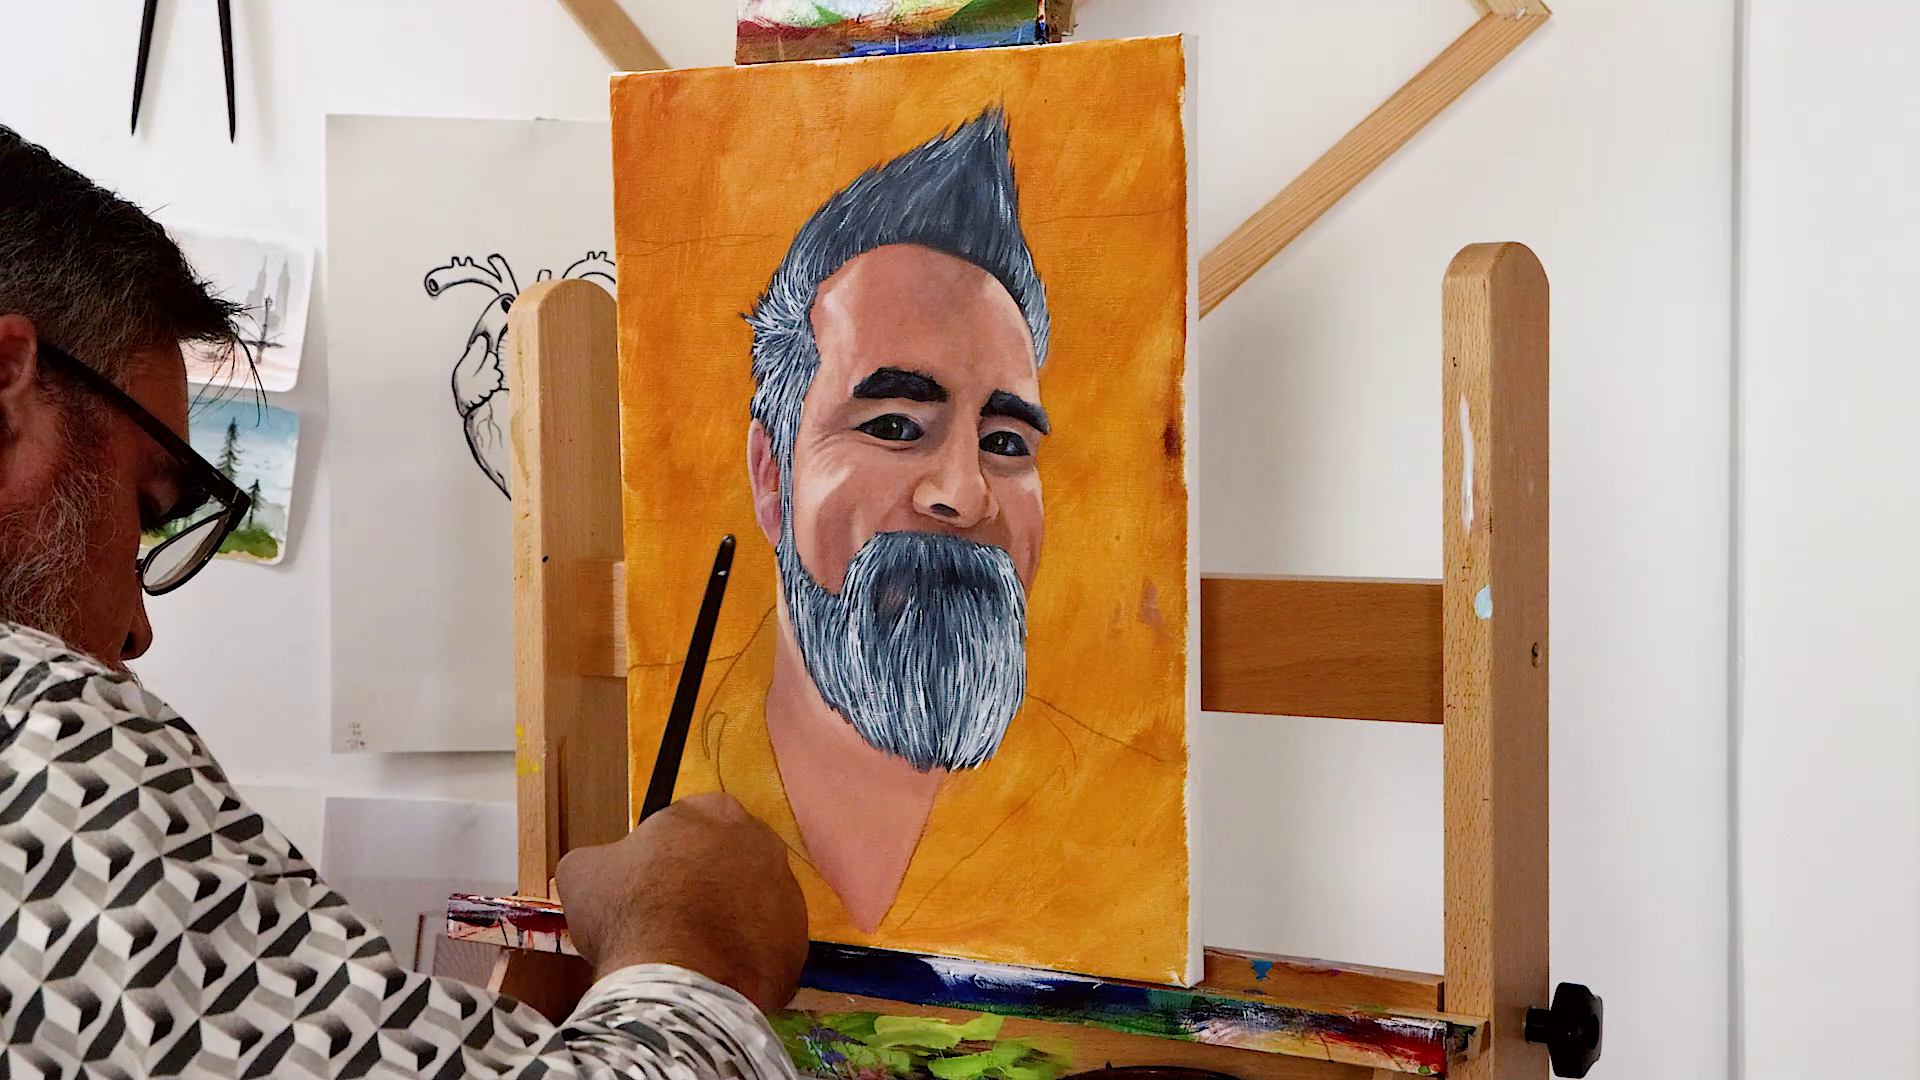
5. Painting shadows and highlights
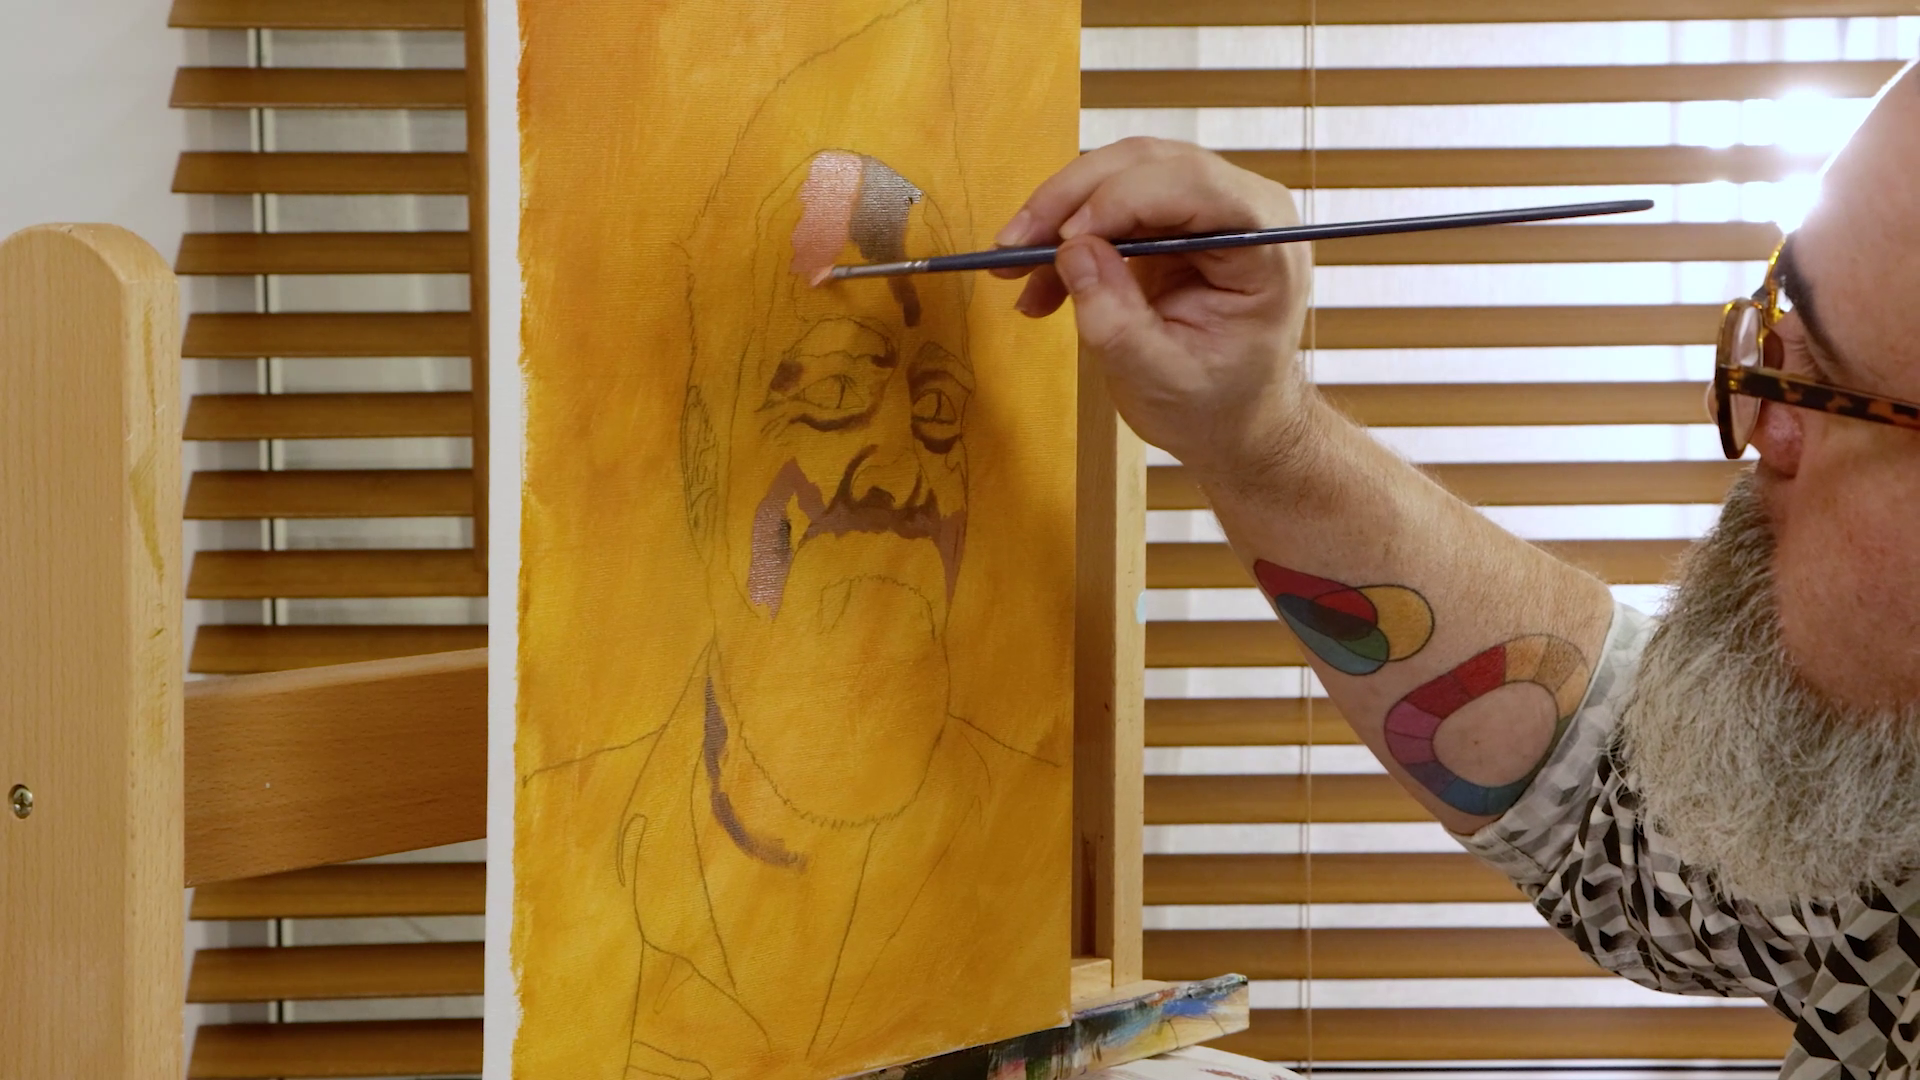
- Use a small filbert brush to lay in the darkest tone in areas like the hollows of the eyes, under the nose, and shadow areas
- Add the mid-tone in blocks next to the darkest tone, without worrying about blending at this stage
- Apply the lightest tone next
6. Blending and detailing
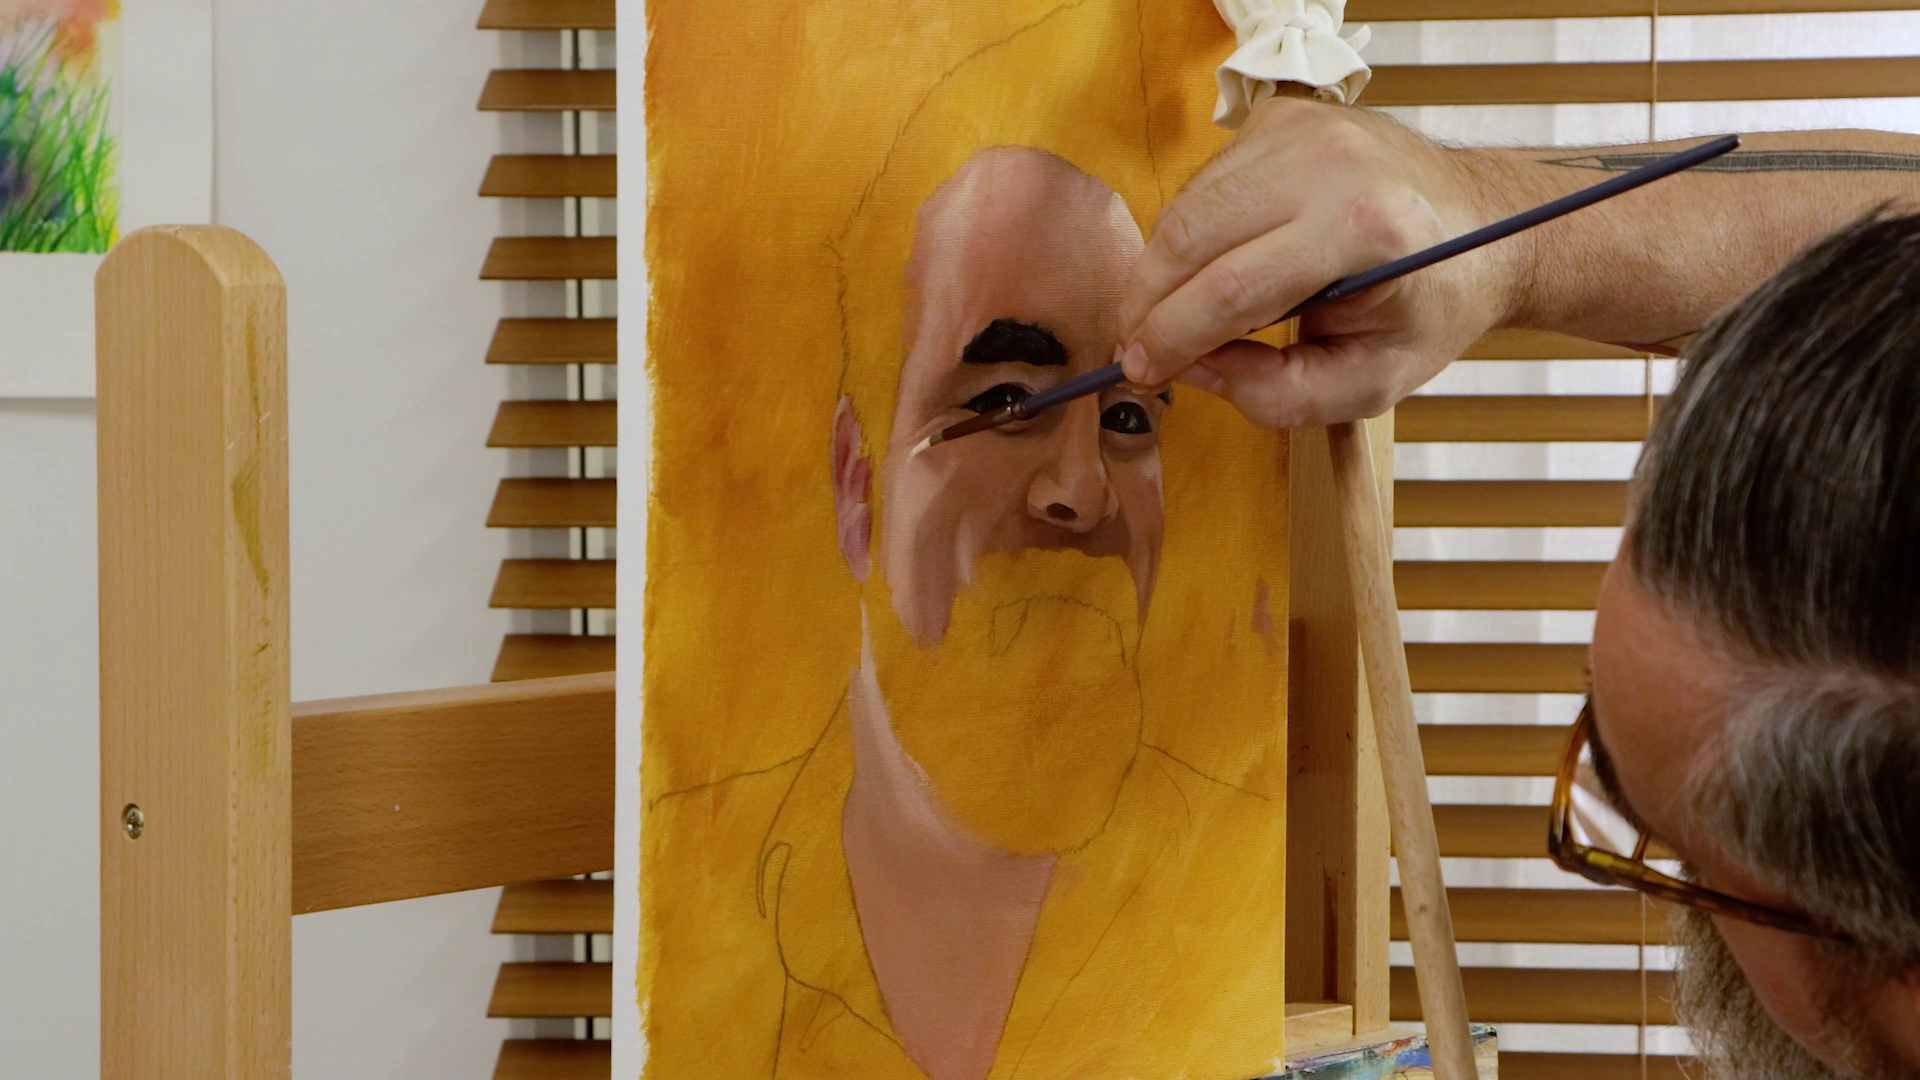
- Carefully blend the three tones so the colours transition smoothly
- Darken or lighten the tones as needed until satisfied
- For the ears, add Vermillion to the mix to create a warm tone
- Add ultra-dark tones around the eyes
- Paint the whites of the eyes, tinting the tone so it’s not pure white to improve realism
- Add highlights to high areas that catch the light
7. How to paint hair
- Apply the hair colour using Paynes Grey
- Go over the top with Titanium White where there’s grey hair, following the direction of the hair with your strokes
8. How to paint the background
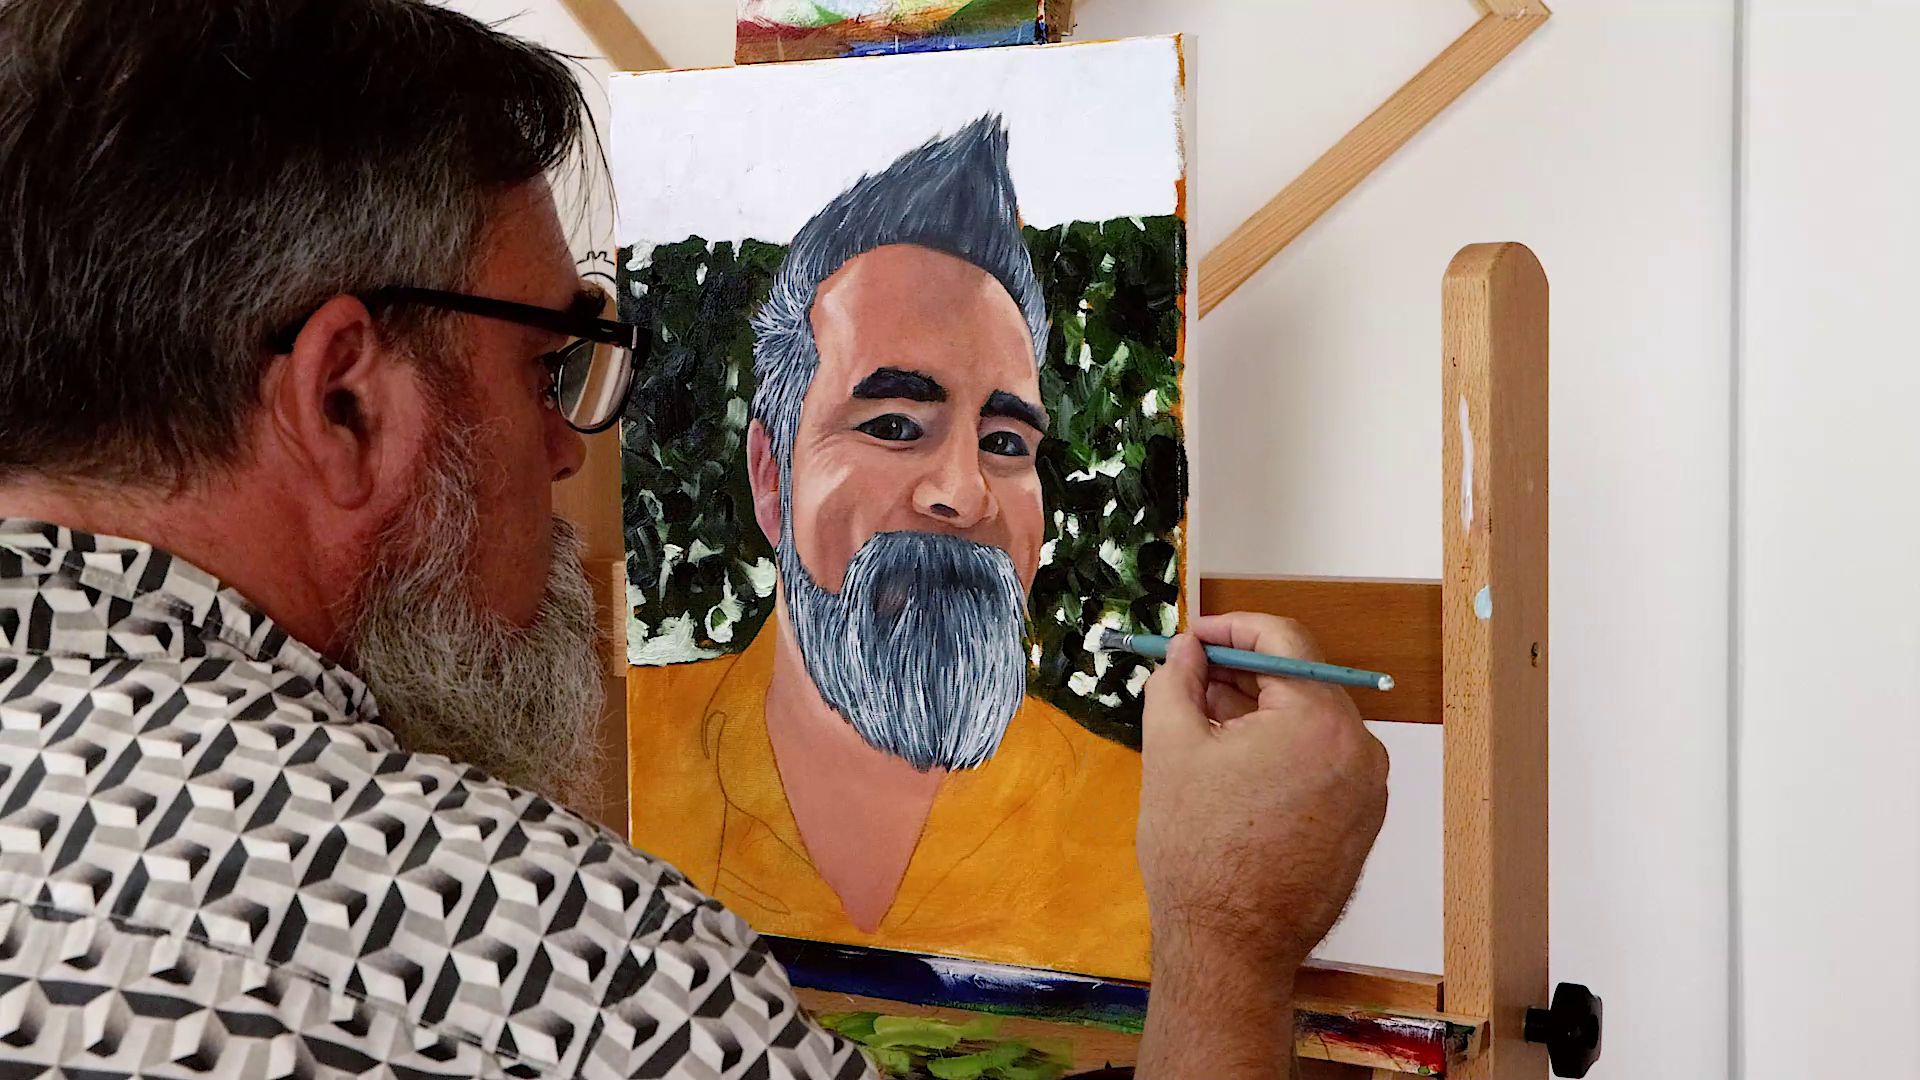
- Paint the background based on your photo's background
- For the sky, we used Titanium White tinted with a touch of Cobalt Blue
- For the hedge, use Sap Green and Paynes Grey, adding White to suggest light peeking through
- Mix Lemon Yellow and Sap Green for a light green, and lay it over the white
9. Painting the shirt
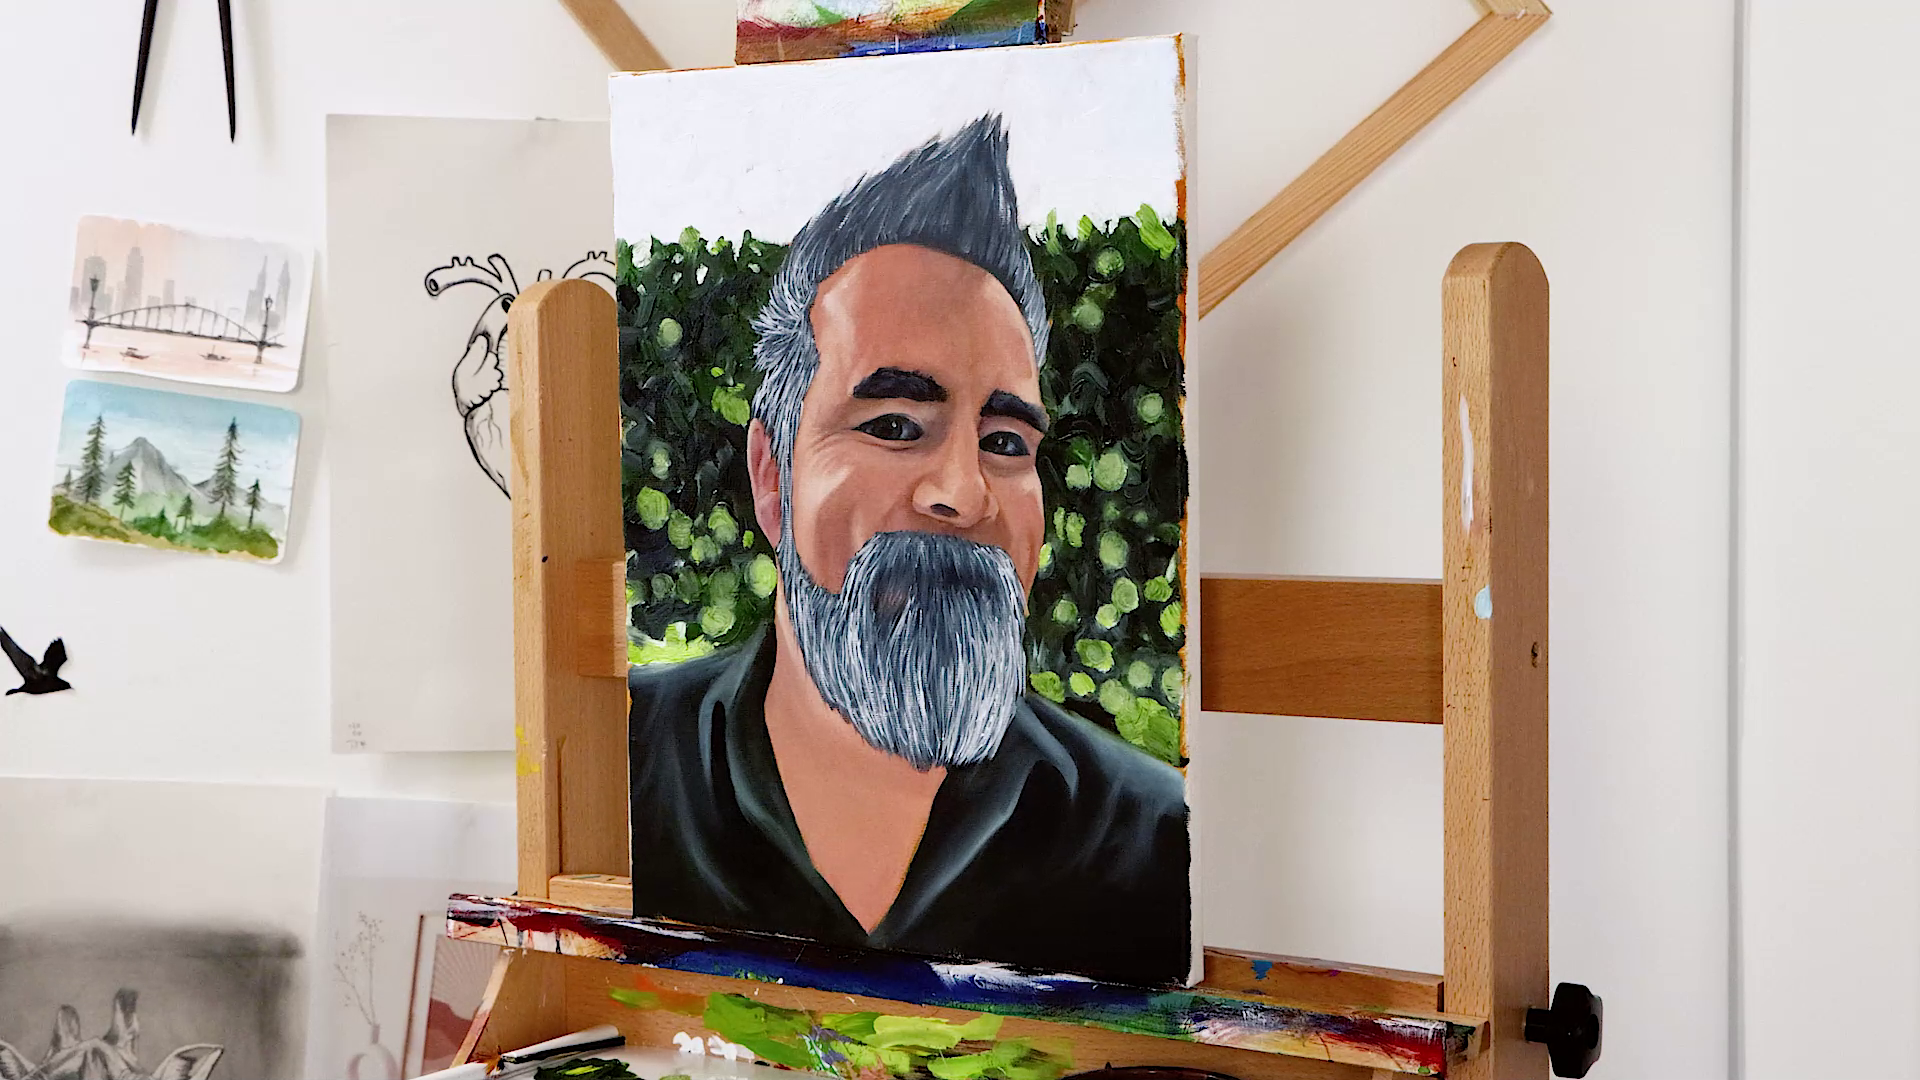
- Lay in Paynes Grey for the shirt
- Blend Titanium White into the highlight areas to suggest the collar
- Use Lamp Black for the shadow areas under the collar
- Photo of yourself (preferably with high contrast)
- Acrylic Paints: Yellow Ochre, Burnt Sienna
- Oil Paints: Titanium White, Vermillion, Yellow Ochre, Ultramarine, Burnt Sienna, Burnt Umber, Paynes Grey, Lamp Black, Sap Green, Lemon Yellow
- Canvas
- Oil & Acrylic Brushes
- Easy Clean Palette Signature
- Tracing Paper Pad Signature
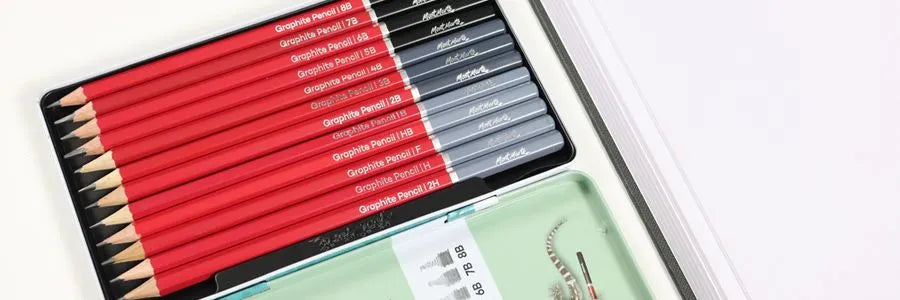
- Graphite Drawing Pencils
- Eraser
You may also like

Cactus ring holder DIY

Acrylic watermelon slice painting with Jacklyn Foster

Air dry clay coasters