


How to paint an impressionistic desert scene
Looking for your next creative project? Learn how to make a beautiful Australian desert scene using oil paints in this step by step video.
Step 1. Tinting the Panel
The first step is to tint the board with a warm tone. For this I use a mix of Crimson Red and Yellow Orange in Satin Series Acrylic. Apply the paint with a wide hog bristle brush. Allow this to dry.
Step 2. Marking up the outline
From this stage on we will only be using Mont Marte Oil Paint. Create a dark tone from Burnt Umber, Phthalo Blue and Crimson Red. Refer to the outline image on page 6. Use a small filbert to rough in all the elements. Keep the brush fairly dry and If you lay a mark in the wrong spot you can remove it with a clean rag and some turpentine. You can get the painting going by adding any dark areas of shadow in at this stage also.
Step 3. Laying in the background Lay out some Titanium White, Ultramarine Blue, Phthalo Blue, Crimson Red, Orange Red, Yellow Deep Lemon Yellow, Yellow Ochre, Burnt Sienna and Burnt Umber. All of these are in oil paint.
Refer to the last image in the PDF. Create a green from Lemon Yellow and Phthalo Blue with a touch of Yellow Ochre. Begin by laying in some vegetation into the hill on the left of the middle ground. Remember they are in the distance so they will be smaller. Create a mix from Burnt Sienna and Orange Red. Paint this around the vegetation. As you work down the hill lighten part of the mix with more Titanium White. Lay the red tone into the rock outcrop on the right. Create a blue from Ultramarine Blue, Crimson Red and Titanium White and paint it across the skyline. Next create the following 5 mixes of green on the palette;
1) I used the blue from the previous step and added some Lemon yellow.
2) I then created a green from Phthalo Blue and Lemon Yellow.
3) A green from Ultra Marine, Crimson Red and Yellow Deep.
4) A green from Ultramarine Blue and Lemon Yellow.
5) A green the same as the previous but with the addition of white.
Starting from the blue of the horizon create blocks of colour in horizontal patches. Use a filbert to lay these patches in. As you work down the board slightly increase the size of the patches.
Stage 4. Painting the tree
Create a dark green from Phthalo Blue, Yellow Deep and Crimson. Scrub this into the mass of the tree. Next create a green from Phthalo Blue, Lemon Yellow with a touch of Crimson Red. This green should be a medium tone green. Lay this tone into the tree in little dabs. Follow the form of the tree. Create a slightly lighter green from Ultramarine and Lemon Yellow and create dabs over the previous greens. Create a third green from Ultramarine Blue, Yellow Ochre and a touch of Titanium White and follow the same process with the dabs. There should be less of these as these are actually the outer leaves that receive more light. Once the leaves are all in use that dark tone and lay it into the trunk and branches. Create a mix from Titanium White a touch of Ultramarine Blue and a touch of Burnt Sienna. Make sure the tone is still very bright and lay this around the shadow areas on the trunk and branches.
Step 5. Painting the sky
In this step we need to lay the sky in around the tree. Start by premixing 5 blues of differing strengths comprising from Phthalo Blue and Titanium White. Refer to the last image in the PDF to see how dark to mix the tones. The colours don’t need to be exact just close. Lay the darkest tone into the top of the board. Work your way about 10 cm down then start the next tone from this point and create another block across the board work right up to the tree, but keep the colour out of the green leaves. Keep working down the board. The tone at the bottom of the horizon should be the lightest. Once all of the tones are in, loosely blend them together with a clean brush.
Next bring the colour in around the leaves, use the filbert on its edge and create little acute shapes. Cut areas in around the branches of the tree and dab little spots of blue onto the leaves also. This will suggest light shining through areas in the tree with less vegetation.
Step 6. Painting the foreground
In the foreground I created some spinifex bushes. These are basically created in a similar fashion to the tree inasmuch as laying a thin coat over the surface and laying the lighter colours over the top. All of the greens have already been mixed so start by scumbling in the dark green into the areas. Next take the darkest green and apply it in quick strokes emitting from the centre of each bush. The trick to creating thin lines is to use a large angle brush on its side and lift it off the surface at the end of the stroke. Next take the next lightest green and create more strokes over the previous strokes. The last colour should be the lightest, apply this in the same fashion. The last step is to paint some Orange Red into the foreground.
Material List
- Brush Wallet Set Premium 15pce
- Painting Board Premium 40.6 x 50.8cm (16 x 20in)
- Tear-off Paper Palette Signature 50gsm 36 Sheet
- Traditional Wood Palette Signature 30 x 38cm (11.8 x 14.9in)
- Palette Knife Signature No.15
Shop Materials List
You may also like
How to decoupage with Deco Pudge
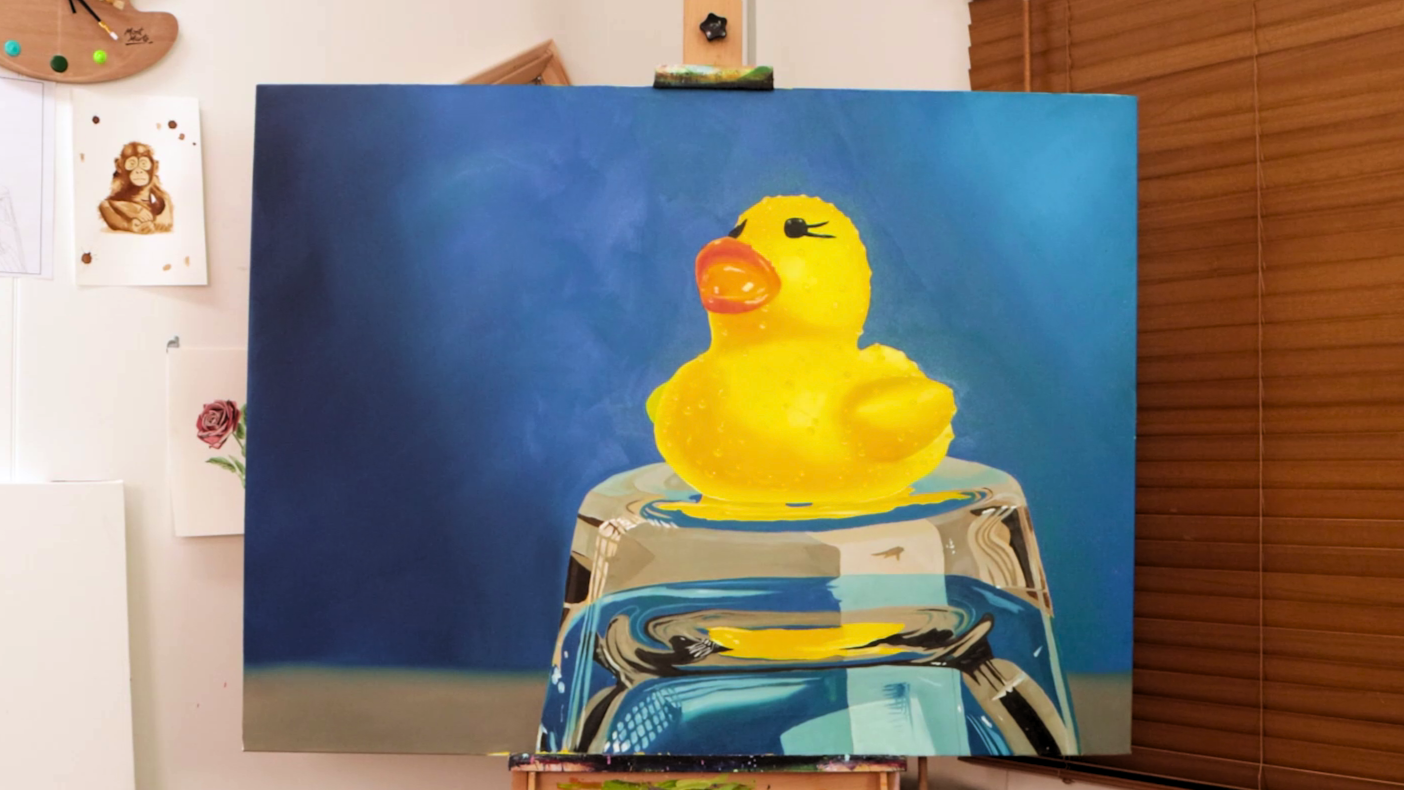
Paint a realistic rubber duck canvas in oils
