


How to sculpt a shark with Plaster Cloth Wrap
Step 1: Cardboard armature
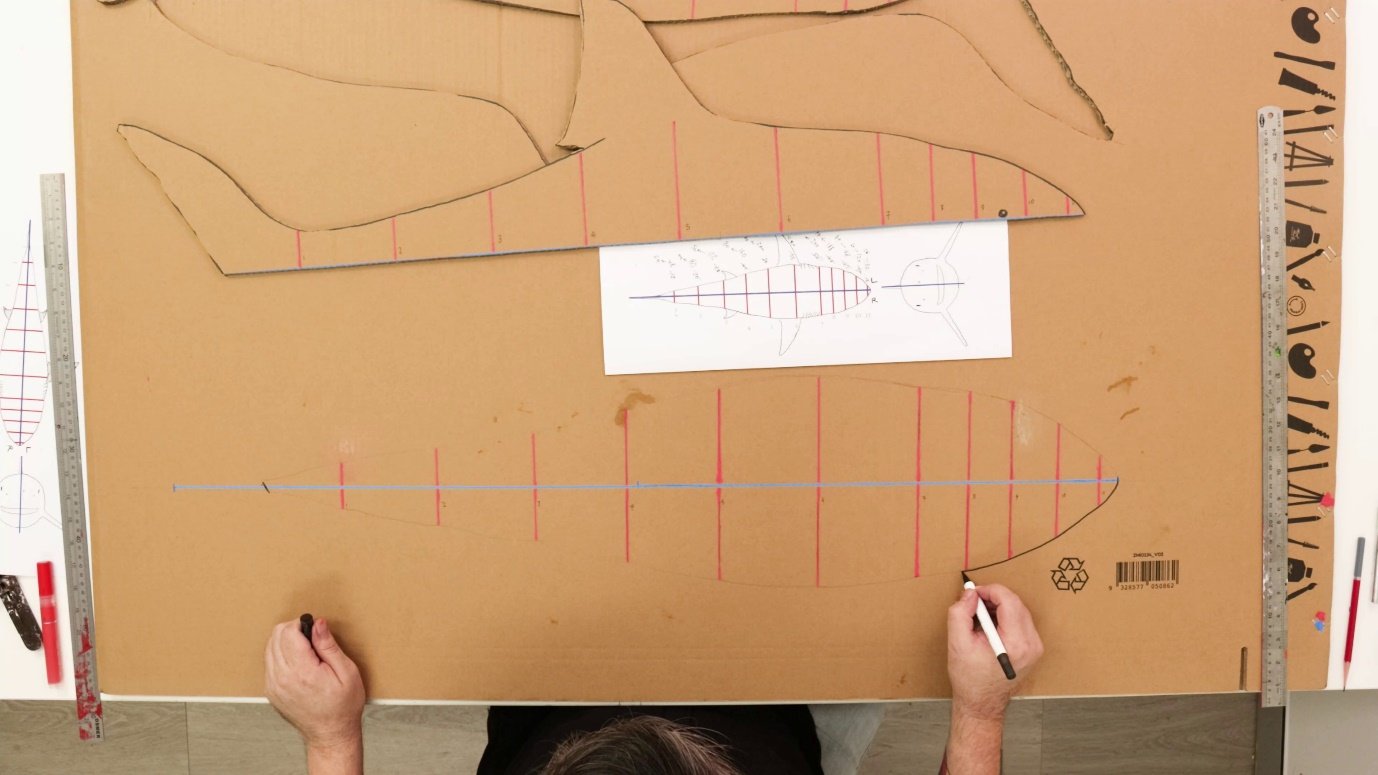
- Print out the provided top and side profiles of the shark in A3 size
- Multiply the measurements by 4 to scale up the shark to be 1m long
- Draw a 1m blue line on cardboard
- Mark the 11 ribs along the line using a red marker (refer to the size guide and multiply for scale)
- Draw the side profile of the shark with a black marker
- Carefully cut out the side profile, then cut it in half horizontally
- Draw another 1m blue centre line on your cardboard for the top profile
- Place the side profile piece onto the cardboard and mark the 11 ribs over the blue line
- Remember to multiply the top profile measurements by 4 when drawing them in
- Draw the top profile outline and carefully cut it out with your hobby knife
Step 2: Assembling sculpture
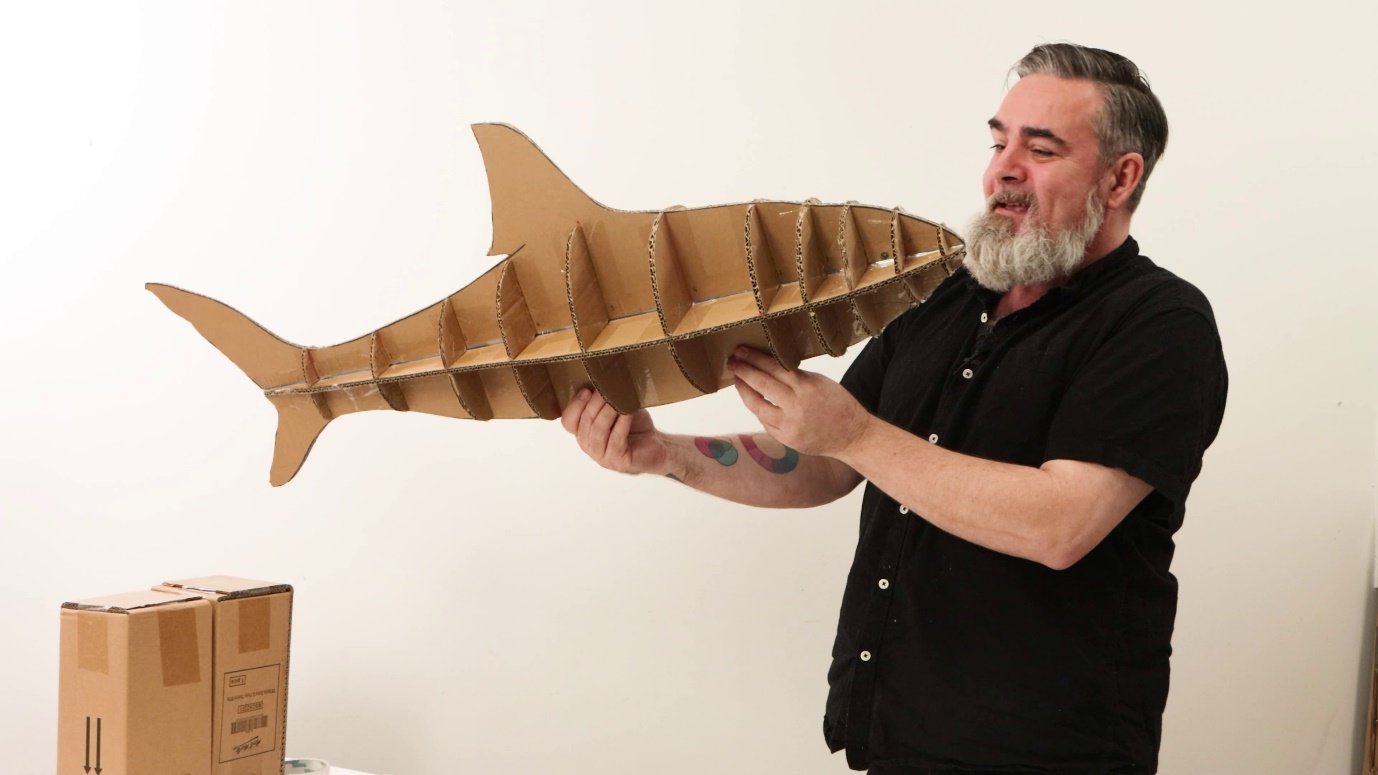
- Attach the upper and lower side profile pieces to the top profile using clear packing tape
- Multiply the rib dimensions by 4, creating 4 arcs per rib, and cut out each semi-circular shape
- Cut and attach each rib, one at a time
- Tape each rib into place, working from ribs 1 to 11
- Layer packing tape from nose to tail, pulling it as tight as possible
- If available, use a tape gun or dispenser to speed up the process
Step 3: Plaster armature
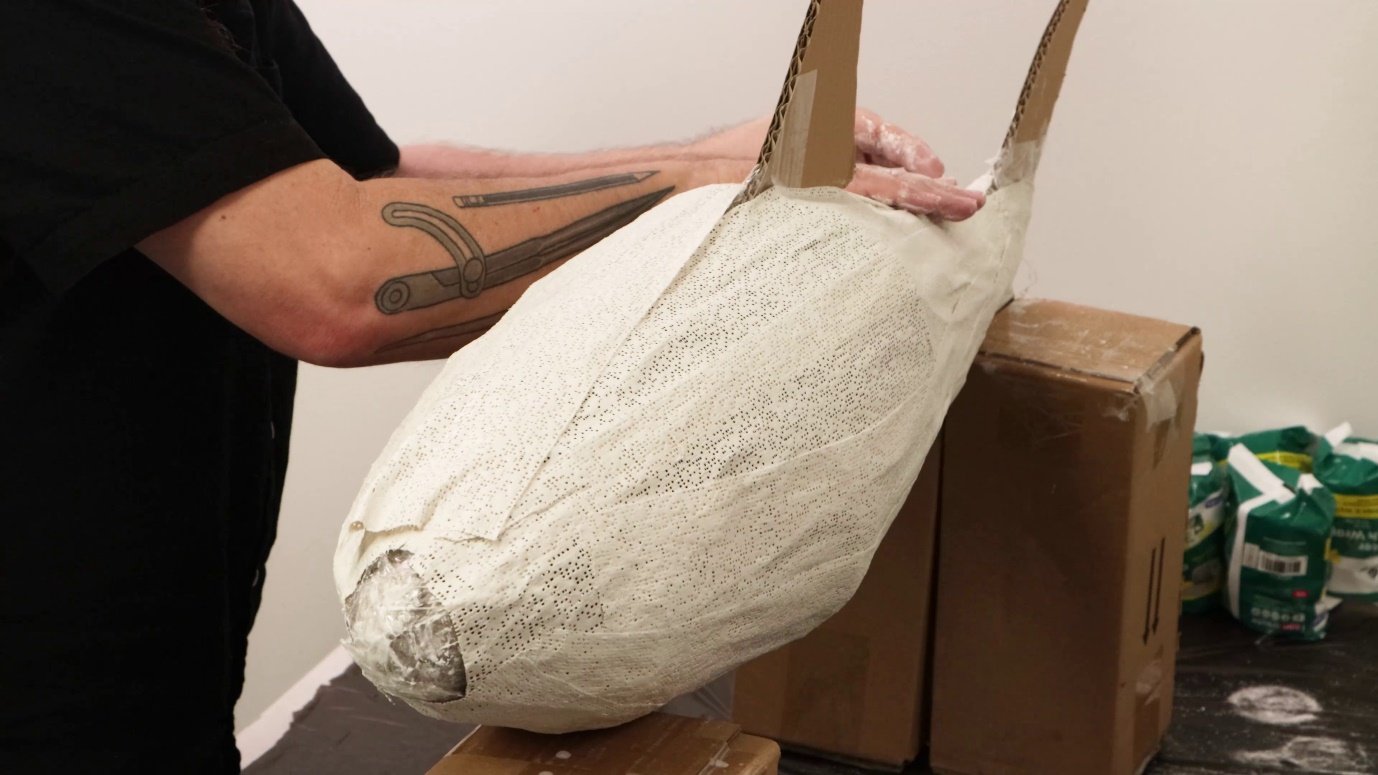
- Fill a large bowl with water
- Cut strips of Plaster Wrap to fit the shark’s body
- Dip each strip into water before you apply it, making sure it is completely soaked
- Layer your plaster wrap over the shark, overlapping each strip slightly
- Smooth the plaster into all the grooves, ensuring an even coat
- Turn the shark upside down to apply plaster to the underside
- Apply extra layers to reinforce any weak areas
Step 4: Attach the fins
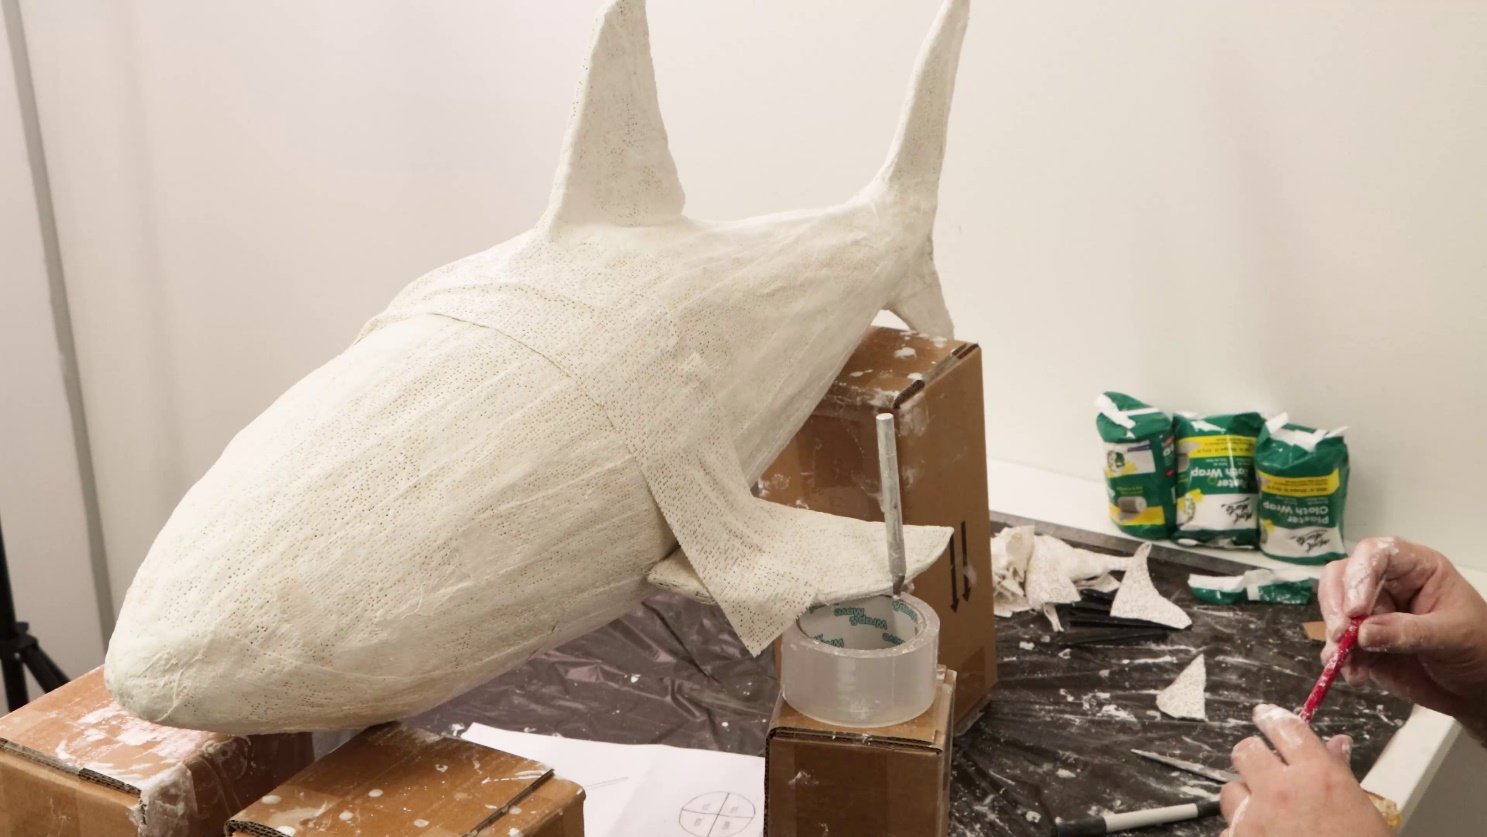
- Cut the pectoral fins (side fins) from cardboard and cover them in 4 layers of Plaster Wrap
- Repeat this process for the pelvic fins and second dorsal fin
- Allow all fins to dry completely before attaching
- To attach the pectoral fins, cut strips of Plaster Wrap, attaching above where the fin goes
- Once dry, wet the other half and attach it over the fin to secure it in place
- Repeat the process for the other fins
- Reinforce the joins of all fins with additional Plaster Wrap
- Roll plaster wrap into small balls and press them onto the sides of the shark to form the eyes
Step 5: Simple shark painting
- Turn the shark upside down and paint the underside with Titanium White using a 25mm flat brush
- Allow it to dry completely
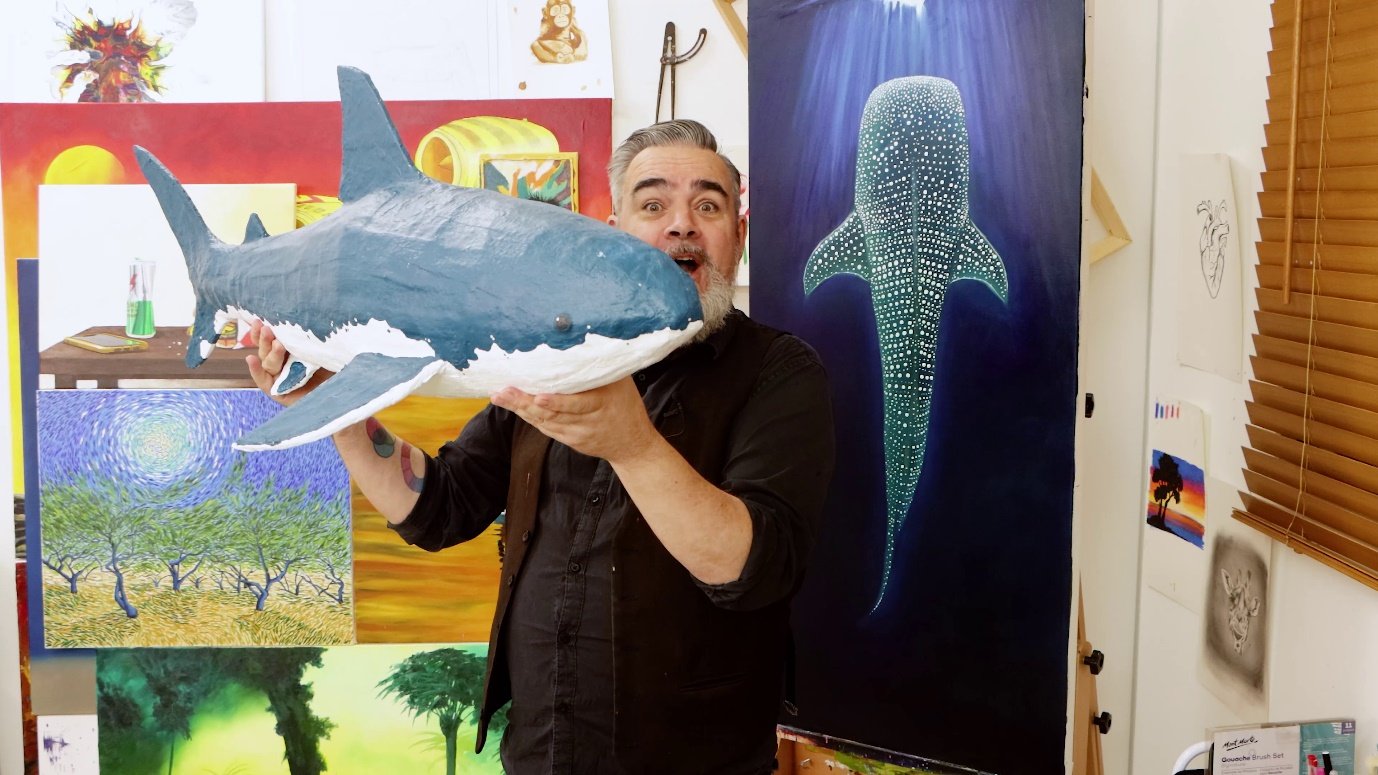
- Paint the upper body in a grey-blue tone
- We got creative and painted a splash-like effect where the white meets the blue
- Add Payne’s Grey for the eyes with a couple of white dots for highlights
Now your Great White Shark sculpture is all done and ready to display! This project is a great way to explore Plaster Wrap and cardboard armatures, so you can use the technique with loads of other ideas.
- Plaster Cloth Wrap
- Acrylic Paint (Titanium White, Phthalo Blue, Sap Green, Payne’s Grey)
- Acrylic Paint Pens (Red, Blue, Black)
- Hobby Knife
- Large flat brush
- Scissors
- Ruler (60cm or 1m)
- Clear Packing Tape
- Cardboard
- Large Bowl of Water
You may also like

Cactus ring holder DIY

Acrylic watermelon slice painting with Jacklyn Foster

Air dry clay coasters