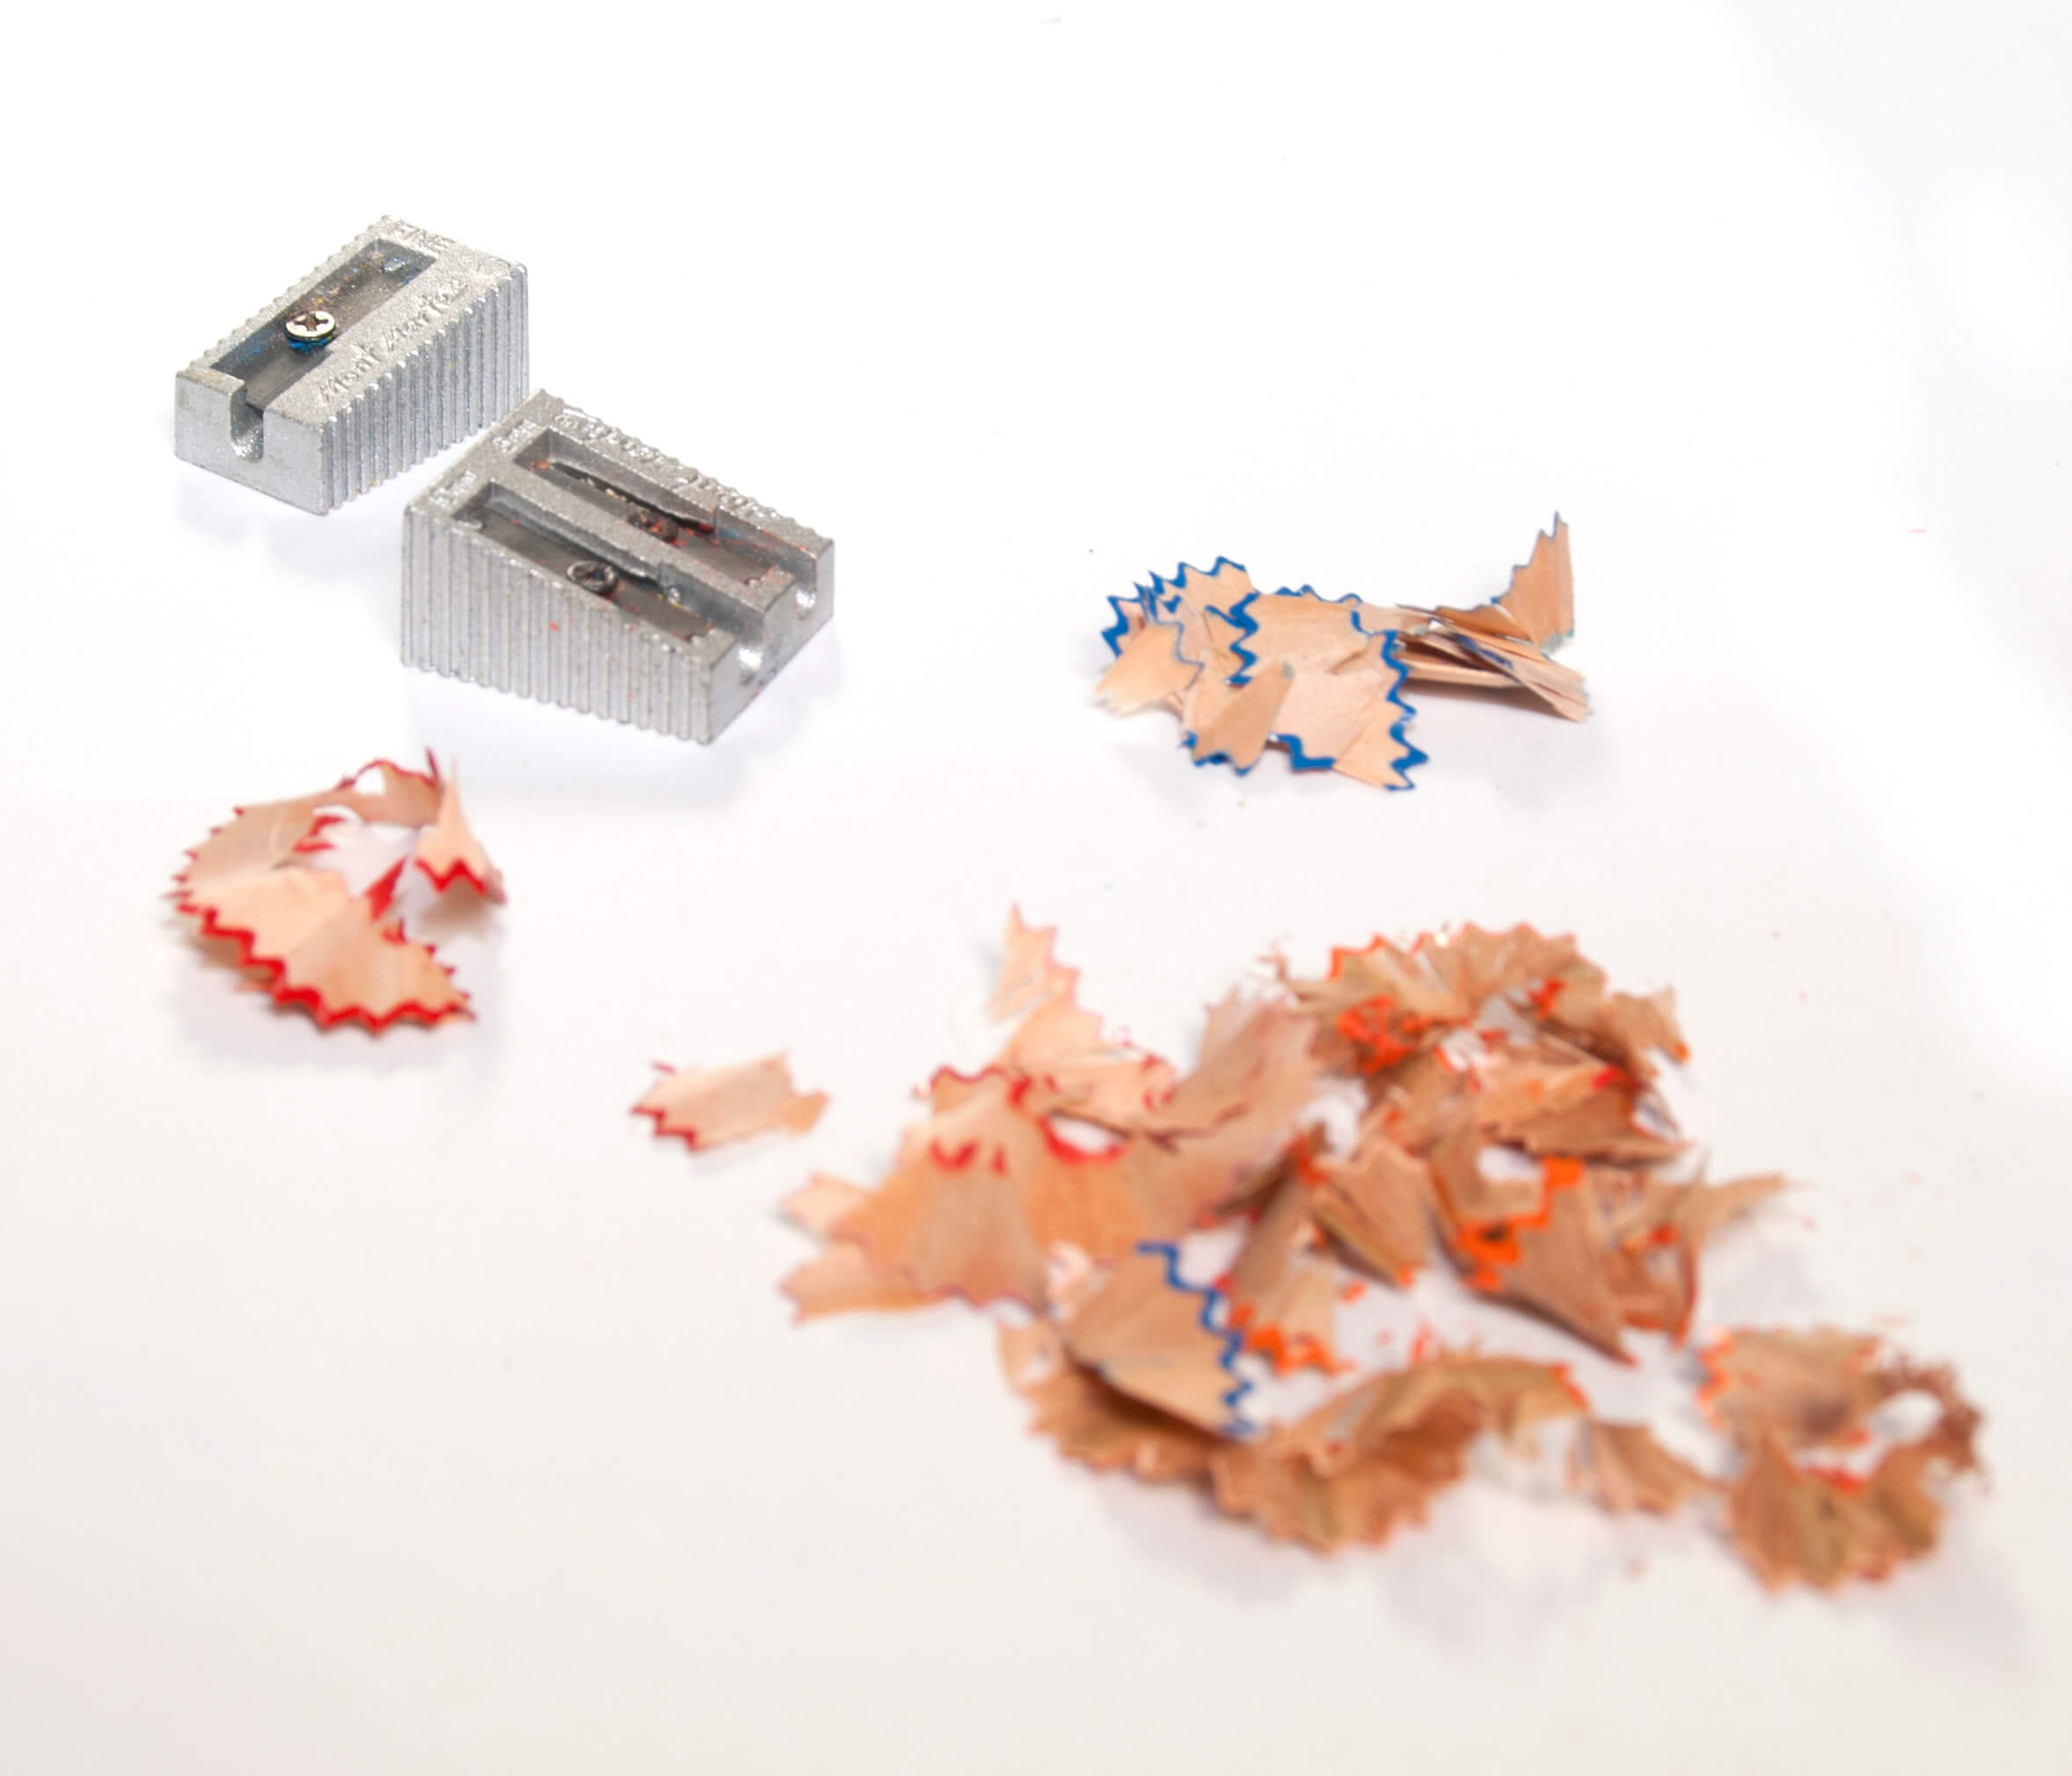
To get the most out of your art pencils, it’s best to sharpen them correctly. Not all pencils are made the same and others need a bit more love and care when it comes to sharpening. So, we’re here to break down the art of pencil sharpening with these 10 tips for sharpening art pencils, to make it easier next time you reach for your tools.

1. All art pencils need to be sharpened differently
Sadly there isn’t a general all-art-pencil sharpener that can solve our pencil problems. Some have hard colour pigments inside the wooden casing that can be sharpened with a manual sharpener, and others have softer and fragile pigments inside, meaning they need to be sharpened carefully with a hobby knife. If you sharpen a woodless or pastel pencil with a mechanical sharpener, you’ll be left with a broken pencil (pretty pointless really) so it’s worthwhile sharpening your pencils correctly and it’ll keep them stronger in the long run.

2. For graphite pencils and coloured pencils, grab a mechanical sharpener
The best graphite pencil sharpener is a manual or mechanical sharpener, these sharpeners are also the best for coloured pencils too (with the exception of woodless pencils, it’s best to use a hobby knife for those). To use a manual sharpener, turn the sharpener and hold the pencil steady in your hand. If you’re using a mechanical sharpener, turn your sharpener with one hand and keep the pencil horizontally in the other. Now you’re ready for drawing, colouring and creating!

3. For manual sharpening consider using an artist quality sharpener (or at least a new one!)
To get the most out of your art pencils, it’s best to consider using an artist quality sharpener or a new sharpener that will have a sharp blade - luckily these don’t have to cost an arm and a leg, you can pick up one of ours here. The reason for this, is that the blade in your manual sharpener needs to be sharp. How do you know? If the blade is sharp, then the pencil’s shavings should come off crisply and in one singular motion. If they chunk as you sharpen the pencil, it's time to grab a new sharpener!

4. Sharpening a charcoal pencil, watercolour, pastel or woodless pencil
These art pencils have soft pigments inside, so you’ll need to sharpen these fragile pencils using a hobby knife. A hobby knife will shear the pencil without damaging the colour strip inside the pencil. To sharpen using a hobby knife, you’ll need to use your thumb to hold pressure on the pencil and use the knife to carve into the wood, starting above where the colour strip ends, and the wood begins. If videos are more your thing, check out our how to sharpen art pencils with a hobby knife video where we’ll step you through how to do it.

5. Keep yourself safe when using a hobby knife
Sharpening with a hobby knife can be dangerous. Only use a hobby knife under adult supervision. Always sharpen the pencils away from yourself, slowly and at a slight angle, making sure the hobby knife blade is sharp. Don’t attempt sharpening a charcoal pencil, watercolour, pastel, woodless pencil, or any other pencil using a blunt knife, not only is it super dangerous, you’ll also be putting too much pressure on the pencil.

6. For fine points, use sandpaper for sharpening pencils
If you’re looking for a really fine point for drawing, you can use sandpaper for sharpening pencils to a fine point. To do this, sharpen the pencil as required, then reach for some sandpaper and move the paper backwards and forwards, while lightly twisting the side of the pencil onto the sandpaper. Keep the pencil at 10-15 degrees from the surface and rotate the pencil for an even sharpen. Then you’re ready to go!

7. Don’t over sharpen your pencils
Whether you’re sharpening a coloured pencil or a pastel pencil, it’s always important to remember not to over sharpen your pencils. Why? Over sharpening can fracture the pencil’s colour strip inside the pencil, meaning the pencil is more likely to keep breaking later on. It doesn’t matter if you use a mechanical, manual or hobby knife, it’s best to stick to sandpaper for creating ultra-thin points.

8. Sharpen your pencils first
Sounds silly but it’s best to sharpen all of your pencils first before starting a creative session. Having everything at arm’s reach ready to go, not only cuts down time, but it also means you’ll know all of your pencils are sharp and in tip top shape before starting your next project.

9. Put pencils out in the sun before sharpening
This works best for coloured or graphite pencils that seem to just keep breaking off when sharpening them, just pop them out in the sun before sharpening. Leaving pencils outside in direct sunlight can warm the fractured colour strips or “leads” and soften them to stop breakage.

10. Store your art pencils correctly
Storing your pencils the right way will look after the colour strip inside and help stop breakage. Storing pencils correctly will also help cut down the need to sharpen your art pencils as regularly, if the colour strip stays strong, you’ll see less pencil breakage when the pencil reaches the paper. It’s best to store your pencils with the point towards the sky, you can place them in glass jars or use a rubber band to stop them from rolling around too. Our studio tidy and pencil wallet are both great ways to store your art pencils.

Looking for more? Explore our art pencil range here or check out our 7 answers to common pastel pencil questions.
We hope these 10 tips for sharpening art pencils help you next time you’re reaching for the art pencils. Show us what you create with your pencils and #montmarteart or tag us @montmarteart on Instagram or Facebook, we’d love to see what you create.


