We’ve rounded up some handy tips so you can learn how to properly dispose of oil-based paint. We’ve also got some pointers to help you conserve painting supplies and create with less waste. Read on to discover more and maybe try out some new painting habits that are environmentally friendly.
1. How to dispose of oil-based paint

Disposing of paint, whether oil or acrylic, needs to be done with care so we impact the environment as little as possible. Our oil paint, when not exposed to solvents, is simple to dispose of and only takes a few steps.
Throwing away paint is never ideal, but it’s important to know the right way to do it. If you have oil paint that you’d like to dispose of that hasn’t been mixed with solvent, spread the paint onto some paper waste (such as newspaper), loosely roll it up, and leave to dry in a well-ventilated space. Once the paint has hardened, you can dispose of the paper with regular household waste.
In an ideal world, less waste is best! We’ve got some other tips to check out that will hopefully keep your supplies in good condition and lasting longer. Try them out to cut back on waste when creating with oil paints.
2. How to dispose of oil paint solvent

When it comes to how to throw away oil paint and solvents, it’s good to get to know your local waste facilities. Resist the temptation to put paint down the drain – the environment will thank you! The same goes for solvent disposal – no tipping down the sink.
Anything that has touched solvent and is disposable, including solvent in oil paint, should be stored in an airtight metal container before disposal. This includes oily rags and paper towels. It’s best to keep them in a safe space devoid of oxygen because solvents produce fumes and are highly flammable.
Once you’re ready to take your oil paint and solvent waste to the local disposal centre, grab your airtight container and get going. Ensure your container is definitely airtight if it’s travelling inside the car with you, and make sure there’s good ventilation just in case. Roll those windows down!
Bonus – storing turpentine! Did you know that if you decant solvent to use for cleaning, it doesn’t have to be thrown out? Your used solvent can be reused! Once you’re done using the solvent, pour it into an airtight container (not plastic! glass jars are perfect) and leave it in a safe space. Come back in a while and you’ll see the paint and colour sediment have settled at the bottom of the jar, leaving clean solvent to use on top!
Decant the clean solvent into a smaller container next time you paint. When you’re done with that batch, recombine it into your bigger container and repeat the process. Your solvent can be reused for much longer this way, reducing your waste, and saving your wallet!
3. How to clean oil paint palette

Oil painters often use wooden palettes to mix their colours as some solvents can dissolve and deteriorate plastic palettes. Learning how to clean a wooden palette is pretty simple – we even have a video to follow along with.
1. The first thing to do happens before you even put paint on the palette. Prime the palette with an oil medium like Linseed Oil so it is easier to clean at the end. Just rub the medium into the wood surface using a clean rag. Apply two layers.
2. Once you’re done with your painting and it’s time to clean, use a palette knife to scrape off any remaining paint from the palette. If the paint’s been mixed with solvents, wipe it onto a paper towel and store it in your oil disposal container until you can get to a waste facility. If it’s just oil paint, spread it onto newspaper and leave it to dry before chucking it out.
3. Apply solvent over the paint-covered areas and use a cotton rag to work the solvent into the palette. Keep scrubbing to remove the paint. Make sure to store the rag in with the rest of your solvent waste in an airtight metal container until you head to a disposal centre.
4. Bonus – less cleaning! Many oil artists do not clean the edges of their palettes with solvent. They clean the middle area where paint is mixed, and then just repeat the same colour placement each time around the edge of the palette. This is less work and less solvent!
4. How to clean oil paint brushes

The easiest and fastest method for washing oil paint off brushes is to use solvent and cotton rags or paper towel. Try out the following steps:
1. Remove the excess oil paint off the brush onto a paper towel or rag.
2. Decant a small amount of your solvent into 3 containers (not plastic).
3. Clean the paint out of the bristles by dipping the brush into the first solvent containers and working the liquid into the brush head. Do not leave the brushes to soak as this will ruin them!
4. Go back and forth from a piece of paper towel or a rag, wiping the paint from the solvent-soaked bristles and dipping it back in to remove more.
5. Once the brush is looking cleaner, move onto the second solvent container and repeat the process. The solvent in this container should end up with less colour in it.
6. Lastly dip and wipe the brush using the final solvent container. This solvent should be fairly clear when you’ve finished, and your brush should be free from paint!
7. To remove any remaining paint at the base of the ferrel (where the bristles meet the rest of the brush), dip it into in a jar of vegetable oil, wipe off the excess, and then dip the brush in the clean solvent container. Dry the solvent from the bristles on to a clean rag or paper towel.
8. Throw out any solvent paper towels or rags into your airtight metal container and take them to a waste facility when you can. Pour the used solvent into a glass jar and wait until the paint has settled at the bottom before decanting the clean solvent next time you paint.
9. Bonus – shape saver! Repoint/mould the bristles into their correct shape using hair conditioner and stand the brushes upright in a jar. This will keep them in good form between uses and you can simply rinse out the conditioner when you next go to paint.
For an up close look at this process, check out our handy tutorial video on how to clean off oil paint brushes.
5. How to store oil paint

The best way to dispose of oil paint is to avoid doing so. We’ve got a couple of handy hints to cut back on waste and make your paint supply last longer.
Learning how to preserve paint is great not only for the environment, but to keep a consistent colour palette for your projects. If you have mixed paints on a palette, simply pop your palette into an airtight snaplock bag and store in a cool, dry place. This will keep well for short-term use, but if you need to come back to the colours down the track, throw the snaplock bag in the freezer for long-term storage.
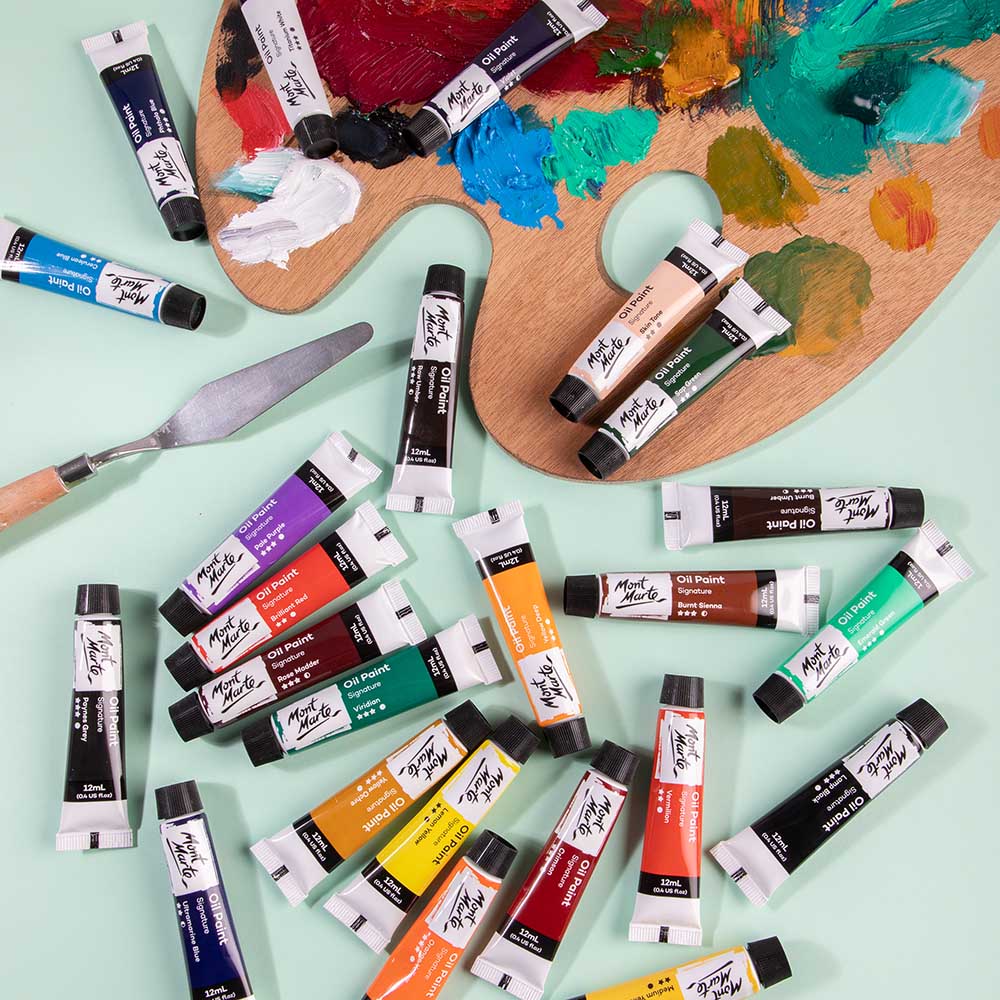
When it comes to oil paint tubes, it’s important to keep them clean and in good condition so that they stay airtight. Paint will often build up around the screw-lid on your oil paints that can prevent an airtight seal. The easiest way to clean this area is with a toothbrush and solvent, using the stiff bristles to clean out the grooves of the lid and tube. Maintain your tubes and keep them clean to help your oil paints stand the test of time. For more info on this process, check out our handy how-to video.
Oil paints can last for a long, long time when stored and cared for correctly. However, they can appear to be ‘off’ or spoiled to a beginner when the oil separates from the pigment in the tube. You can tell this has happened when you go to squeeze your colour out and oil seeps out separate to the paint. This is a natural part of owning oil paints, as over time heavier pigments sink.
To fix, simply squeeze your paint onto a palette and mix the separate components together using a palette knife. Work the colour into the oil until they are combined and smooth. All fixed! Watch our tutorial to see how quick and simple fixing separated oils is.
Bonus – massage the tube! Before squeezing your paint out, try shaking and squeezing the capped tube gently to combine the paint inside. This saves you mixing on your palette.

Cleaning up after oil painting isn’t too hard once you know how. Now you know some tips and tricks to dispose of the paint and keep your supplies thoughtfully, you’re ready to tackle the medium!
If you feel inspired to pick up some oil paints and get creating, #montmarteart or tag us @montmarteart on Instagram or Facebook because we’d love to see what you come up with!
Looking for more? Find more Tips and Techniques in our Create Space for more inspo. We have a blog dedicated to oil painting for beginners that might help you get started!


