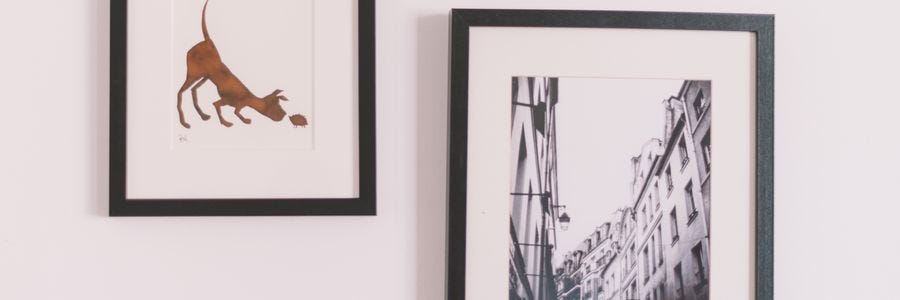
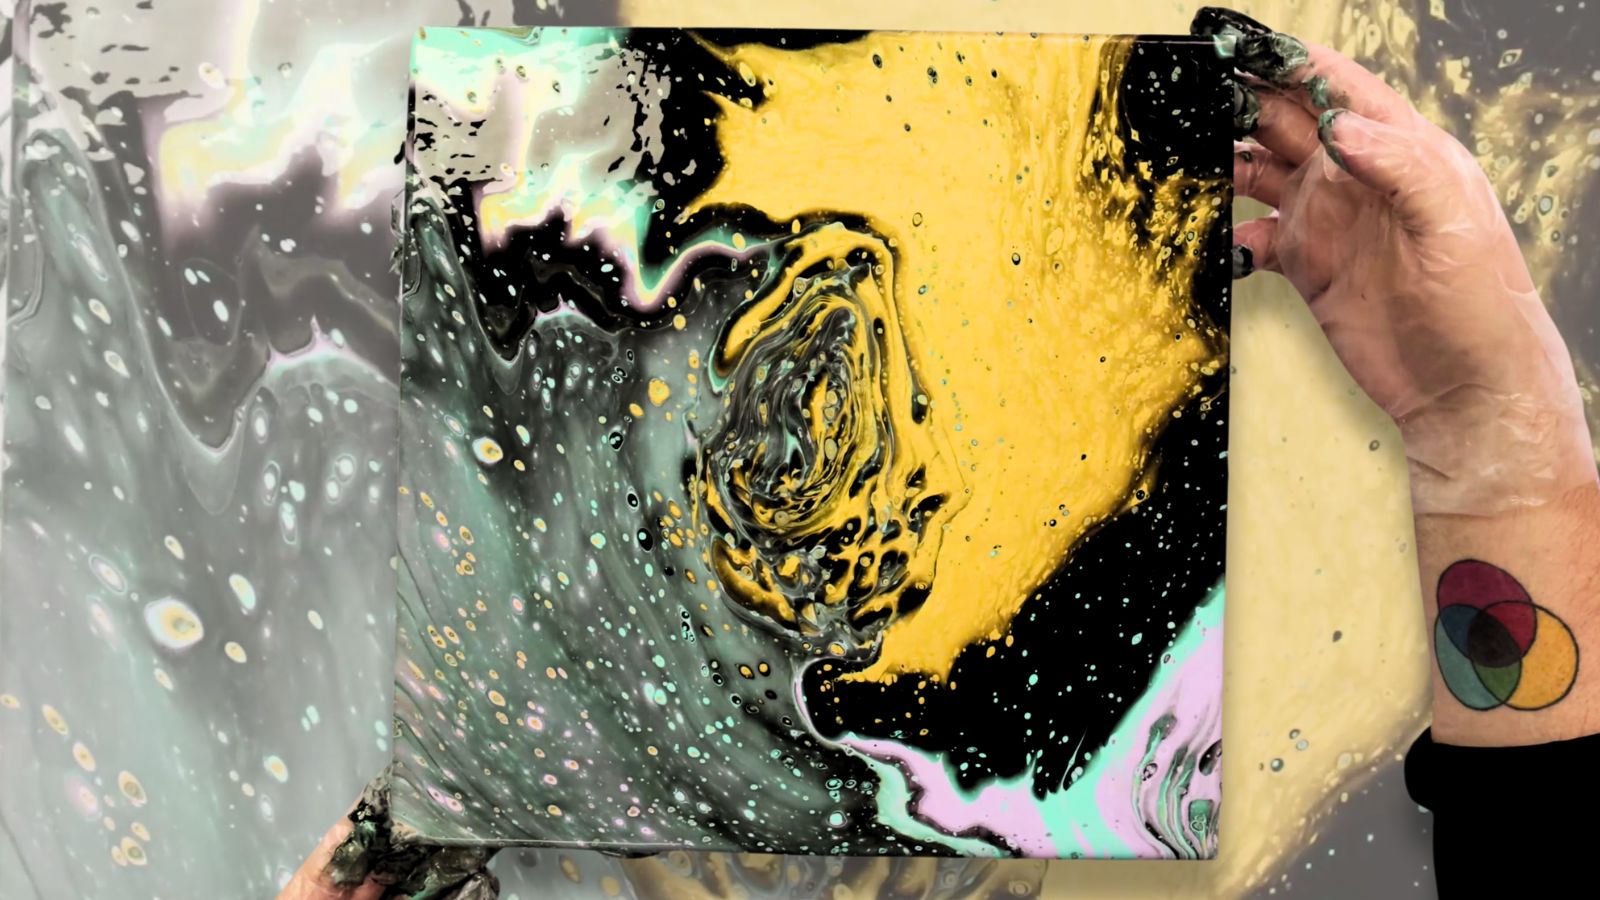
There is no better feeling than hanging a painting that you are proud of, whether you decide to hang it in your own house or apartment, somebody else’s, or even in a public place. As well as adding vitality and a burst of colour to your chosen spot (and a way of getting kudos from family and friends), it’s also a brilliant way to inspire yourself every time you look at it. You pat yourself on the back and ruminate “I did that! I should do another one!’’. It also has the positive benefit of working to keep your inner creative self alive. Displaying your work can be a very rewarding endeavour, so here are a few little things that might help you if you are thinking of hanging some of your art.
Framing Solutions
Once upon a time all paintings were framed. Somewhere in the 1960’s artists and galleries decided that creating a timber frame around a canvas was not a necessity and the trend has continued to this day. But, unless you paint solely on stretched canvases, you will no doubt at some stage want to utilise various forms of framing.
Watercolour paintings, art prints and pastel paintings require a frame, with a glass protective sheet and a mat around the perimeter of the work to keep the glass off the actual surface of the painting. This is to protect the work as watercolour and pastel are non-permanent and paper is very easily damaged. There are many different frame profiles, from minimalist to ornate, and it is best to suit the style of the profile to the work it is going to frame. Although it can be expensive to get work framed, many artists manage to keep their framing costs down by getting all of the elements cut to size then joining the timber with V nails and assembling it all themselves. This is more cost effective as you don’t have to pay someone else to do it. You can also speak with a framer about bulk pricing, as they usually offer discounts if a number of works are to be framed at the same time.
Another method of framing works on paper is to use what is referred to as ‘metal clip frame’. Essentially the sheet and mat are sandwiched between the backing panel at the rear, and glass on the front. The glass and rear panel are held together with metal clips secured at the sides. These clips also have an opening so it can be attached to a wall hook. These are very popular with photographers who wish to frame many works with affordability in mind and are available in a variety of art and homeware stores. Be aware that glass comes in many forms, and you can choose between clear, non-reflective, UV conservation glass and acrylic.
Hanging Your Work
So you have chosen the space where you’d like to hang your work, but where exactly do you hang it? It’s a good idea to recruit a helper to hold the painting in your proposed spot before you commit to applying fasteners to the wall. The rule of thumb is to hang the work at a height so that the point in the middle of the work is at eye level. Large paintings can be centralised between the floor and the ceiling. If you have multiple paintings and they are of a similar size the preferred ways are:
1) Hanging them in a line. Ensure the tops are all level with each other and the distance between the paintings are the same as the distance between the top of the paintings to the ceiling or,
2) Treat the grouping of paintings as a single unit.
It’s also a good idea to lay the frames on the floor in the grouping that you would like to use, just to see if the grouping works. It is generally recommended that you keep any paintings out of direct sunlight, as this will cause the colours to fade over time.
Hardware
If the area you have selected for your work happens to already have a picture rail across the wall, then you can buy a picture rail hanging kit from a hardware store. For conventional hanging, there are a number of hardware options, and with most commercial hanging hardware there is a maximum weight that each one is designed to hold. This should be stipulated on the label.
HANDY TIP: To find the weight of the picture, weigh yourself on some bathroom scales whilst holding the picture, and then subtract your weight from the overall weight.
Traditional metal picture hooks with an angled nail work well for lightweight frames fitted with wire, but screws or nails are a better choice for sawtooth and D-ring hangers. If your hanging hardware will attach to a wall stud or solid wood panelling, just about any hanger suitable for the frame and rated for the weight of the picture will do. If the picture is heavy and a stud isn’t present, you’ll need to use a wall anchor on any plasterboard walls. Anchors that spread out behind the wall such as ‘toggle bolts/butterfly bolts’ provide the most holding power and help reinforce the plasterboard. Brick and concrete walls require drilling a hole with a special masonry bit then either hammering in a masonry nail or using a plastic anchor and screw.
Once your picture is hung you might like to put a purpose made self-adhesive rubber bumper at the bottom of each corner. Alternatively you could use balls of Blu-Tak for this purpose. This stops the painting from marking the wall and keeps it level.
Tying Your Work into the House Décor
Your painting won’t always be colour-matched to its interior surroundings and may clash with other colours. But there are a few things you can do that will tie it in:
1) Paint the wall a colour that compliments the dominant colour of the painting.
2) Use soft furnishings like pillows, a throw rug or curtains that possess complimentary colours to that of the painting.
3) If you are hanging a stretched canvas, you can paint the sides of the canvas the same colour as the wall it is to be hung on (if you’re lucky enough to have some of your paint left).
Lighting
Lighting an art work shows it off most effectively. The colours look vibrant and it is highlighted to the viewer. Natural (indirect) light is the best light but in some cases your designated area may be a little dark. In these cases you can install down lights or track lighting. Some down lights offer full spectrum light and are adjustable so you can direct the beam of light directly onto the picture. LED lights are considered the best as they omit very little heat and are more energy efficient.
Note: ultraviolet (UV) light, heat and humidity cause deterioration and discolouring of artworks and should be controlled or avoided where possible.


