


There’s something soothing about a sunset – the vibrant colours, the calming glow, and the way it seems to paint everything with warmth. Well, guess what? You can capture this feeling on a canvas with some paints and a creative mind.
Check out these easy tips to help you nail your next sunset painting. Let’s chase the light together!
1. How to paint the sun

The sun is the star of the show (literally), so it’s a good place to start. To make your sun stand out without overpowering the scene, use soft edges rather than harsh lines. A small round brush works wonders here – just dab gently to create a glowing orb effect.
For colours, think about layering warm tones like yellows, oranges, and even a touch of white for highlights. Keep it subtle – the sun isn’t neon! Blend softly into the surrounding sky to create that natural radiance. Pro tip: avoid putting pure white in the middle – a pale yellow works better for a soft, natural sun.
2. How to paint a sunset sky

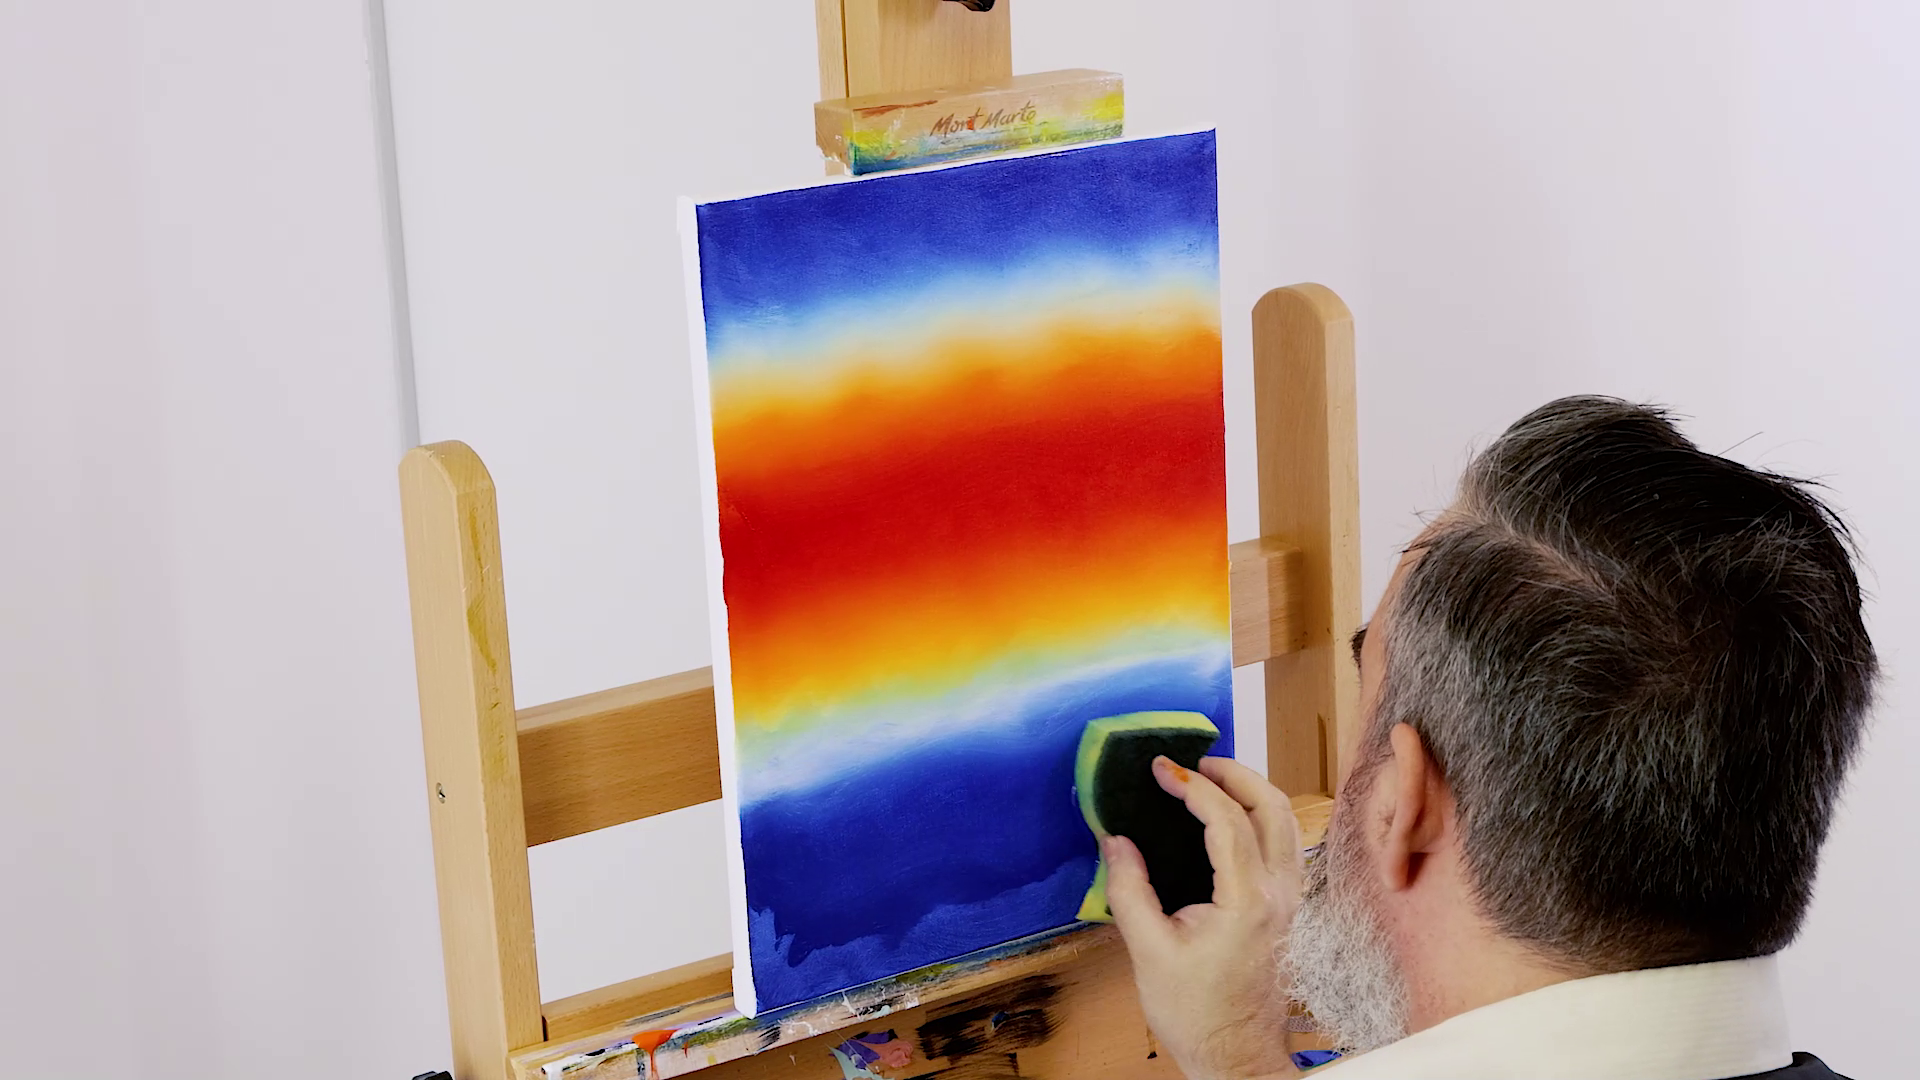
The sky during a sunset creates the ultimate gradient. Start by choosing a colour palette that reflects the mood you’re after – warm tones like oranges and reds for a fiery sunset, or cooler pinks and purples for a more serene vibe.
Use a flat brush for broad strokes, starting with the lightest colour near the sun and gradually blending into deeper tones as you move outward. Smooth blending is key here, so try wet-on-wet techniques if you’re using acrylic or oil paints (for watercolour artists, dreamy blending comes with the territory!).
A handy trick is to keep your brushstrokes horizontal – this mimics the natural flow of the sky and the horizon line for a more realistic look.
3. How to paint reflections

Ah, the shimmer of reflected light! Whether you’re painting water, sand, or even cityscapes, capturing reflections adds depth to your sunset scene. For a classic sunset over the ocean, use horizontal strokes with a soft brush to mimic the ripples and movement of light across the surface. The top of waves and ripples are hit by the most sun, while behind them a shadow is cast.
Stick to colours that mirror the sky but mute them slightly – this keeps the reflection looking natural. Add a touch of white or yellow to highlight the brightest points, like where the sun meets the horizon. And remember, reflections are a bit wobbly, so don’t overthink it – a little unevenness adds realism.
To see how we do this up close, check out our Sunset Ocean Painting Tutorial which comes with step-by-step instructions.
4. Sunset colour palette

Sunsets are a playground of colour, but the trick is to choose your palette wisely. Start with a base of warm hues like yellow, orange, and red, and balance them with cooler tones like purples, blues, and even hints of soft green.
Assess the overall temperature of your reference – would you say it leans more warm or cool? Are there lots of pinks or more orange? Is it bright or soft? All this comes into play when selecting your palette, but the reality is sunsets come in all sorts of colours. Use your creative licence to pick a palette that speaks to you!
A little tip from us to you – avoid mixing too many colours together at once. This can create muddy tones instead of gentle gradients. Instead, layer your colours to let each one shine. Don’t be afraid to let your base layer dry and go over the top with soft blending to finesse the gradient. It may help to look up reference photos of sunsets to see how colours naturally transition and work together. Mother Nature is the ultimate teacher!
5. Brushstroke techniques

How you use your brush makes a big impact on the kind of sunset your paint. If you’re shooting for realism, use soft, sweeping strokes for the sky to create those smooth gradients. You might even want to dab or stipple with a sponge or brush for textured clouds. For details like the sun or small highlights, a fine round brush is your best friend.
If you’re all about texture, why not pick up a palette knife and shoot for optical blending? That’s when your colours are applied in short strokes next to each other so that when you stand back, they seem to blend together. This means you can add depth and 3D textural effects to make your sunset pop off the page.
Don’t be afraid to experiment – sunsets aren’t perfect, and neither should your painting be.
6. How to paint clouds

Clouds can add drama and dimension to your sunset, but they’re all about balance. Use a slightly darker shade of your sunset colours for the base of the clouds, then blend in lighter tones like pinks, yellows, and whites to add highlights.
Keep your brush movements light and airy – clouds should look weightless. Apply some colour and take a clean, dry brush to feather the edges for the ultimate soft blend. And don’t worry if they’re not symmetrical – after all, no two clouds are the same. Think of them as the sky’s accessories – there to enhance, not overwhelm.
A quick way to add clouds is with a sponge – just dab some mid tones on, blend highlights and shadows into the top and the bottom and you’re good to go!
See how we paint clouds in our handy tutorial. You’ll get the hang of it in no time!
7. Don’t forget the horizon

The horizon line anchors your sunset painting, so it’s important to get it right. Keep the horizon crisp and straight – a ruler or masking tape can help here. Use deeper, richer tones near the horizon to ground the scene and create a sense of distance.
If you’re including elements like trees, mountains, or buildings, try painting them in as a silhouette to keep the focus on the vibrant sky. Silhouettes are easy to achieve with a solid black or dark grey – just keep the edges clean for a polished look.
Sunsets are a fantastic subject for painters of all levels. They’re forgiving, full of variety, and endlessly inspiring. Whether you’re working from a reference photo or letting your imagination take the wheel, painting a sunset is all about capturing the essence of light and colour.
So, why not grab some new supplies to kick off your exploration, like some acrylics, oils, or even a canvas? If you do paint a background, let us know by tagging us on Instagram or Facebook @montmarteart or use #montmarteart to show us what you come up with.
To stay up-to-date with the latest projects, inspo, tips, and tricks, join our Creative Connection community by signing up down below.