


Make a 3D papercraft scene
In this fun lesson we create a framed 3D scene with paper. This is a great project to do with kids and once finished makes for a really good interior design piece or you could do what I did, and make a cute little stop motion clip. Hope you enjoy the video
Step 1. Creating the frame.
The first step is to remove the canvas frame from its packaging. Then remove the canvas from the frame. To do this you will need to pull out the staples. There is a staple remover that comes with the Mont Marte Canvas Stapler. Once the canvas is removed, lay it onto the backing board of a Mont Marte Creative Kids Construction Pad. Use the frame as a template and draw the perimeter onto the board and with scissors cut it out. Make sure you have adult supervision when using scissors. When applying glue ensure that the coat is very consistent. This way the paper will go on smooth. Adult supervision required
Step 2. Creating the background.
Squeeze some glue out into the Deep Well Plastic Palette. Paint the glue onto the prepared board and stick a sheet of Golden Yellow from the Construction Pad to it. Trim it to size. Next take a Light Yellow sheet and come approximately 1/3 of the way down the frame and apply it to the board on top of the Golden Yellow, and then trim the edges. Now glue on an Orange sheet on the board from half way down. Finally adhere a sheet of Red just below the Orange. Once the background has been created staple it behind the frame. To make the sun, take a coffee cup and rule the circumference around it onto a sheet of Light Yellow. Then cut to this line. We can now glue it over the horizon line.
Step 3. Creating the mountains.
Lay the PDF image onto a Blue sheet of paper and using a sharp hard pencil trace the furthest mountains. These will be the highest set closest to the horizon. Remove the PDF and you should see an indented line on the paper. Redraw this in with a pencil and cut it out. Lay it on the table and create a series of lines in Purple fine tip marker. Fold the 3 sides in and cut away the excess. Glue it onto the frame. Do the same for the other 3 sets of mountains but create the colour lines in this order Dark Blue, Light Blue and the closest range Dark Green. Next create a layer of green paper for the foreground. Lay in each mountain range as you create them. Cut a series of sharp triangular wedges into the top side to suggest grass. Then glue it in. When you create the mountains and clouds to fit them, fold the one side then the bottom. Place it into position then mark the other side with a pencil and fold that back. Then trim the excess. Always dry fit before you glue it into place.
Step 4. Creating the clouds.
The clouds are created in the same way as the mountains. The first and last set of clouds are White paper from a Mont Marte sketch book. The order is White, Blue, Light Yellow Blue and then the White again.
Material List
- Double Thick Canvas Premium 25.4 x 30.5cm (10 x 12in)
- Plastic Brush Washer Signature
- PVA Craft Glue Fine Tip 250gm
- Deep Well Plastic Palette Discovery 6 Wells
Shop Materials List
You may also like
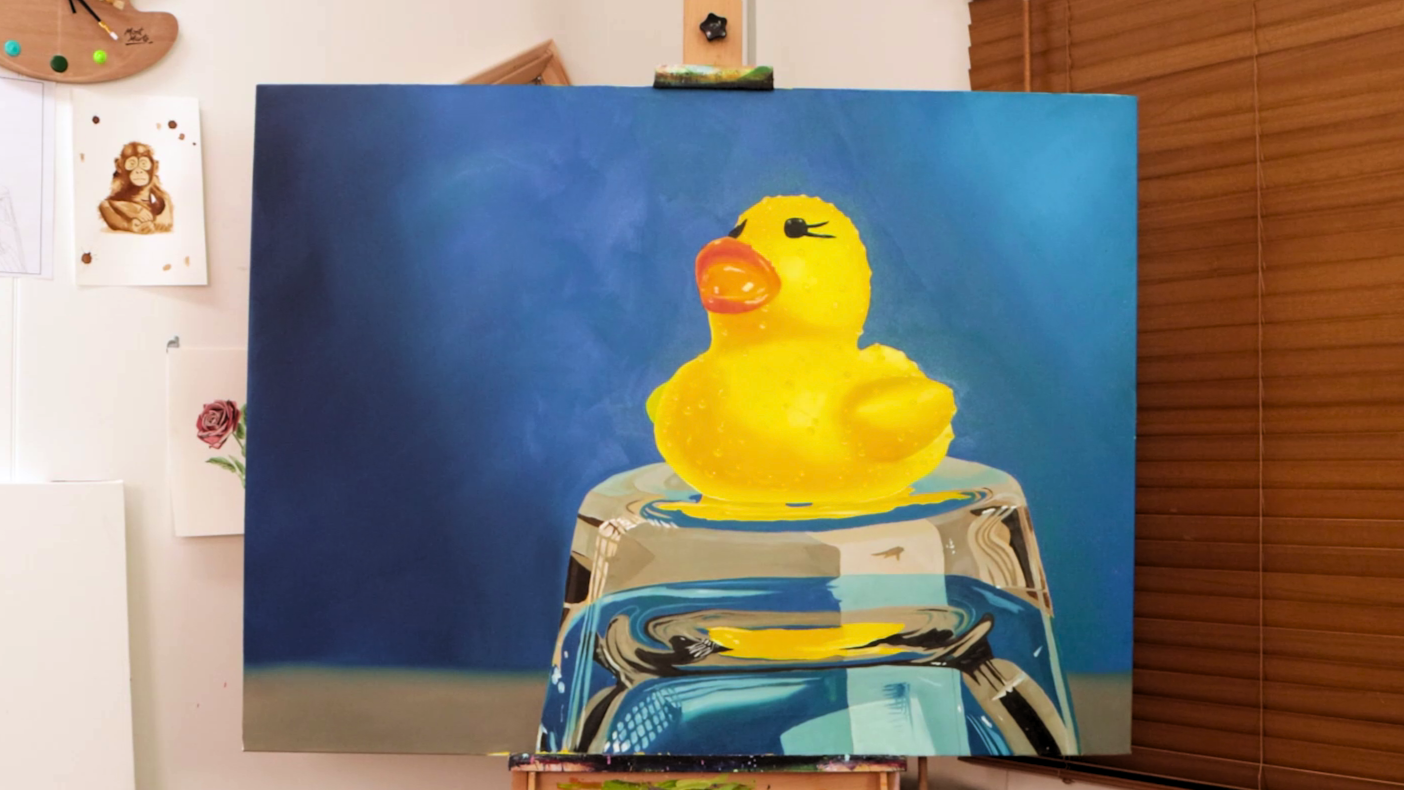
Paint a realistic rubber duck canvas in oils

DIY project: palette clock