Creating luminous effects is something most artists aspire to. Glazing can take your painting’s finish from flat to multi-dimensional, and your work from good to great. Here we explore some of the basics of glazing - including what it is, how to glaze properly, and a basic formula to get you started.
What is Glazing?
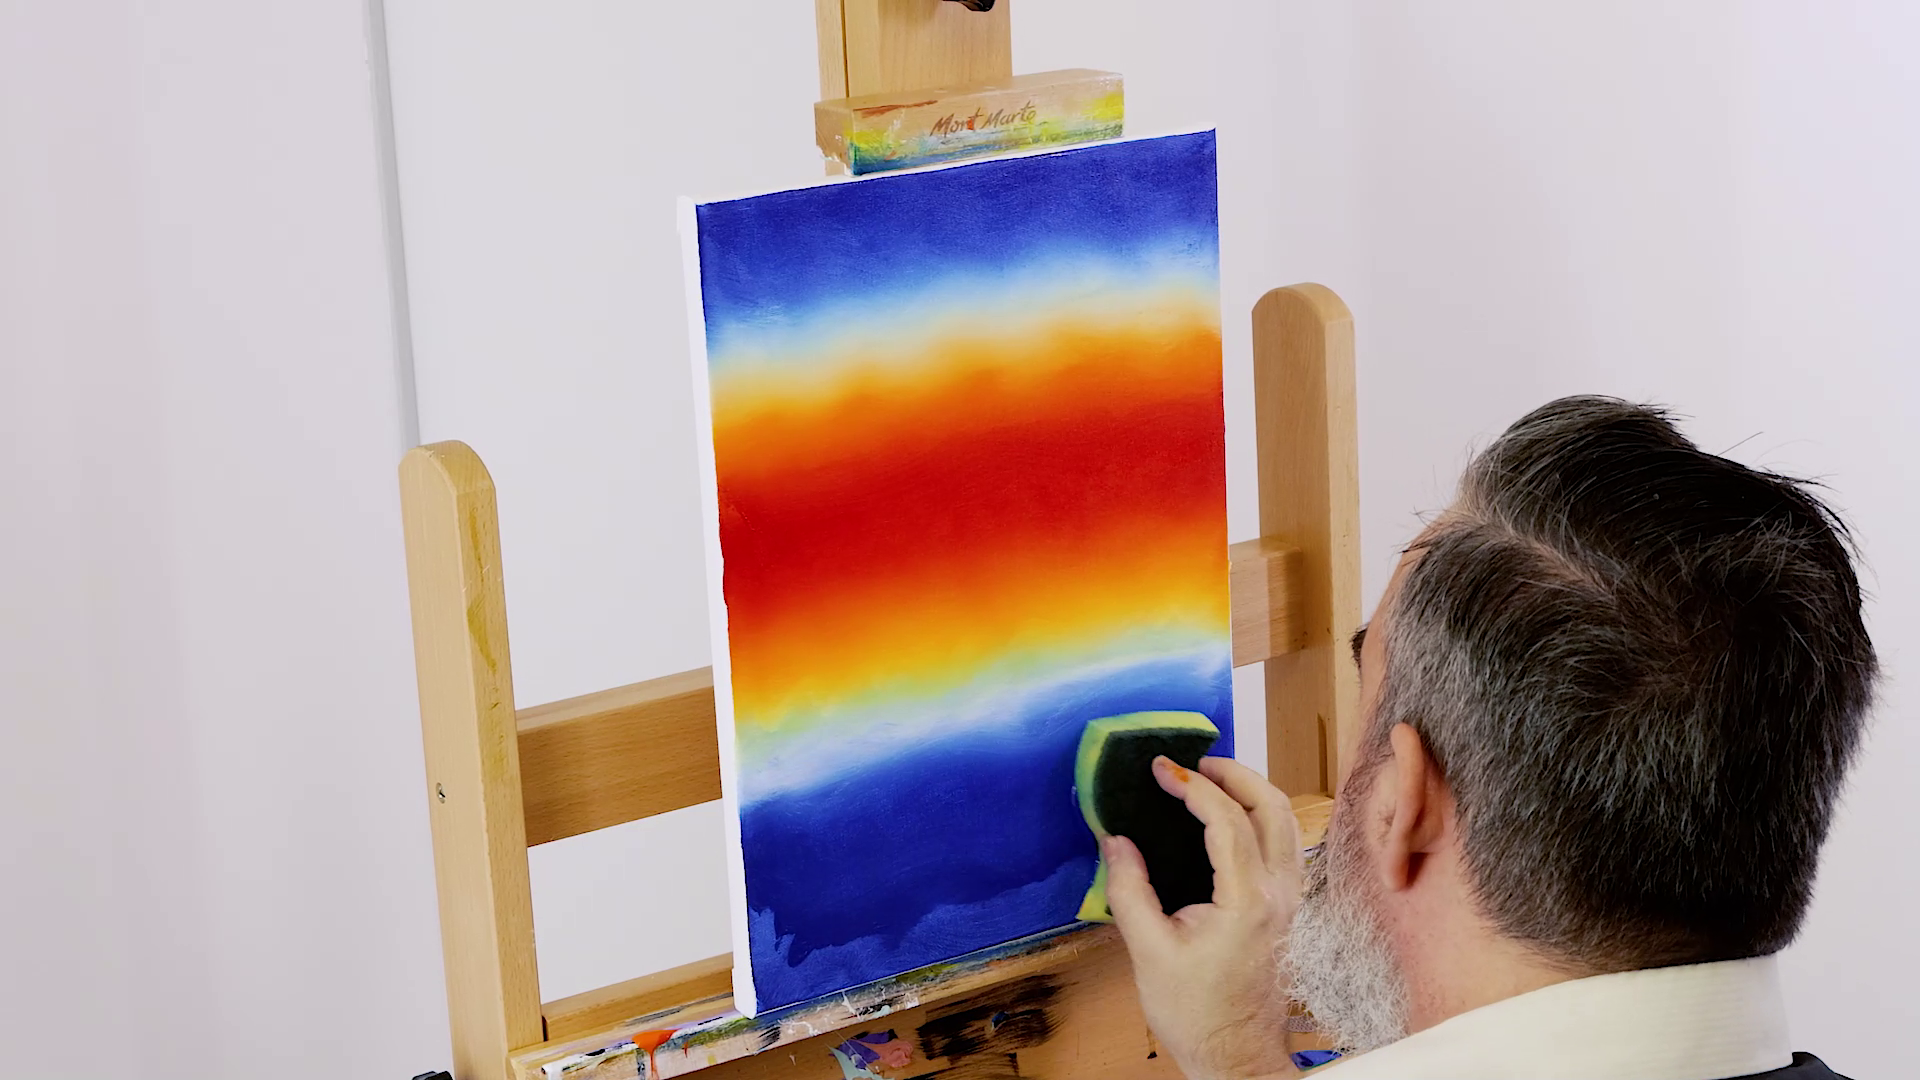
Put simply, glazing is the technique where a painter lays a transparent layer of paint over an already dry layer of paint. This dry coat of paint is referred to as the underpainting. When the second colour is laid over the underpainting, a new colour is created through the colours optically mixing, but the colour created is more intense, vibrant and deep, due to the unique ‘shine through’ effect. This effect is not obtainable by an application of colour created from a direct mixture of two paints.
Why glaze?

A colour that has been glazed carries an extraordinary luminosity that is impossible to achieve any other way. Glazing also creates very intense secondary colours, such as strong greens, purples and oranges. For example, a strong purple can be achieved by laying a bluish hue over a reddish hue and vice versa. Glazes can also be used to subtly darken areas when balancing out the contrast on a work, to soften edges, and can be applied in conjunction with a Grisaille. A ‘Grisaille’ is a painting done in monochromatic tones; once this is dry, colour is supplied from glazes being laid over the monochromatic underpainting. This is a fantastic way to suggest subtle skin tones.
How do you Glaze?

First up, there are a few important things to bear in mind before you start glazing. A colour that features a translucent pigment will yield better results and is referred to as a “lake colour”. Examples of lake colours include Rose Madder, Carmine, Natural Ultramarine and Alizarin. Once you have chosen your colour, it needs to be mixed with a medium so that the paint becomes translucent. You also need to decide on the ratio of medium-to-paint, as the more medium used, the more translucent the tone will be. Once the tone is mixed, paint it over the base colour or underpainting. It’s best to apply this with a soft brush such as a taklon or sable brush. Ideally there should be no visible brushstrokes, as this broken surface will ruin the effect. Let each layer dry before laying down subsequent layers. There is no limit to the amount of glazes that can be added onto a work.
Which Medium?

There are dozens of mediums for oil paint but only a few are specifically designed for glazing. Mediums that contain a low viscosity are good because they enable the application of the coat to be very thin. Complete translucence is important so the colour remains true, and mediums that have slow drying attributes offer an advantage as they tend to self-level.
This is a very good glazing medium formula you might like to experiment with before you start:
Materials:
- Glass jar with a screw top lid
- Damar varnish
- Thickened linseed oil
- Pure gum turpentine
Method:
Mix varnish, oil and turpentine in equal proportions. Let the mix sit for a week in a dark cupboard before using. Medium dries very hard once used.
Hopefully this brief introduction to glazing will pique your interest to try out the technique for your next painting – it’ll add another level of pro to your work!


